Go Back
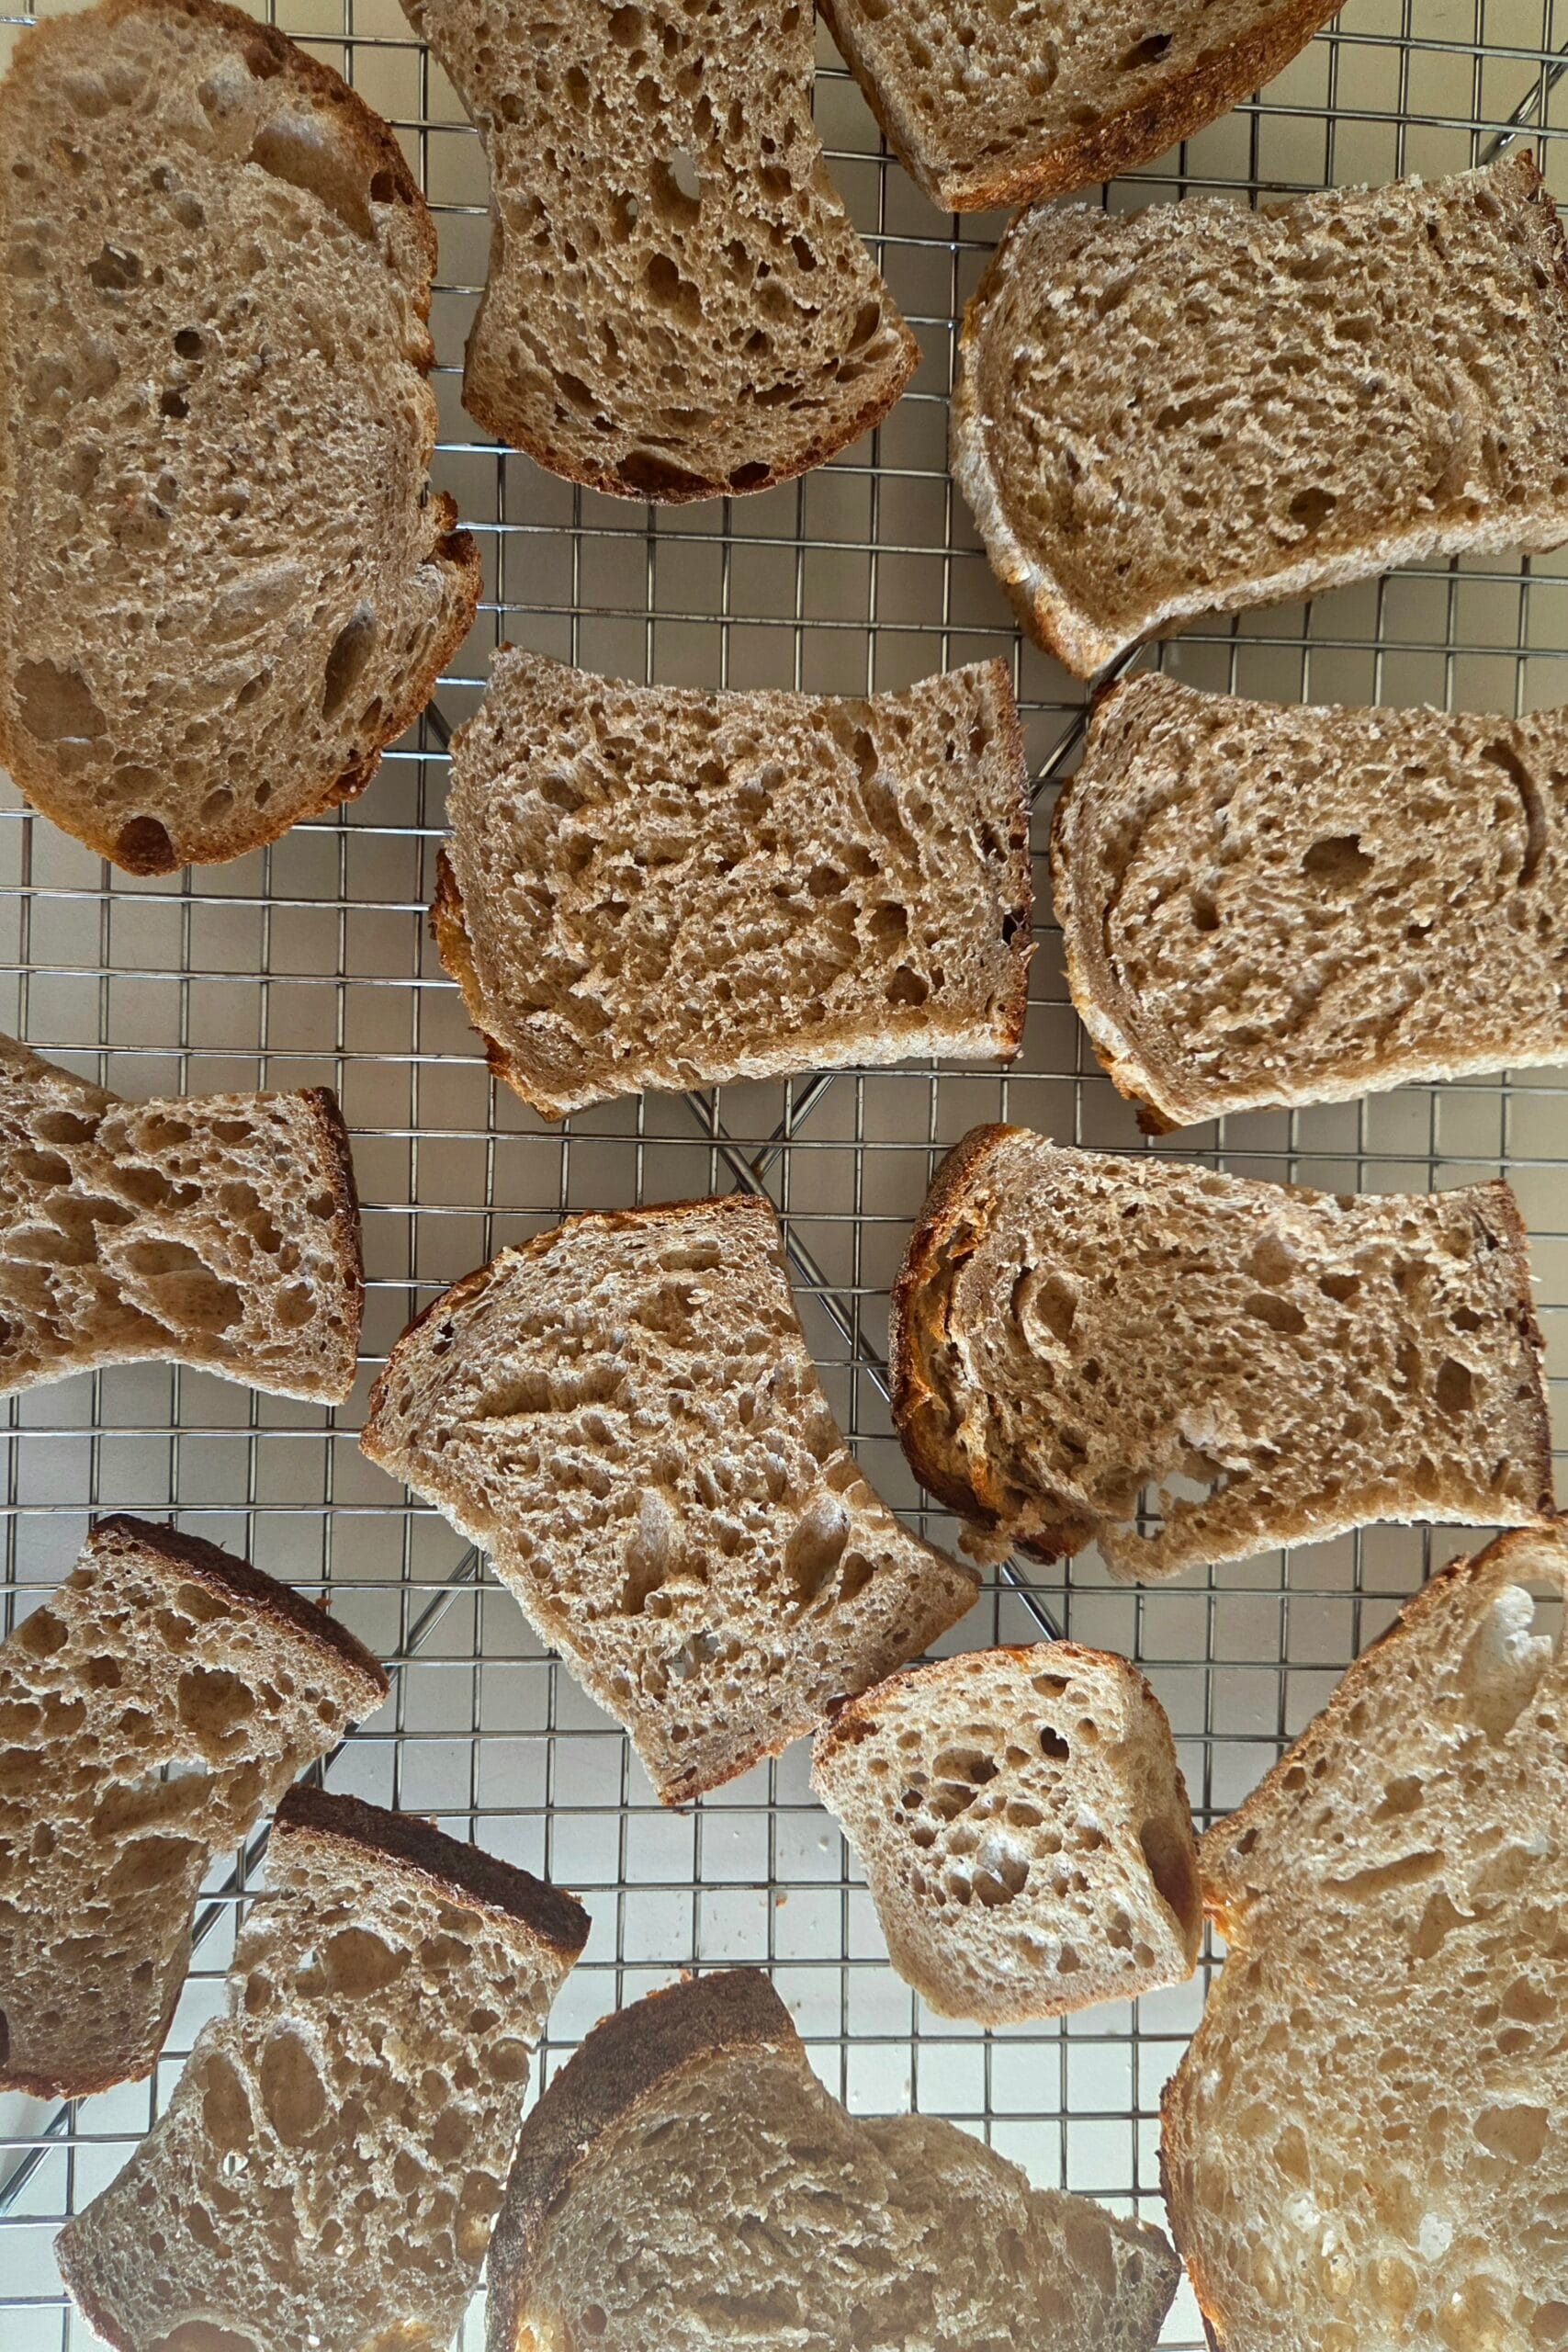
Slices of whole grain sourdough bread drying on a wire rack to make sourdough breadcrumbs

Sourdough Breadcrumbs

Homemade sourdough breadcrumbs from whole grain bread — dried low and slow, then blitzed into a crisp, nutty pantry staple.
Prep Time 10 minutes
Cook Time 1 hour
Cooling 30 minutes
Total Time 1 hour 40 minutes
Servings: 2 cups
Course: Basics, Pantry
Cuisine: Nordic, Scandinavian

Ingredients
  

  • 1 loaf Whole grain sourdough bread about 14 oz / 400 g, crust and all — any age works; fresher bread just takes longer to dry

Equipment

  • Wire cooling rack Lets air reach every surface so the bread dries instead of steaming.
  • Rimmed baking sheet Sits under the rack and catches crumbs.
  • Immersion blender with grinder attachment You don't need a full-size food processor. We used a small grinder cup on a stick blender.
  • Rolling Pin The no-machine option — press the dried pieces in a bag for a coarser crumb.
  • Glass storage jar with airtight lid Breadcrumbs pick up moisture from the air. An airtight seal is what keeps them crisp.

Method
 

  1. Preheat. Heat the oven to 210°F (100°C). Use the convection/fan setting if you have one — moving air speeds up drying.
  2. Slice. Slice the bread about ½ inch (1 cm) thick, then cut the slices into rough pieces. Leave the crust on — it carries most of the flavor and color.
  3. Spread out. Spread the pieces on a wire rack set over a rimmed baking sheet, in a single layer. Don't crowd them.
    Slices of whole grain sourdough bread drying on a wire rack to make sourdough breadcrumbs
  4. Dry. Dry for 45–60 minutes for older bread — fresher bread can need 20–30 minutes more. They're ready when a piece snaps cleanly in half with no bend and no soft center. Give it another 10 minutes if there's any give.
  5. Cool completely. Cool on the rack, about 30 minutes. Warm bread releases steam, and steam is what turns a jar of breadcrumbs into a clump.
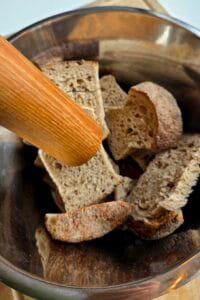
  6. Break up. Break the dried pieces into smaller chunks by hand, or press them under a rolling pin.
  7. Blitz. Blitz in batches until you reach the texture you want — a few short pulses for coarse crumbs, longer for fine. Shake the container between pulses so nothing sits at the bottom.
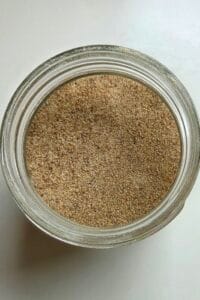
  8. Store. Transfer to an airtight jar.

Notes

Chef's tip — the snap test. Snap a piece in half and look at the cut edge: uniformly pale and crisp all the way through means done. If it bends, or there's a darker, denser core, it goes back in the oven. It's the one step that decides whether your breadcrumbs last a month or grow mold in a week.
Yield: one 14 oz (400 g) loaf gives roughly 2 cups (250 g) of breadcrumbs, depending on how dense your bread is.
Storage: airtight at room temperature for up to a month. For longer, freeze them in a zip-top bag — they go straight from freezer to pan, no thawing.