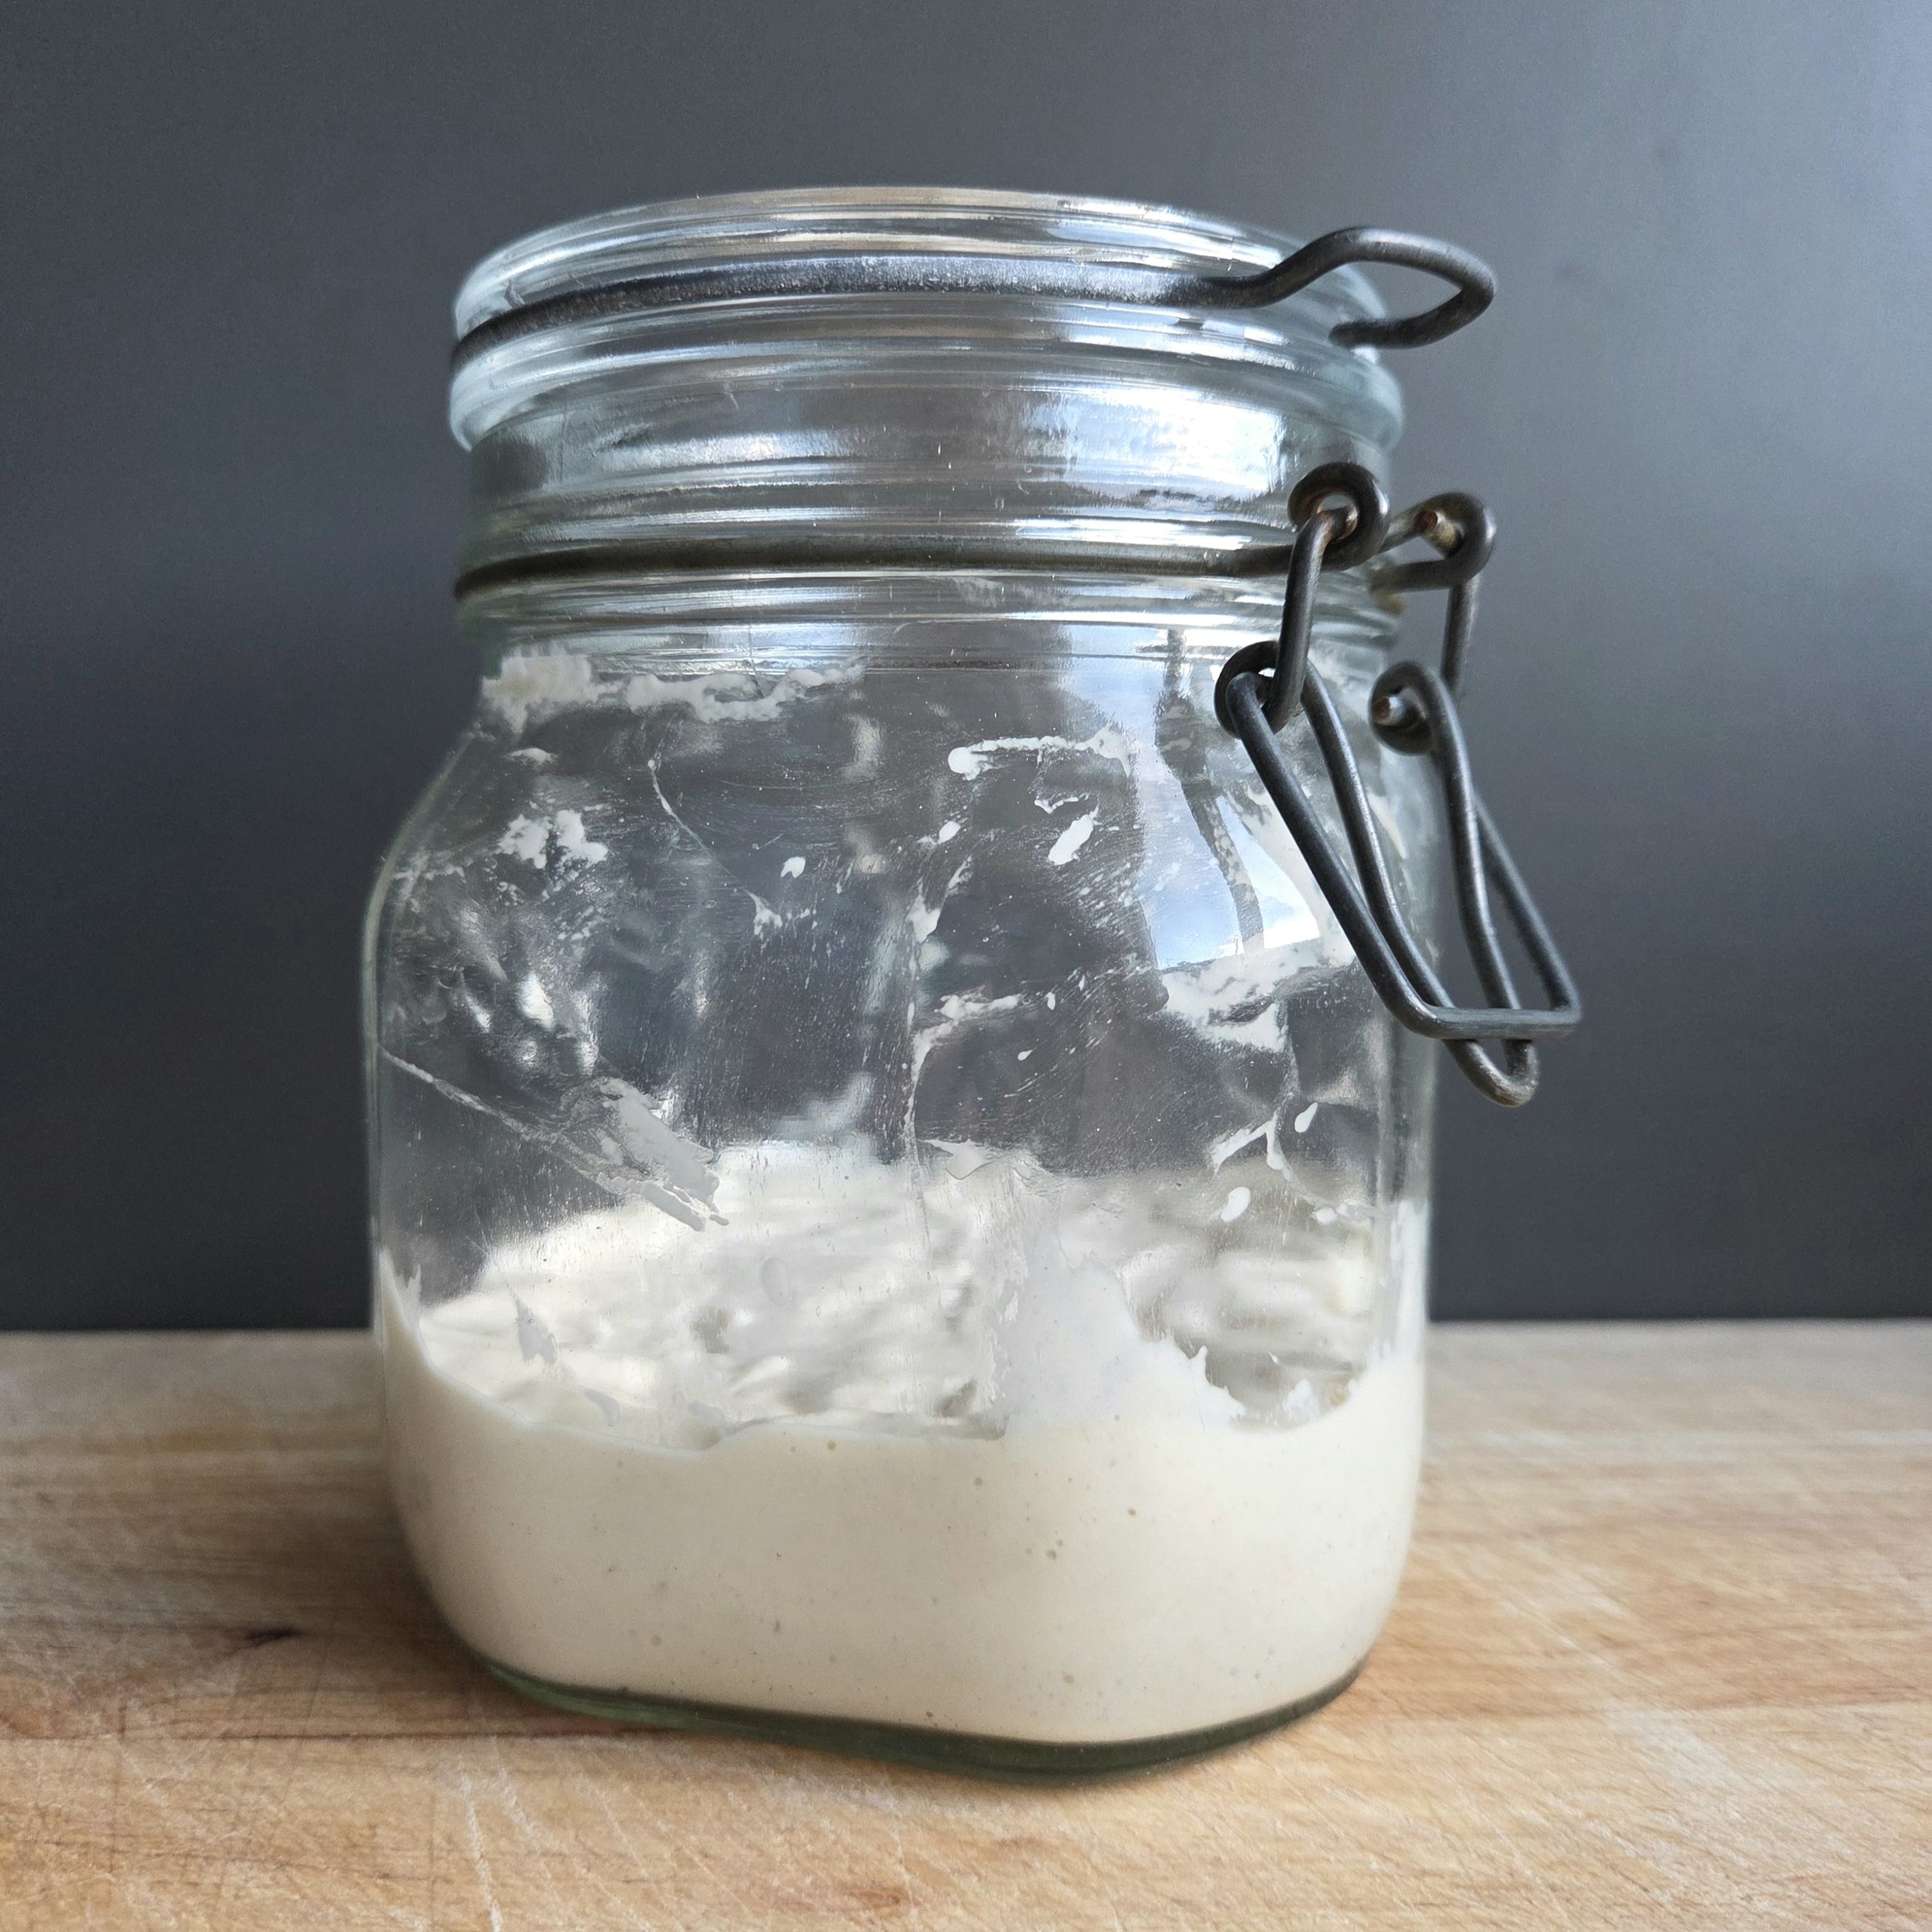
A sourdough starter is the living culture that makes real sourdough possible, and you can grow one at home from nothing but flour and water. It takes 7 to 10 days of daily feeding, no special equipment, and a little patience — that’s the whole cost of entry into sourdough baking. Here’s exactly how we build one from scratch.
What a Sourdough Starter Actually Is
A sourdough starter is a mixture of flour and water that’s captured and grown a stable colony of wild yeast and lactic acid bacteria. Those two do all the work in your bread: the wild yeast produces the gas that makes it rise, and the bacteria produce the acids that give sourdough its flavor and keeping quality. It’s the natural leavening that replaces commercial yeast entirely.
The wild yeast is already there — on the flour, in the air, on your hands. You’re not adding it. You’re just giving it flour to eat, water to live in, and enough time to outcompete everything else until you’ve got a strong, predictable culture. Once it’s established, a starter can live for years, even generations, on nothing but regular feeding.
What You Need
Almost nothing, which is part of the appeal.
- Flour. Start with whole wheat or rye for the first few days — the extra bran and germ carry more wild yeast and nutrients, so your starter gets going faster and more reliably. Once it’s active, you’ll switch to white bread flour for maintenance — more on why in our flour guide.
- Water. Room temperature. If your tap water is heavily chlorinated, let it sit out overnight or use filtered — chlorine can slow the culture down, though most tap water is fine.
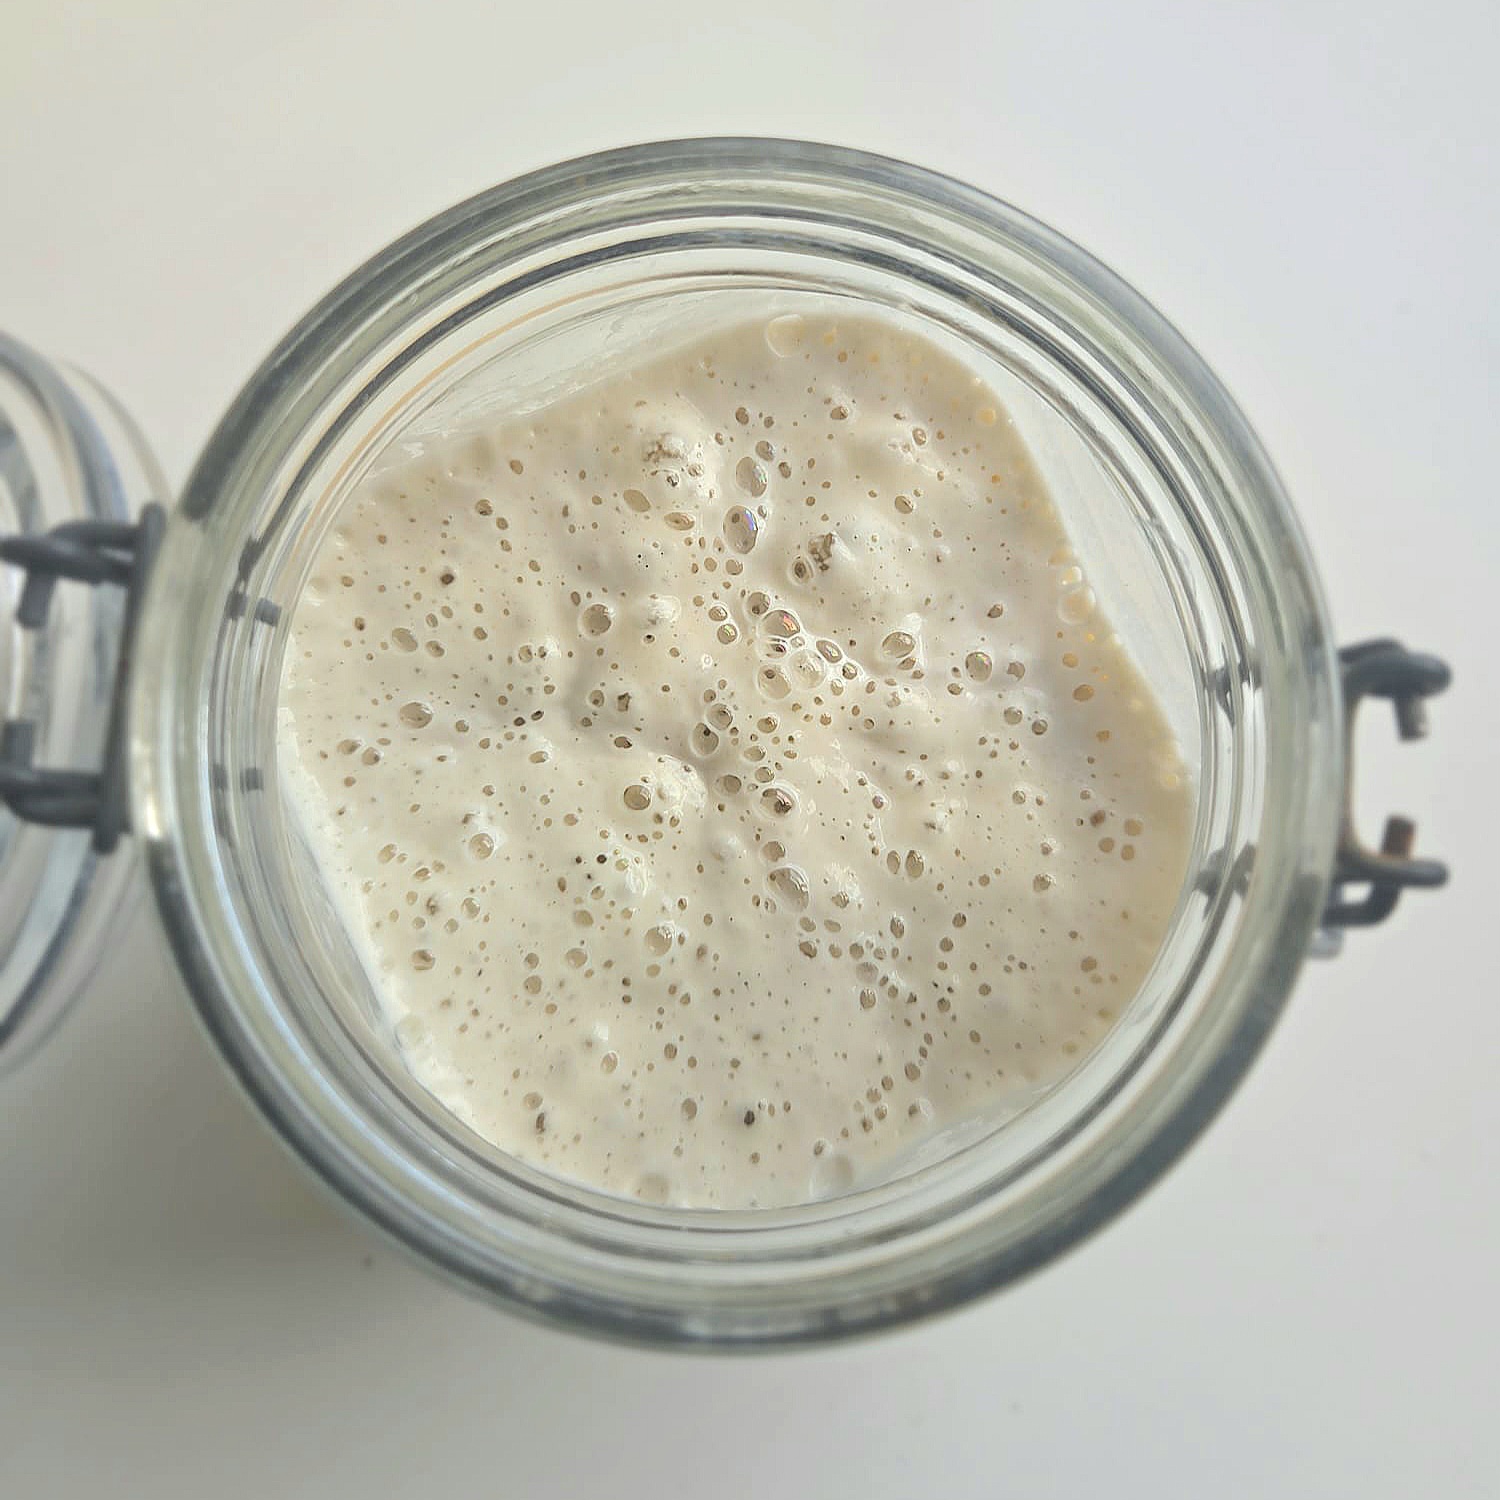
- A clear jar. A glass jar or container so you can see the bubbles and the rise. Don’t seal it airtight; the culture needs to breathe, so rest the lid on top or leave it loose.
- A scale. You’ll feed by weight for consistency — equal parts starter, flour and water is far easier to keep balanced when you’re weighing.
That’s it. No starter from a friend, no packet to buy, no gadget.
The Day-by-Day Process
The whole thing takes 7 to 10 days. Some starters wake up faster, some slower — temperature and flour make the difference — so treat the days as a guide and watch the culture, not the calendar.
Day 1 — Mix
Combine 50 g (about ⅓ cup) whole wheat or rye flour with 50 g (3½ tbsp) room-temperature water in your jar. Stir until no dry flour remains — it’ll look like a thick paste. Rest the lid on top and leave it somewhere warm, around 70–75°F (21–24°C), for 24 hours. Nothing much will happen yet, and that’s completely normal. It won’t smell of much either — damp flour, maybe faintly sweet.
Days 2–3 — First signs
You may start to see a few bubbles. Feed once a day: discard about half, then stir in 50 g flour and 50 g water.
The smell is what worries people most in this whole week. It can go sour and sharp, but it can also go somewhere much stranger — sour milk, cheese, gym socks, occasionally something genuinely unpleasant. That’s a first wave of bacteria taking over the jar before the ones you actually want win out. It’s the same reason you might see a burst of bubbles now and then nothing for a day. Neither is a sign of success or failure. Keep feeding on schedule and it passes.
Days 4–5 — It comes alive
Now the true fermentation kicks in. You’ll see real bubbles throughout and the mixture will start to rise and fall between feedings. The smell cleans up with it — brighter and more focused, closer to yogurt or sour cream, often a little vinegary. This is the point to switch to white bread flour if you like, and to move to feeding twice a day, morning and evening, if it’s rising and falling quickly.
Days 6–7 — Nearly there
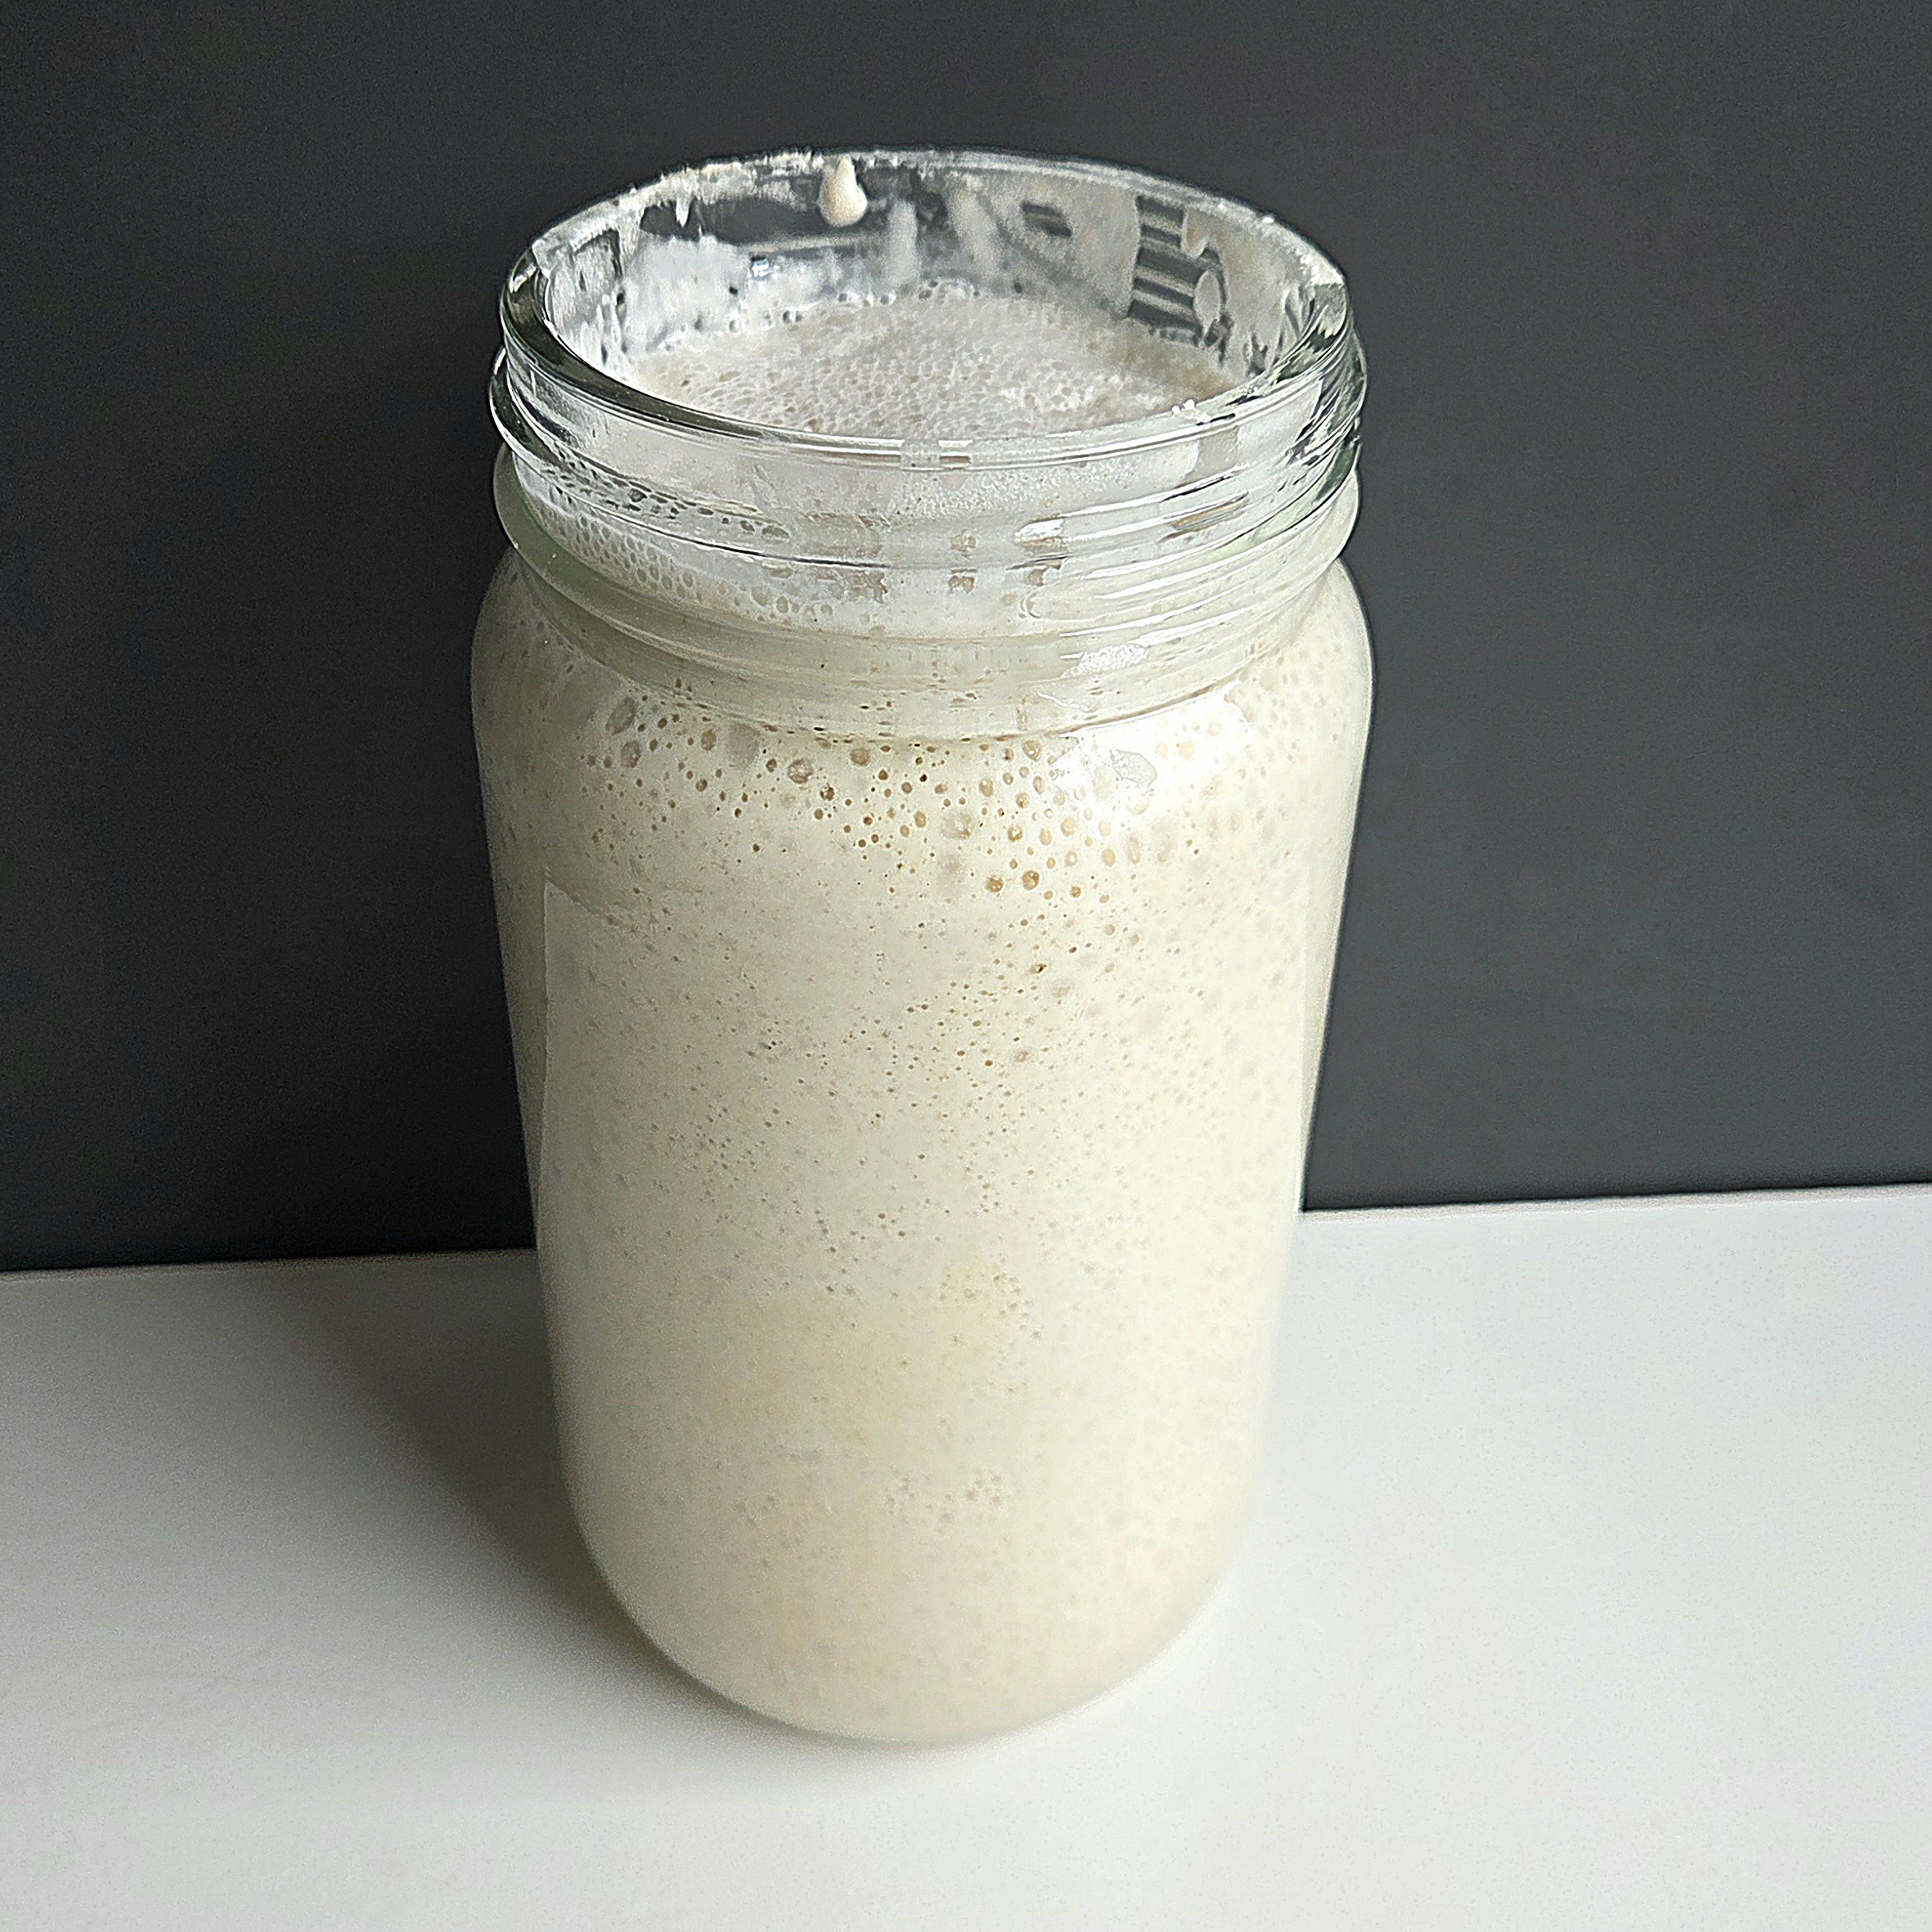
Your starter should now be rising predictably after each feed, roughly doubling within 4–6 hours, full of bubbles, with a domed top. The smell settles into tangy and bready with a note of apple or beer — mild and floury right after feeding, at its strongest when it peaks.
How to Know It’s Ready
Bubbles alone aren’t the finish line — plenty of new bakers try to bake with a starter that looks lively but isn’t strong enough yet. The real test is consistency: your starter should double in volume within 4 to 6 hours of feeding, reliably, feed after feed.
A simple way to check is the float test. Drop a small spoonful into a glass of water — if it floats, it’s full enough of gas to raise a loaf. It’s not a perfect test, but combined with a reliable rise, it’s a good green light. Most flat, disappointing first loaves come from an impatient starter, so it’s worth waiting the extra day or two until yours is genuinely strong enough for your first loaf.
One thing the float test won’t tell you: if it sinks, leaving it in the water until it eventually floats proves nothing. It’s fermenting in the glass by then, not in your jar. Fish it out, feed the starter, and test again when it’s at its peak — usually 4 to 6 hours after a feed.
When Things Look Wrong
Almost everyone panics somewhere in the first week. Most of it is normal.
- A dark liquid on top. This is “hooch” — alcohol the culture produces when it’s hungry. It’s harmless. Pour it off and feed more often.
- No activity for the first day or two. Normal. Give it warmth and time before you worry.
- Nothing at all after three or four days. Almost always too cold. Move it somewhere warmer before you change anything else — on top of the fridge, or in the oven with only the light on.
- A big burst of bubbles early, then nothing. Also normal — that’s the early bacteria settling before the real culture takes hold. Keep feeding.
- Smells sharp, like nail polish or vinegar. It’s hungry. Feed it more frequently, or move it somewhere cooler. More on why that smell shows up just below.
- Fuzzy mold, or pink, orange or black fuzz. Sour, sharp, cheesy and acetone-like smells are all normal — fuzz is not. This is the one case to throw it out and start fresh, and it’s rare. A normal starter smells sour and yeasty and never grows fuzz.
Why a hungry starter smells like nail polish remover
Once it has eaten all the flour you gave it, the yeast keeps fermenting with little left to work on and produces alcohol — the hooch above. The bacteria are producing acetic acid at the same time. Alcohol and acetic acid combine into an ester that smells exactly like nail polish remover.
So it isn’t damage, it’s a fuel gauge. It means one of three things: too long between feedings, too small a feeding ratio, or a jar sitting somewhere too warm. Feed sooner, feed a bigger ratio (1:5:5 or 1:10:10 starter to flour to water, instead of 1:1:1), or move it somewhere cooler. It mellows back to tangy within a couple of feedings.
Keeping It Alive
Once your starter is established, maintaining it is easy. If you bake often, keep it at room temperature and feed it once or twice a day. If you bake occasionally, keep it in the fridge and feed it once a week — the cold slows everything down so it can wait between bakes. Take it out and give it a feed or two the day before you want to bake, and it’ll wake right back up.
A starter is a genuinely low-maintenance thing to keep. Feed it, and it’ll outlast most of the equipment in your kitchen.
There’s more on ratios, schedules and fridge storage in our guide to feeding a sourdough starter. Once it’s established, our Starter Feeding Guide works out the exact amounts for any ratio.
One tool worth having
You can build a starter with a jar from the recycling, but feeding by weight is what keeps it balanced and predictable — guessing with spoons is where inconsistency creeps in.
- A digital kitchen scale — feed equal parts by weight and your starter stays reliable
Sourdough for Beginners · Step 1 of 9