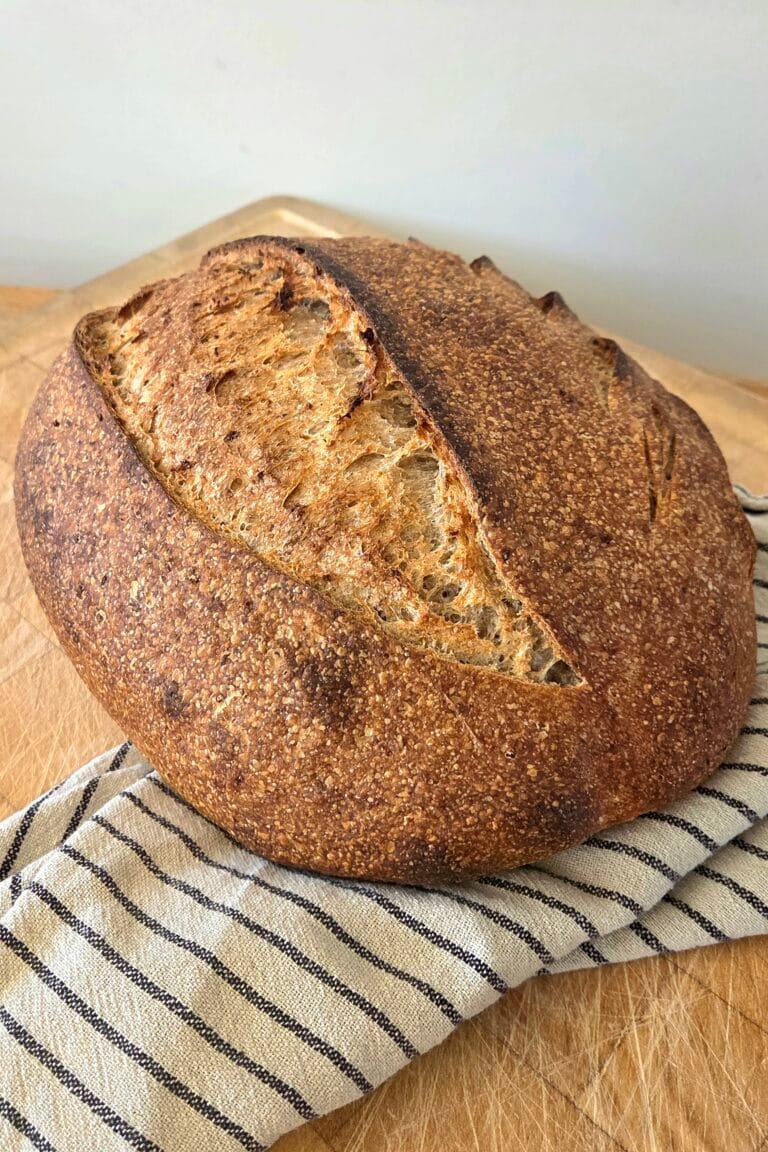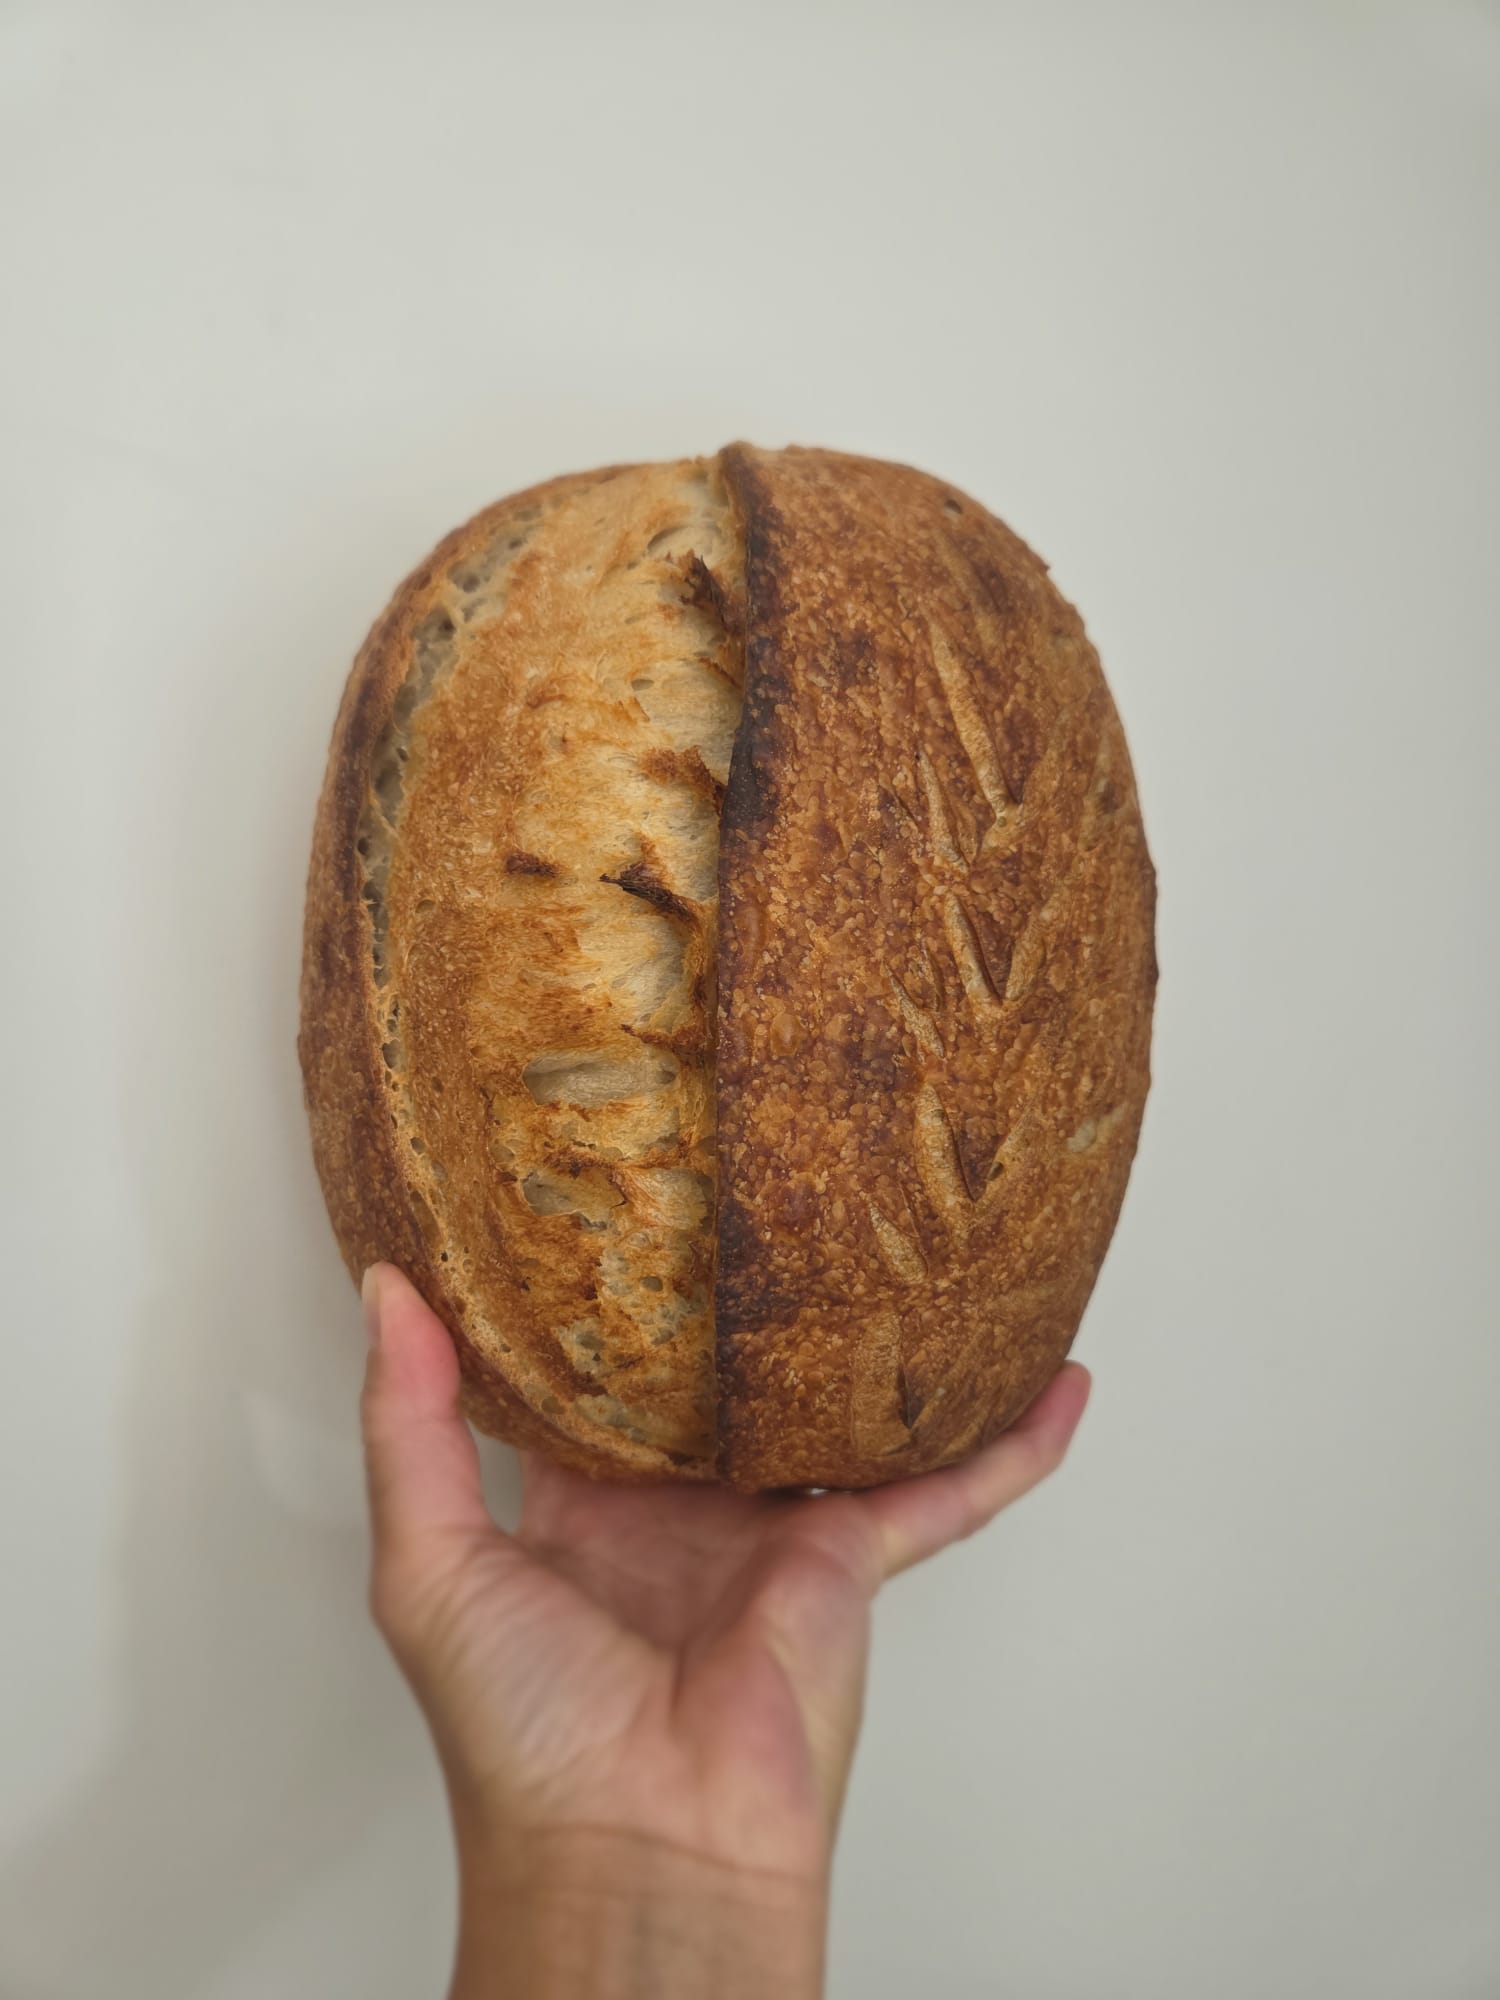
Beginner Sourdough Bread (Your First Loaf)
This beginner sourdough bread is the loaf we hand to anyone baking their first one: four ingredients, plain bread flour, and no Dutch oven required. White flour makes a dough that’s forgiving to handle and quick to read, so you can learn what fermentation actually looks and feels like without fighting a sticky whole grain dough at the same time. Bake it once and the rest of sourdough gets much easier.
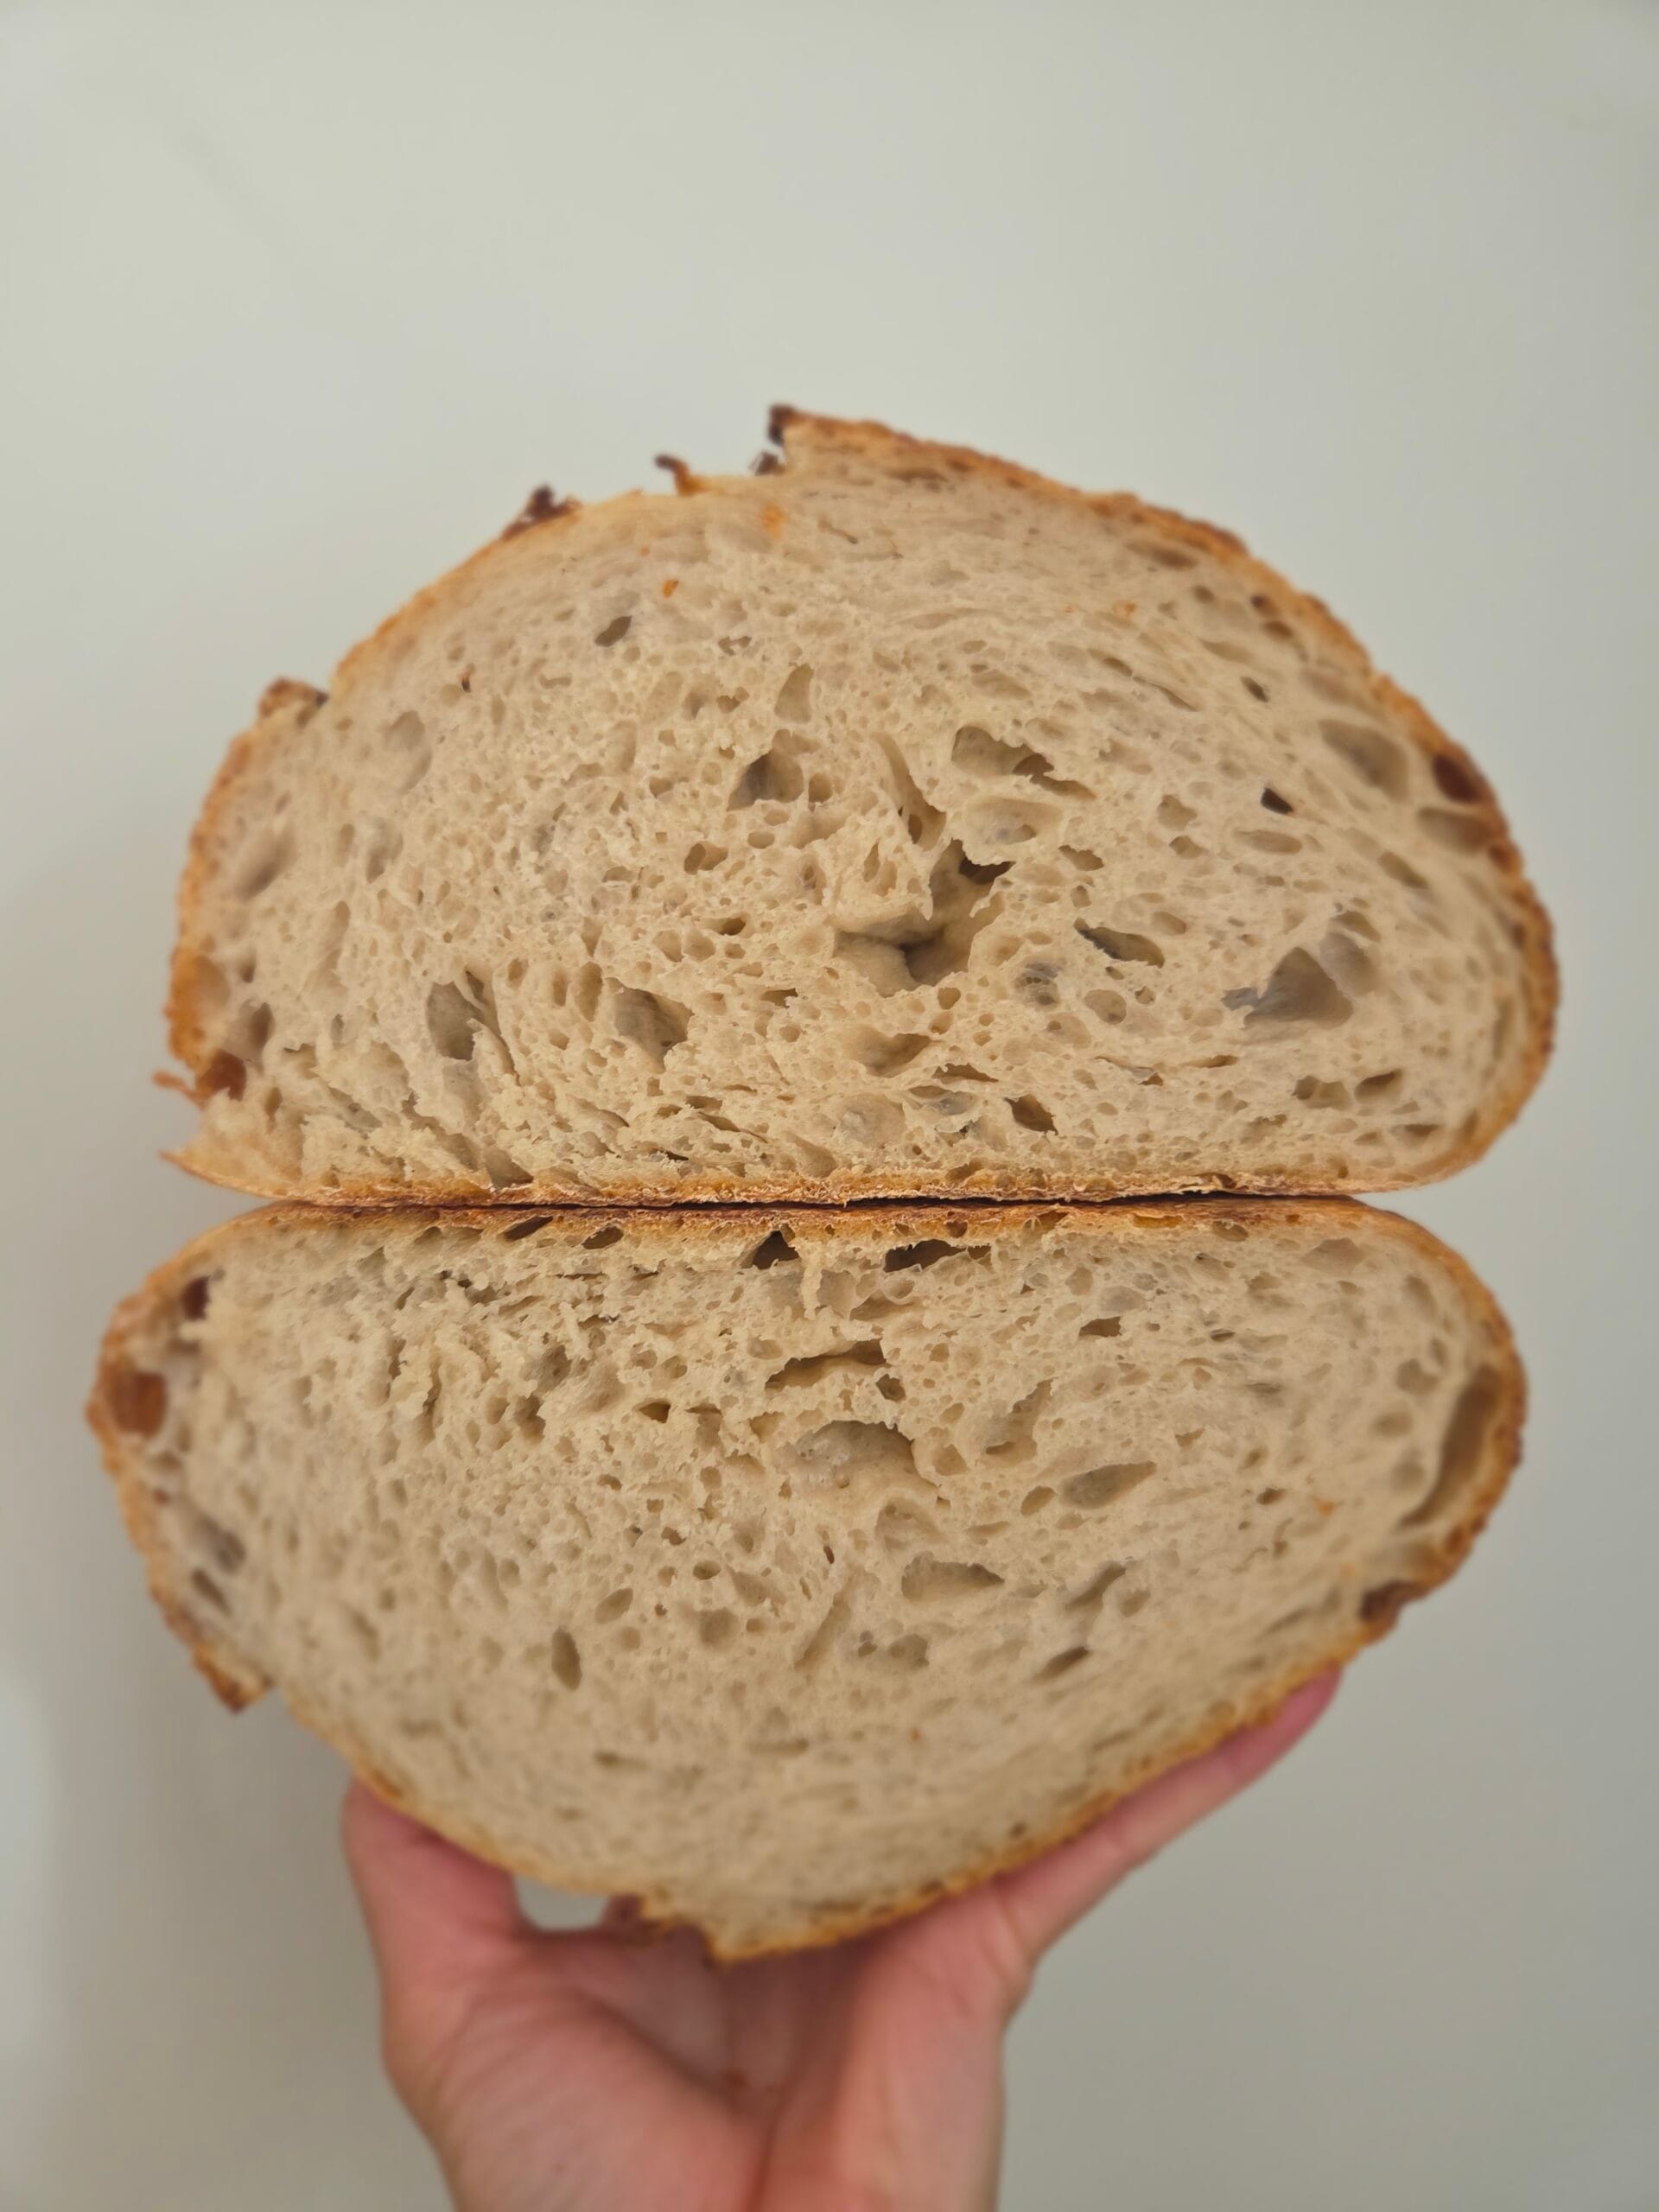
Beginner Sourdough Bread (Your First Loaf)
Ingredients
Equipment
Method
- Feed your starter the morning you bake (or the night before) so it's lively when you mix — it should have roughly doubled and look domed and bubbly. A spoonful floating in water is a good extra sign, but trust the rise first
- Mix the dough. Whisk the starter into the lukewarm water to loosen it, then add the flour and mix by hand until no dry flour remains. Hold the salt back for now. Cover and rest 1 hour.
- Add the salt. Sprinkle it over the dough and work it in thoroughly, squeezing and folding until you can't feel any grit.
- Stretch and fold — every 30 minutes, at least 4 times. Wet one hand, grab one side of the dough, stretch it up and fold it over the center; turn the bowl a quarter turn and repeat around (four pulls = one set). Cover, rest 30 minutes, repeat. The dough will go from shaggy and slack to smooth and springy. Our Stretch & Fold Timer keeps track of the sets for you.
- Bulk ferment until risen. Cover and leave at room temperature until the dough has grown by about 30–50% — domed, jiggly, with bubbles on top and along the sides. Roughly 4–6 hours total from mixing, depending on how warm your kitchen is. Watch the dough, not the clock.
- Pre-shape. Tip the dough onto a lightly floured counter. With a bench scraper, fold the edges into the middle and flip it over, then drag it gently in a circle to pull it into a loose, round ball. Leave it uncovered to rest 20–30 minutes.
- Shape the loaf. Flip the ball over, fold the sides into the center, roll it up from the bottom, then drag and rotate it on the counter until the surface feels tight. Line your banneton with a linen cloth, dust it generously with rice flour and set the loaf in seam side up. Rice flour doesn't absorb into the dough the way wheat flour does, so the loaf lifts out cleanly after the overnight chill.
- Chill overnight. Cover the basket and refrigerate 12–16 hours. Cold dough is firmer, easier to score, and bakes with better flavor — this step is doing you a favor.
- Preheat, hot. About 45–60 minutes before baking, heat the oven as hot as it goes — around 480°F (250°C) — with two trays inside: your perforated baking tray (or a regular baking sheet) on the middle rack, and an empty metal roasting tray on the rack below. The baking tray needs to be properly hot before the loaf lands on it; the roasting tray is what makes your steam. Both metal, never glass.
- Score. Turn the cold loaf out onto a sheet of parchment, seam side down. Make one confident cut down the center, about ½ inch (1 cm) deep, holding the blade at a slight angle. One clean cut beats several timid ones.
- Bake with steam. Slide the loaf, still on its parchment, onto the hot baking tray on the middle rack — parchment and all, in one quick movement. Immediately pour about 1 cup of just-boiled water into the roasting tray below (stand back — it steams up fast) and shut the door quickly to trap it. Bake at 480°F (250°C) for 20 minutes.
- Finish in dry heat. Take the roasting tray out — the water will have boiled off, and you want dry heat now to crisp the crust. Drop the oven to 400°F (200°C) and bake another 15 minutes, until deeply golden. The loaf should sound hollow when tapped and read 205–210°F (96–99°C) in the center.
- Cool completely. Move the loaf to a wire rack and leave it at least 2 hours before slicing. The crumb is still setting; cutting early gives you a gummy interior. This is the hardest step.
Notes
Why this beginner sourdough bread works
Three things make this a good first loaf.
It’s all white flour. Stoneground and whole grain flours drink more water and ferment faster, which is great for flavor and unhelpful when you’re still learning the signals. Bread flour gives you a smooth, strong dough that behaves predictably. When you’re ready to branch out, our flour guide walks through the options.
The hydration is moderate. At about 67% — closer to 70% once you count the water in the starter — this dough is soft but not slack. You can pick it up, shape it, and set it down again without it puddling — and it still opens into a proper crumb. Sourdough hydration explained covers what happens as you push it higher.
No special pot. We bake on a preheated perforated baking tray, with a tray of boiling water on the rack below. That steam does the same job as a Dutch oven for the first 20 minutes, and you don’t have to lift a screaming-hot cast iron pot in and out of the oven on your first attempt. Our guide to sourdough baking temperature explains the steam and heat in more detail.
Why the Salt Goes In an Hour After Mixing
Look at step 2 and you’ll notice the salt is missing. You mix the starter, water and flour, rest the dough for an hour, and only then work the salt in. That hour is doing real work.
When flour meets water, the protein absorbs it and gluten starts forming on its own — no kneading required. Enzymes in the flour loosen tight protein bonds at the same time, so the dough turns supple by itself, and others break starch down into the sugars your starter feeds on. An hour of sitting still saves you a lot of work with your hands. (Because our starter goes in at the mix rather than later, this is what bakers call a fermentolyse rather than a true autolyse — same principle, fermentation just starts a little earlier.)
Salt gets in the way of all that if it arrives too early. It pulls water toward itself, competing with the flour, and tightens the protein network before that network has had an easy chance to form.
Then you add it, and you can feel three things happen. The dough tightens and gains strength within a minute of working it in. It stops spreading and starts holding a shape, which is why the folds start right after the salt goes in. And the fermentation slows just enough that the bread develops flavor instead of racing ahead of it.
Weigh the salt into a small bowl before you mix and leave it where you can see it. Forgetting the salt is the most common mistake in sourdough, and the loaf is unmistakable — slack, sticky dough, a rise that runs away from you, and bread that tastes of nothing. Caught during the folds it’s recoverable with wet hands. Caught in the oven, it isn’t.
The mistake almost every first loaf makes
Pulling the dough out of bulk fermentation too early.
A recipe can tell you “4–6 hours,” but your kitchen decides. At 68°F (20°C) the dough might need seven hours; at 79°F (26°C) it can be ready in four. Bake it too soon and you get a tight, heavy crumb and blame the recipe.
So use your eyes. The dough should be visibly bigger — about a third to a half again its original size — domed rather than flat, with bubbles breaking the surface and along the sides of the bowl. Give the bowl a shake: it should wobble like set jelly. That’s the moment. There’s more on reading the dough in our guide to bulk fermentation.
Why the Overnight Chill Makes Sourdough Easier
The overnight chill isn’t just about flavor, though it does deepen it. It’s the step that makes sourdough fit into a real week.
Cold dough ferments slowly, so a shaped loaf will sit happily in the refrigerator anywhere from 12 to 16 hours — bake it before work or after dinner, whichever suits. Our Sourdough Bake Plan works backward from when you want to bake and tells you when to feed, mix and shape.
And cold dough is firm: when you tip it out and score it, the cut stays where you put it instead of dragging and closing up. Almost every clean ear you’ve seen on a home loaf came out of a fridge.
Make it your own
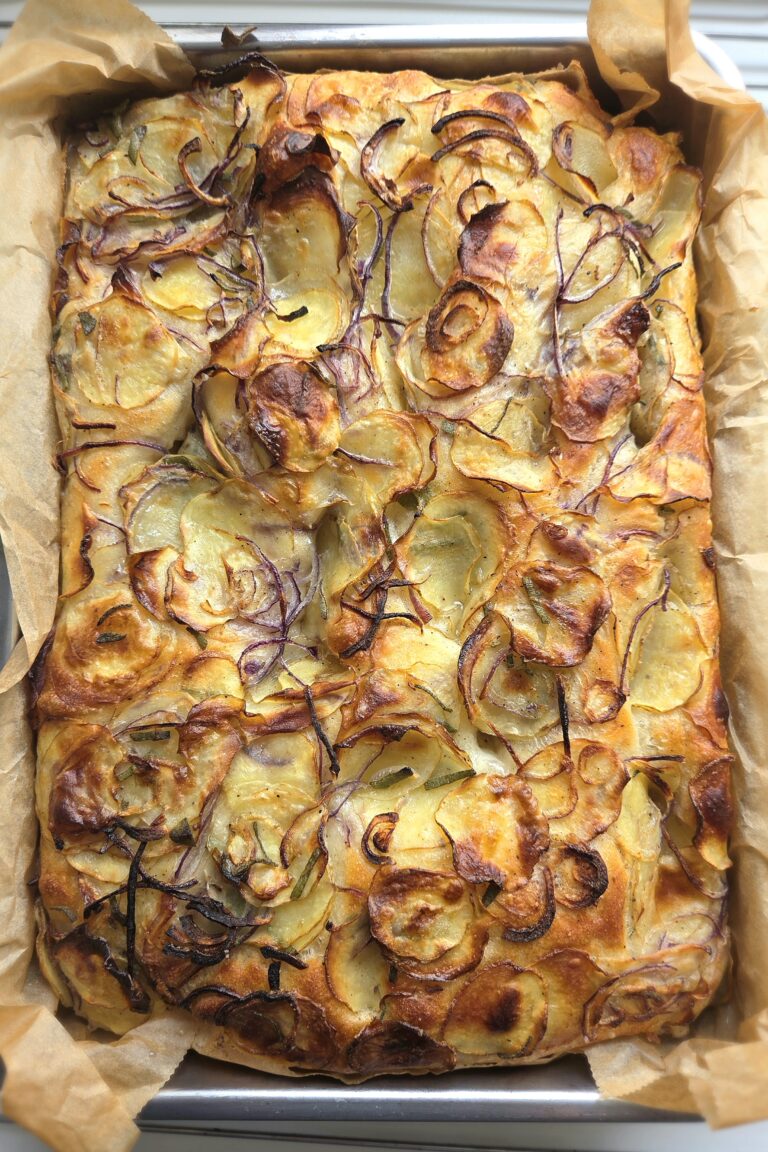
Once this bake feels familiar, take it in any direction. Grate in frozen browned butter during the last two folds and you’ve got our brown butter sourdough. Hold back 100 g of the flour and add a splash of olive oil, and you’ve got our sourdough focaccia — no shaping at all, just one fold and a long rise in the pan. Or swap 150–200 g of the bread flour for whole wheat (add a tablespoon or two of extra water) for something closer to our everyday loaf.
Sourdough for Beginners · Step 3 of 9
More Nordic bakes you’ll love
- Whole Grain Sourdough Bread — the everyday loaf to graduate to
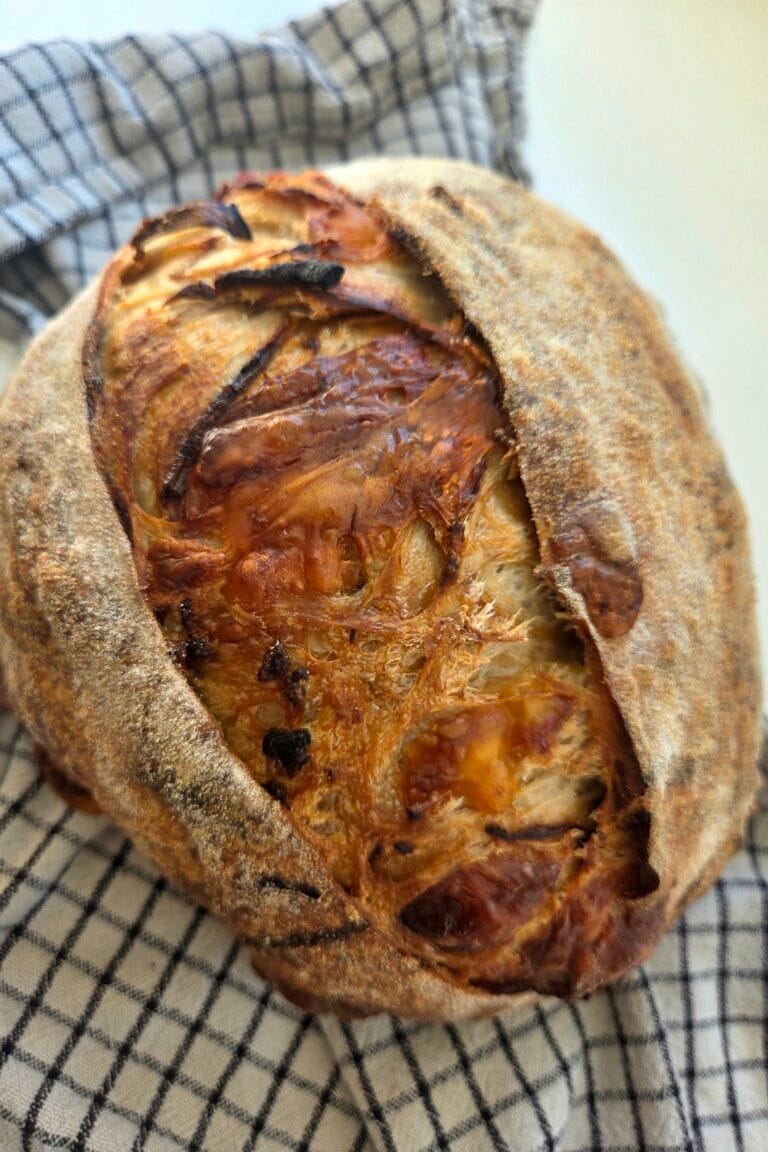
- Caramelized Onion & Jarlsberg Sourdough — the same 600/400 formula, loaded with onion and cheese
- Sourdough Baguettes — a slightly firmer whole grain dough, rolled into logs by hand
Once you’ve baked it
- What to Do With Leftover Sourdough — every use we’ve found for the last third of a loaf
- Sourdough-Crusted Salmon — what to do with it two days later
- Sourdough Panko — the crustless middle, grated and dried