Ingredients
Equipment
Method
Day 1
- Feed your starter the morning you bake (or the night before) so it's lively when you mix — it should have roughly doubled and look domed and bubbly. A spoonful floating in water is a good extra sign, but a whole grain starter can sink even when it's ready, so trust the rise first.
- Mix the dough. Whisk the starter into the lukewarm water to loosen it. Add all three flours and mix by hand until no dry flour remains. Hold the salt back for now. Cover and rest 1 hour. (With the extra flour this dough feels firmer and less sticky than a standard sourdough — that's exactly what makes it easy to handle.)
- Add the salt. Sprinkle it over and work it in thoroughly until fully incorporated.
- Stretch and fold — every 30 minutes, at least 4 times. Wet hand, grab one side, stretch it up and fold over the center; turn the bowl a quarter turn and repeat around (four pulls = one set). Cover, rest 30 minutes, repeat. Our Stretch & Fold Timer keeps track of the sets for you.
- Bulk ferment until risen. Cover and let it rise at room temperature until grown by about 30–50%, domed and jiggly with bubbles on top and sides — roughly 4–6 hours total from mixing. Watch the dough, not the clock; our guide to bulk fermentation shows what to look for.
- Cold retard overnight — as a mass. Don't shape yet. Transfer the dough straight into the fridge for 12–16 hours, left as one piece in a proofing basket lined with a cloth and dusted generously with rice flour — or a lidded tub if you don't have a basket. You'll shape right before baking — this is the whole trick to these rustic rolls.
Day 2
- Preheat, hot. About 45–60 minutes before baking, heat the oven as hot as it goes — around 480°F (250°C) — with two trays inside: your perforated baking tray (or a regular baking sheet) on the middle rack, and an empty metal roasting tray on the rack below. Both metal, never glass — glass can shatter when the water hits it.
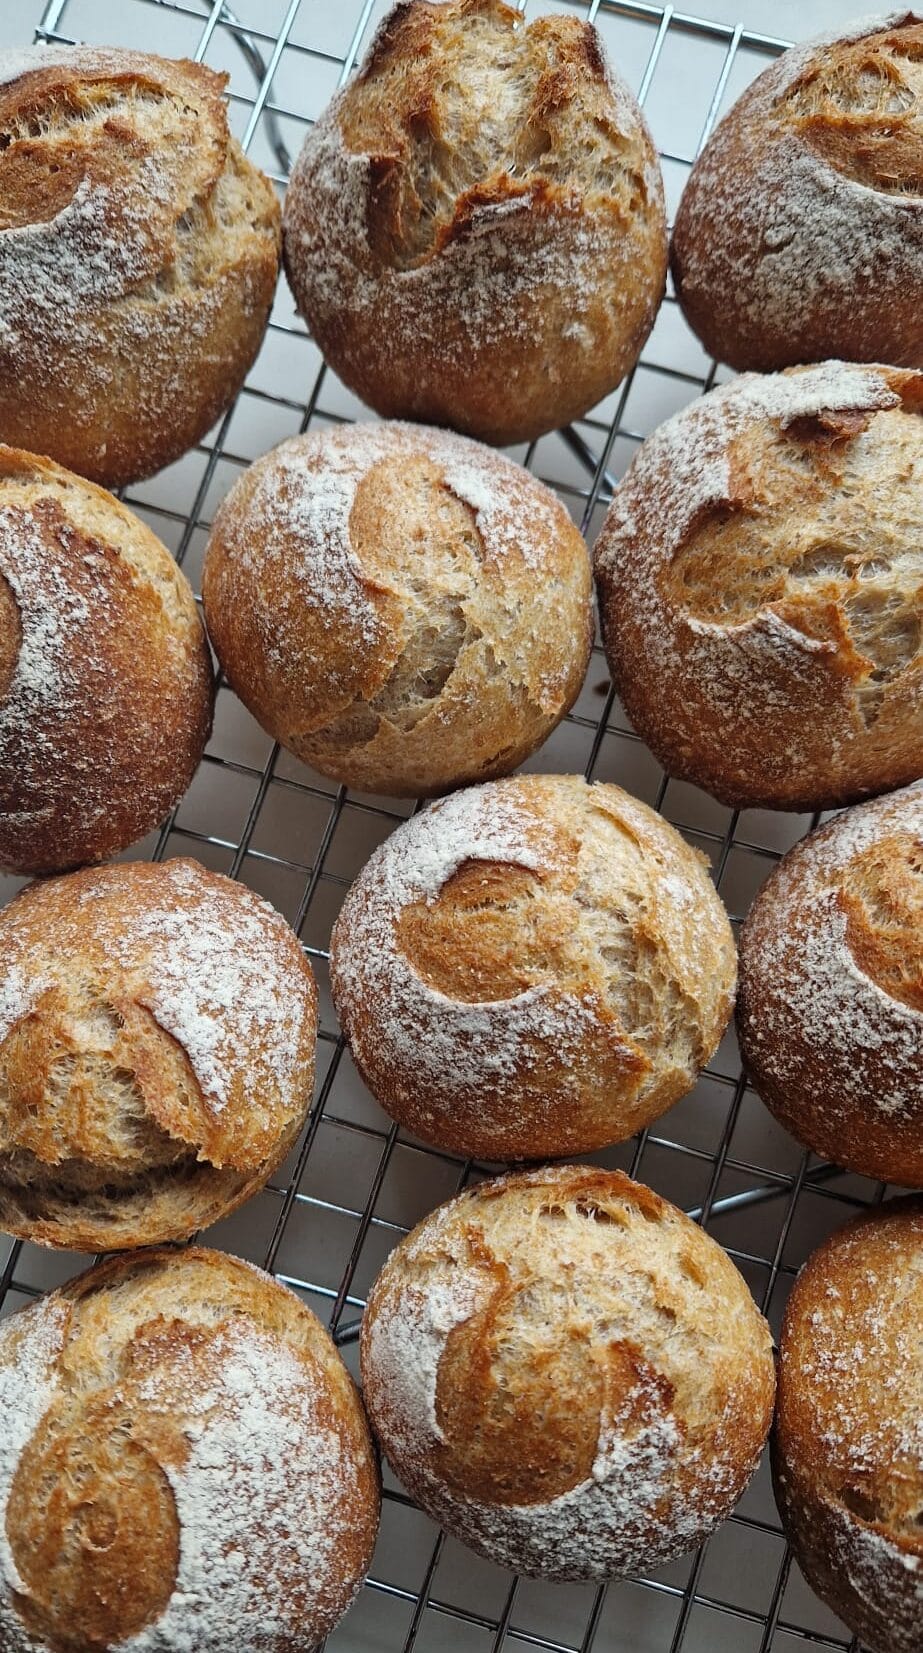
- Cut the rolls. Tip the cold dough onto a well-floured counter (rice flour works best). With a bench scraper, cut it into 10–12 rough pieces — squares or wedges, handled as little as possible. The ragged cut edges are the look; don't tighten them. Lift each onto a sheet of parchment, close together for soft sides or spaced apart for crust all round.
- Bake with steam. Slide the parchment onto the hot baking tray on the middle rack in one quick movement. Immediately pour about 1 cup of just-boiled water into the roasting tray below (stand back), and shut the door fast. Bake at 480°F (250°C) for 12 minutes.
- Finish in dry heat. Take the roasting tray out, drop the oven to 400°F (200°C), and bake another 8 minutes or so until deeply golden. The rolls are done at about 205°F (96°C) internally — smaller ones may be ready a touch sooner, so go by deep color.
- Cool on a wire rack for about 30 minutes (rolls cool much faster than a loaf)..
Notes
Chef's tip: cut, don't saw. Push the bench scraper straight down through the cold dough in one firm movement. A clean, single cut leaves the edge open, so it bursts and colors in the oven into that ragged, crusty look. Sawing back and forth drags the dough and seals the edge, and those rolls come out smoother and paler.
- Easy dough. The extra flour makes this far more forgiving to handle than a wet boule dough — a great one for beginners.
- No final proof. Cutting cold and baking right away keeps them rustic and fast; the rise comes from the overnight ferment.
- Rice flour on the counter (and in the basket) stops the dough from sticking.
- Soft-sided or crusty: set the pieces close together for pull-apart rolls with soft sides, or spaced apart for crustier rolls all around.