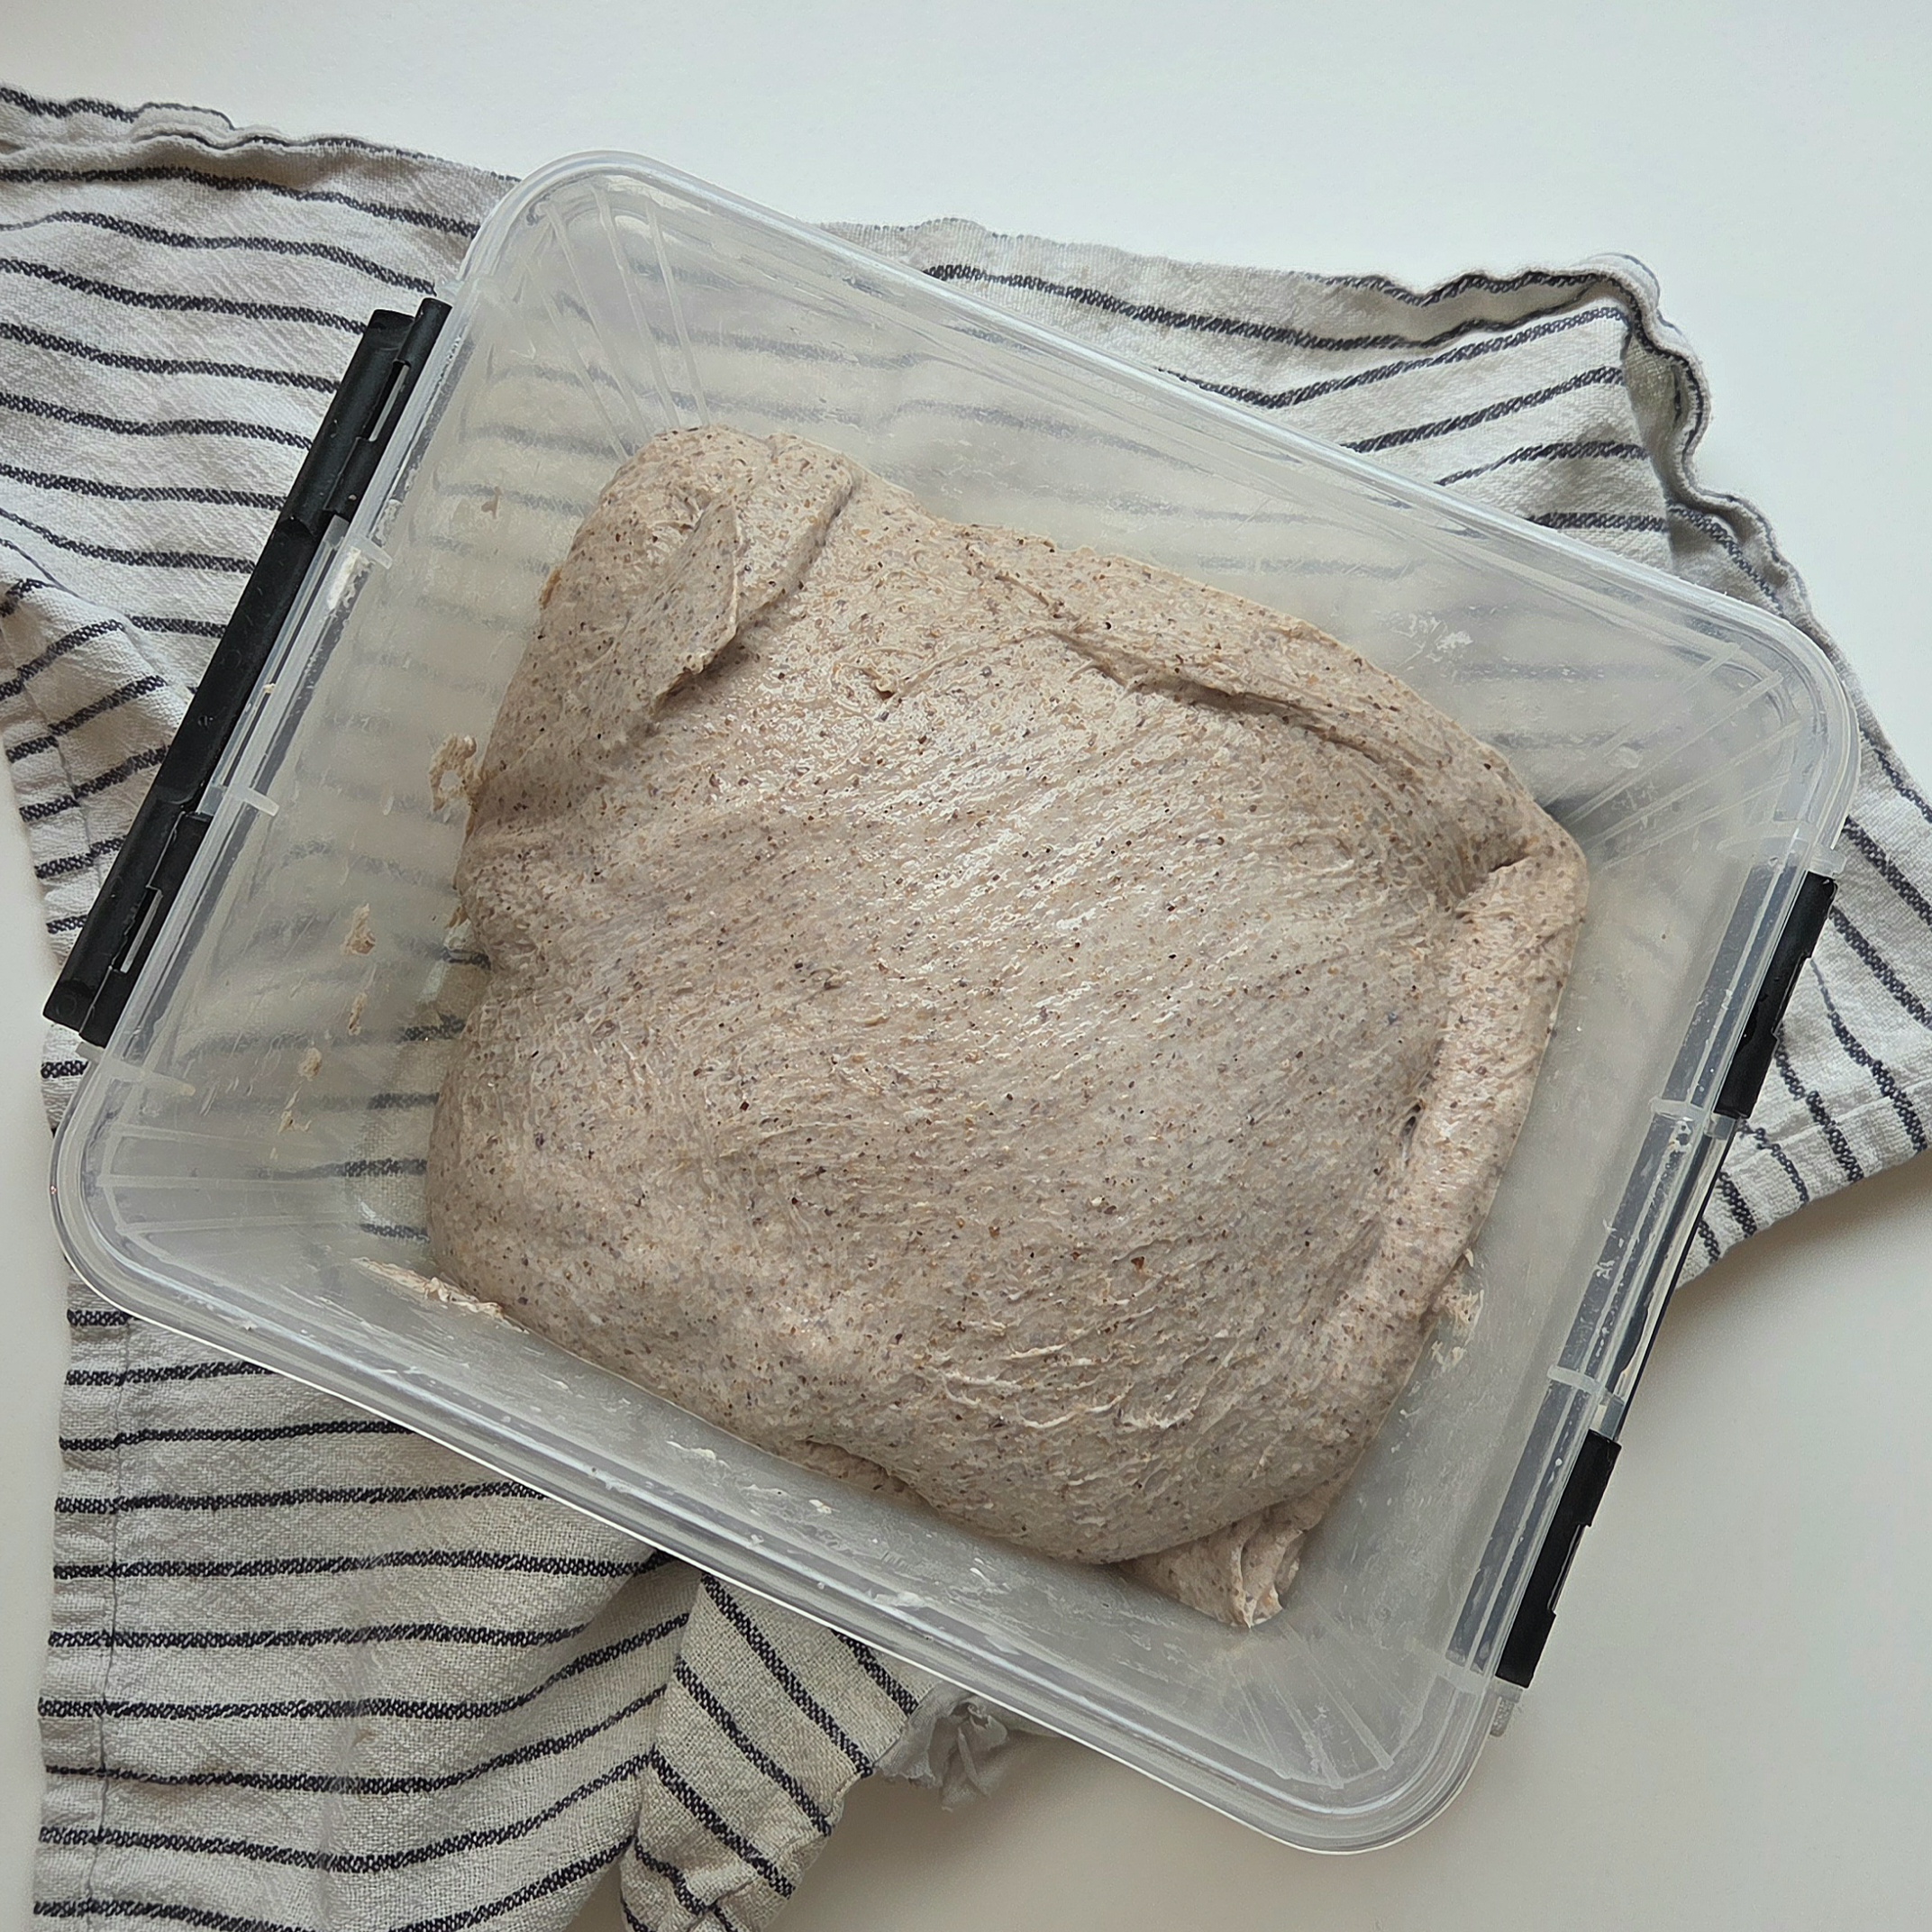
Bulk fermentation is the stage where sourdough is won or lost, and it’s the one most beginners get wrong. It’s the long rest after mixing, when your dough ferments as a single mass and builds the strength and flavor that carry it through to the oven. Get a feel for when it’s done and your bread transforms — here’s how to read it.
What Bulk Fermentation Actually Is
Bulk fermentation — sometimes called the first rise or bulk rise — is the stretch of time from when you finish mixing to when you divide and shape your dough. It’s called “bulk” because the dough ferments all together, in one mass, before it’s cut into loaves.
During this stage two things happen at once. The wild yeast produces gas, which lifts the dough, and the gluten strengthens into a network that can hold that gas. This is also where most of the flavor develops. It’s the single most important stage in the whole process, and it’s the one with no fixed length — which is exactly why it’s so easy to get wrong.
Stretch and Folds: The First Two Hours
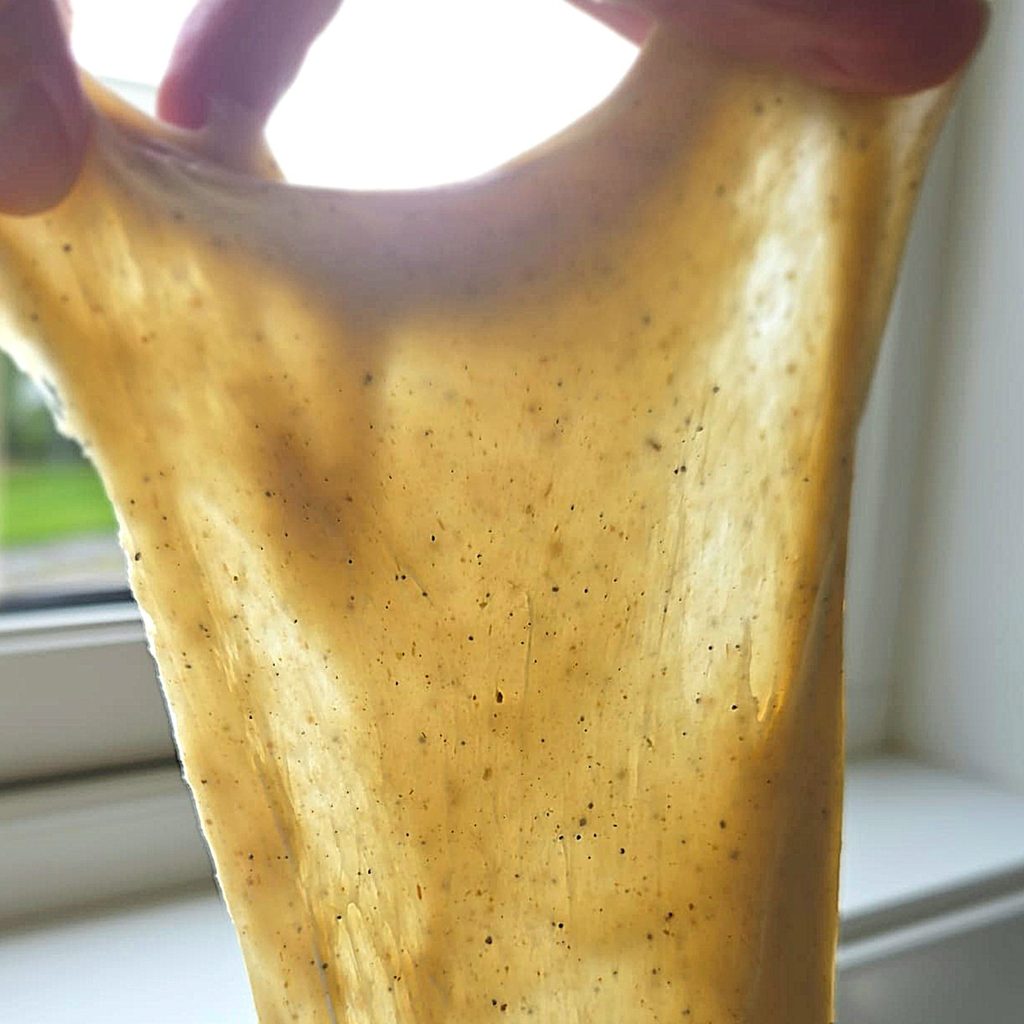
The early part of bulk is where you build strength. Instead of kneading, you give the dough a set of stretch and folds every 30 minutes: wet one hand, lift one side of the dough, stretch it up and fold it over the middle, then turn the bowl a quarter turn and repeat until you’ve gone all the way around. Four sets over the first two hours is plenty for most doughs.
You’ll feel it change between sets — shaggy and slack at first, then smoother, springier and more willing to hold a shape. After the last set, leave it alone and let fermentation do the rest. Our Stretch & Fold Timer keeps track of the sets for you, so you don’t have to watch the clock through the early part of the day.
Stop Watching the Clock
Here’s the most important thing we can tell you about bulk fermentation: the time in the recipe is a rough guide, not an instruction. Fermentation runs on temperature, and temperature changes everything.
A dough that finishes bulk in 4 hours in a warm 79°F (26°C) kitchen might take 8 hours in a cool 68°F (20°C) one. Same recipe, same starter, double the time — because the yeast simply works slower when it’s cold. If you follow the clock instead of the dough, you’ll pull a warm-kitchen dough too late and a cold-kitchen dough too early, and blame the recipe either way.
So the skill isn’t timing. It’s learning to read the dough itself. The clock tells you roughly when to start paying attention; the dough tells you when it’s actually ready.
How to Tell When Bulk Is Done
Bulk fermentation is finished when the dough has changed character, not when a timer goes off. Here’s what to look for:
Volume: it should rise by roughly 30–50%. Not doubled — that’s a common myth that leads straight to overfermented dough. A gentle, noticeable increase is what you want.
Look: the surface goes from rough and slack to smooth and slightly domed. You’ll start to see a few bubbles on top and around the edges of the container.
Feel: the dough becomes airy and alive. Give the container a gentle shake — a ready dough jiggles, like it’s full of gas, because it is.
The poke: press a wet finger gently into the dough. It should feel soft and pillowy and spring back slowly, leaving a slight dimple. If it springs back fast and firm, give it more time.
Using a straight-sided container makes all of this easier, because you can actually see the percentage rise against the wall. A curved bowl hides it.
If you’d rather see these cues inside a full recipe than in isolation, our beginner sourdough bread runs on exactly this 30–50% rise, with the timings and temperatures that go around it.
The Two Ways It Goes Wrong
Almost every disappointing loaf comes down to one of these.
Underfermented (stopped too early). The dough didn’t build enough gas or structure. You’ll get a dense, gummy, tight crumb, and a loaf that stays low and heavy. This is the most common beginner mistake, usually caused by a cold kitchen and an impatient timer. If your bread comes out heavy, bulk is the first place to look — it almost always needed more time.
Overfermented (went too far). The gluten broke down after peaking. The dough turns slack, sticky and soupy, spreads flat instead of holding a shape, and tears when you try to handle it. The loaf bakes up flat and pale with a dense crumb. Overfermenting usually happens in a warm kitchen when the dough moved faster than you expected — another reason to watch the dough, not the clock.
The window between the two is wider than it sounds. You’re aiming for the dough at its peak: light, airy, holding its shape, full of life.
How Long Does Bulk Fermentation Take?
It depends almost entirely on your kitchen. Temperature is your real timer, and it sets the pace of everything.
Warm (75–80°F / 24–27°C): fast ferment, often 3–5 hours. Watch closely, especially in summer — it can run away from you.
Room temperature (68–74°F / 20–23°C): the standard range most recipes assume, often 4–6 hours.
Cool (below 68°F / 20°C): slow ferment, can stretch to 8 hours or more. Patience, or find a warmer spot.
A cheap trick that changes everything: find the warmest, most stable spot in your kitchen — the top of the fridge, a closed cupboard above the stove, a turned-off oven with a bowl of hot water in it — and ferment there consistently. Consistent temperature means predictable timing, and predictable timing is most of what separates a reliable baker from a frustrated one.
What We’d Do on Your First Loaf
For your first loaves, mix in the morning and plan to watch the dough across the afternoon rather than committing to a fixed clock time — our Sourdough Bake Plan can map the day out for you. Use a straight-sided container so you can see the rise. Aim for that 30–50% increase, a domed and bubbly surface, and a slow spring-back from the poke test. When it gets there — whether that’s hour four or hour seven — it’s ready to shape.
Once you’ve felt a properly fermented dough two or three times, you’ll recognize it instantly, and bulk fermentation stops being the scary part and becomes the part you trust.
Two tools that quietly help
You don’t need much for bulk fermentation, but seeing the rise clearly makes reading it far easier — and the temperature of the dough matters more than any recipe.
- A straight-sided fermentation container — see the percentage rise against the wall instead of guessing in a bowl
- A digital thermometer — check your dough and kitchen temperature so you can predict the pace
Sourdough for Beginners · Step 6 of 9
More sourdough guides you’ll love
- Sourdough for Beginners — the complete guide, start to finish
- Sourdough Hydration Explained — why wetter dough ferments and behaves differently
- Beginner Sourdough Bread — the first loaf to bake once your starter is ready