Ingredients
Equipment
Method
Day 1
- Feed your starter the morning you bake (or the night before) so it's lively when you mix — it should have roughly doubled and look domed and bubbly. A spoonful floating in water is a good extra sign, but trust the rise first
- Mix the dough. Whisk the starter into the lukewarm water to loosen it, then add the flour and mix by hand until no dry flour remains. Hold the salt back for now. Cover and rest 1 hour.
- Add the salt. Sprinkle it over the dough and work it in thoroughly, squeezing and folding until you can't feel any grit.
- Stretch and fold — every 30 minutes, at least 4 times. Wet one hand, grab one side of the dough, stretch it up and fold it over the center; turn the bowl a quarter turn and repeat around (four pulls = one set). Cover, rest 30 minutes, repeat. The dough will go from shaggy and slack to smooth and springy. Our Stretch & Fold Timer keeps track of the sets for you.
- Bulk ferment until risen. Cover and leave at room temperature until the dough has grown by about 30–50% — domed, jiggly, with bubbles on top and along the sides. Roughly 4–6 hours total from mixing, depending on how warm your kitchen is. Watch the dough, not the clock.
- Pre-shape. Tip the dough onto a lightly floured counter. With a bench scraper, fold the edges into the middle and flip it over, then drag it gently in a circle to pull it into a loose, round ball. Leave it uncovered to rest 20–30 minutes.
- Shape the loaf. Flip the ball over, fold the sides into the center, roll it up from the bottom, then drag and rotate it on the counter until the surface feels tight. Line your banneton with a linen cloth, dust it generously with rice flour and set the loaf in seam side up. Rice flour doesn't absorb into the dough the way wheat flour does, so the loaf lifts out cleanly after the overnight chill.
- Chill overnight. Cover the basket and refrigerate 12–16 hours. Cold dough is firmer, easier to score, and bakes with better flavor — this step is doing you a favor.
Day 2
- Preheat, hot. About 45–60 minutes before baking, heat the oven as hot as it goes — around 480°F (250°C) — with two trays inside: your perforated baking tray (or a regular baking sheet) on the middle rack, and an empty metal roasting tray on the rack below. The baking tray needs to be properly hot before the loaf lands on it; the roasting tray is what makes your steam. Both metal, never glass.
- Score. Turn the cold loaf out onto a sheet of parchment, seam side down. Make one confident cut down the center, about ½ inch (1 cm) deep, holding the blade at a slight angle. One clean cut beats several timid ones.
- Bake with steam. Slide the loaf, still on its parchment, onto the hot baking tray on the middle rack — parchment and all, in one quick movement. Immediately pour about 1 cup of just-boiled water into the roasting tray below (stand back — it steams up fast) and shut the door quickly to trap it. Bake at 480°F (250°C) for 20 minutes.
- Finish in dry heat. Take the roasting tray out — the water will have boiled off, and you want dry heat now to crisp the crust. Drop the oven to 400°F (200°C) and bake another 15 minutes, until deeply golden. The loaf should sound hollow when tapped and read 205–210°F (96–99°C) in the center.
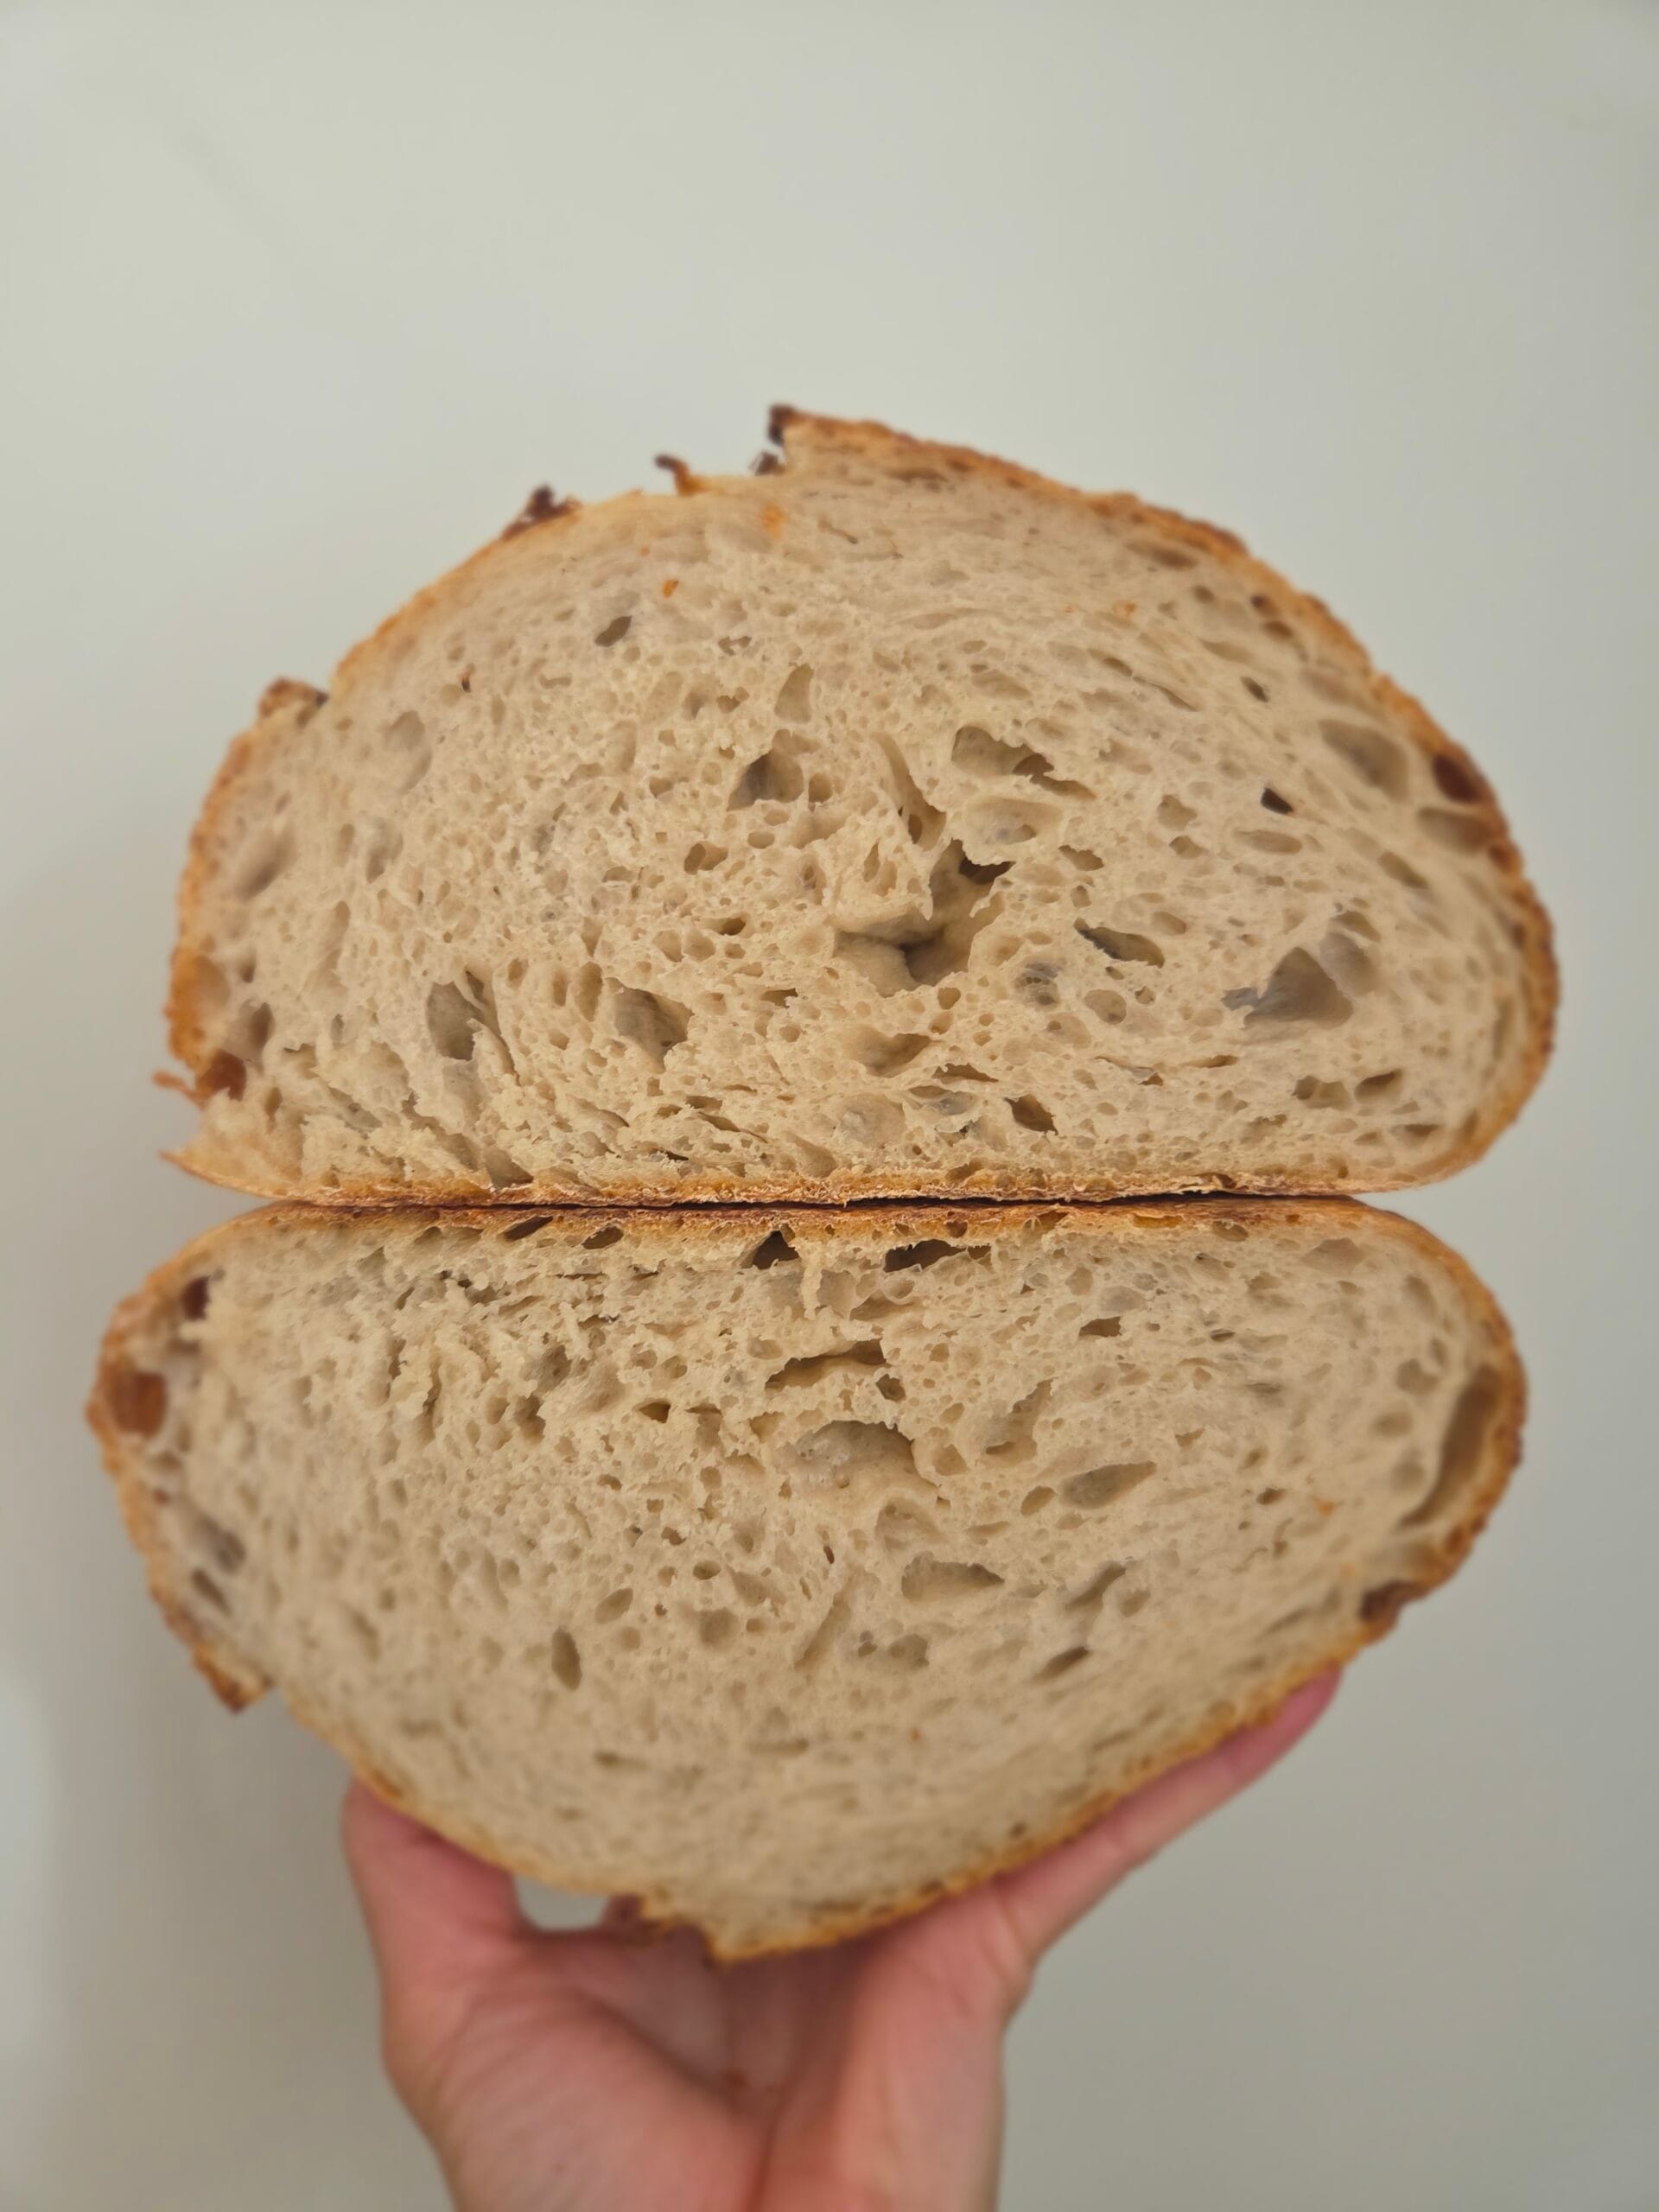
- Cool completely. Move the loaf to a wire rack and leave it at least 2 hours before slicing. The crumb is still setting; cutting early gives you a gummy interior. This is the hardest step.
Notes
Chef's tip — let the fridge do the work. The overnight chill slows fermentation so your timing stops being critical, and it firms the dough so scoring goes from nerve-wracking to easy. If your day falls apart, the fridge will hold the loaf up to 16 hours without complaint.