Krumkake — Norwegian Waffle Cookies
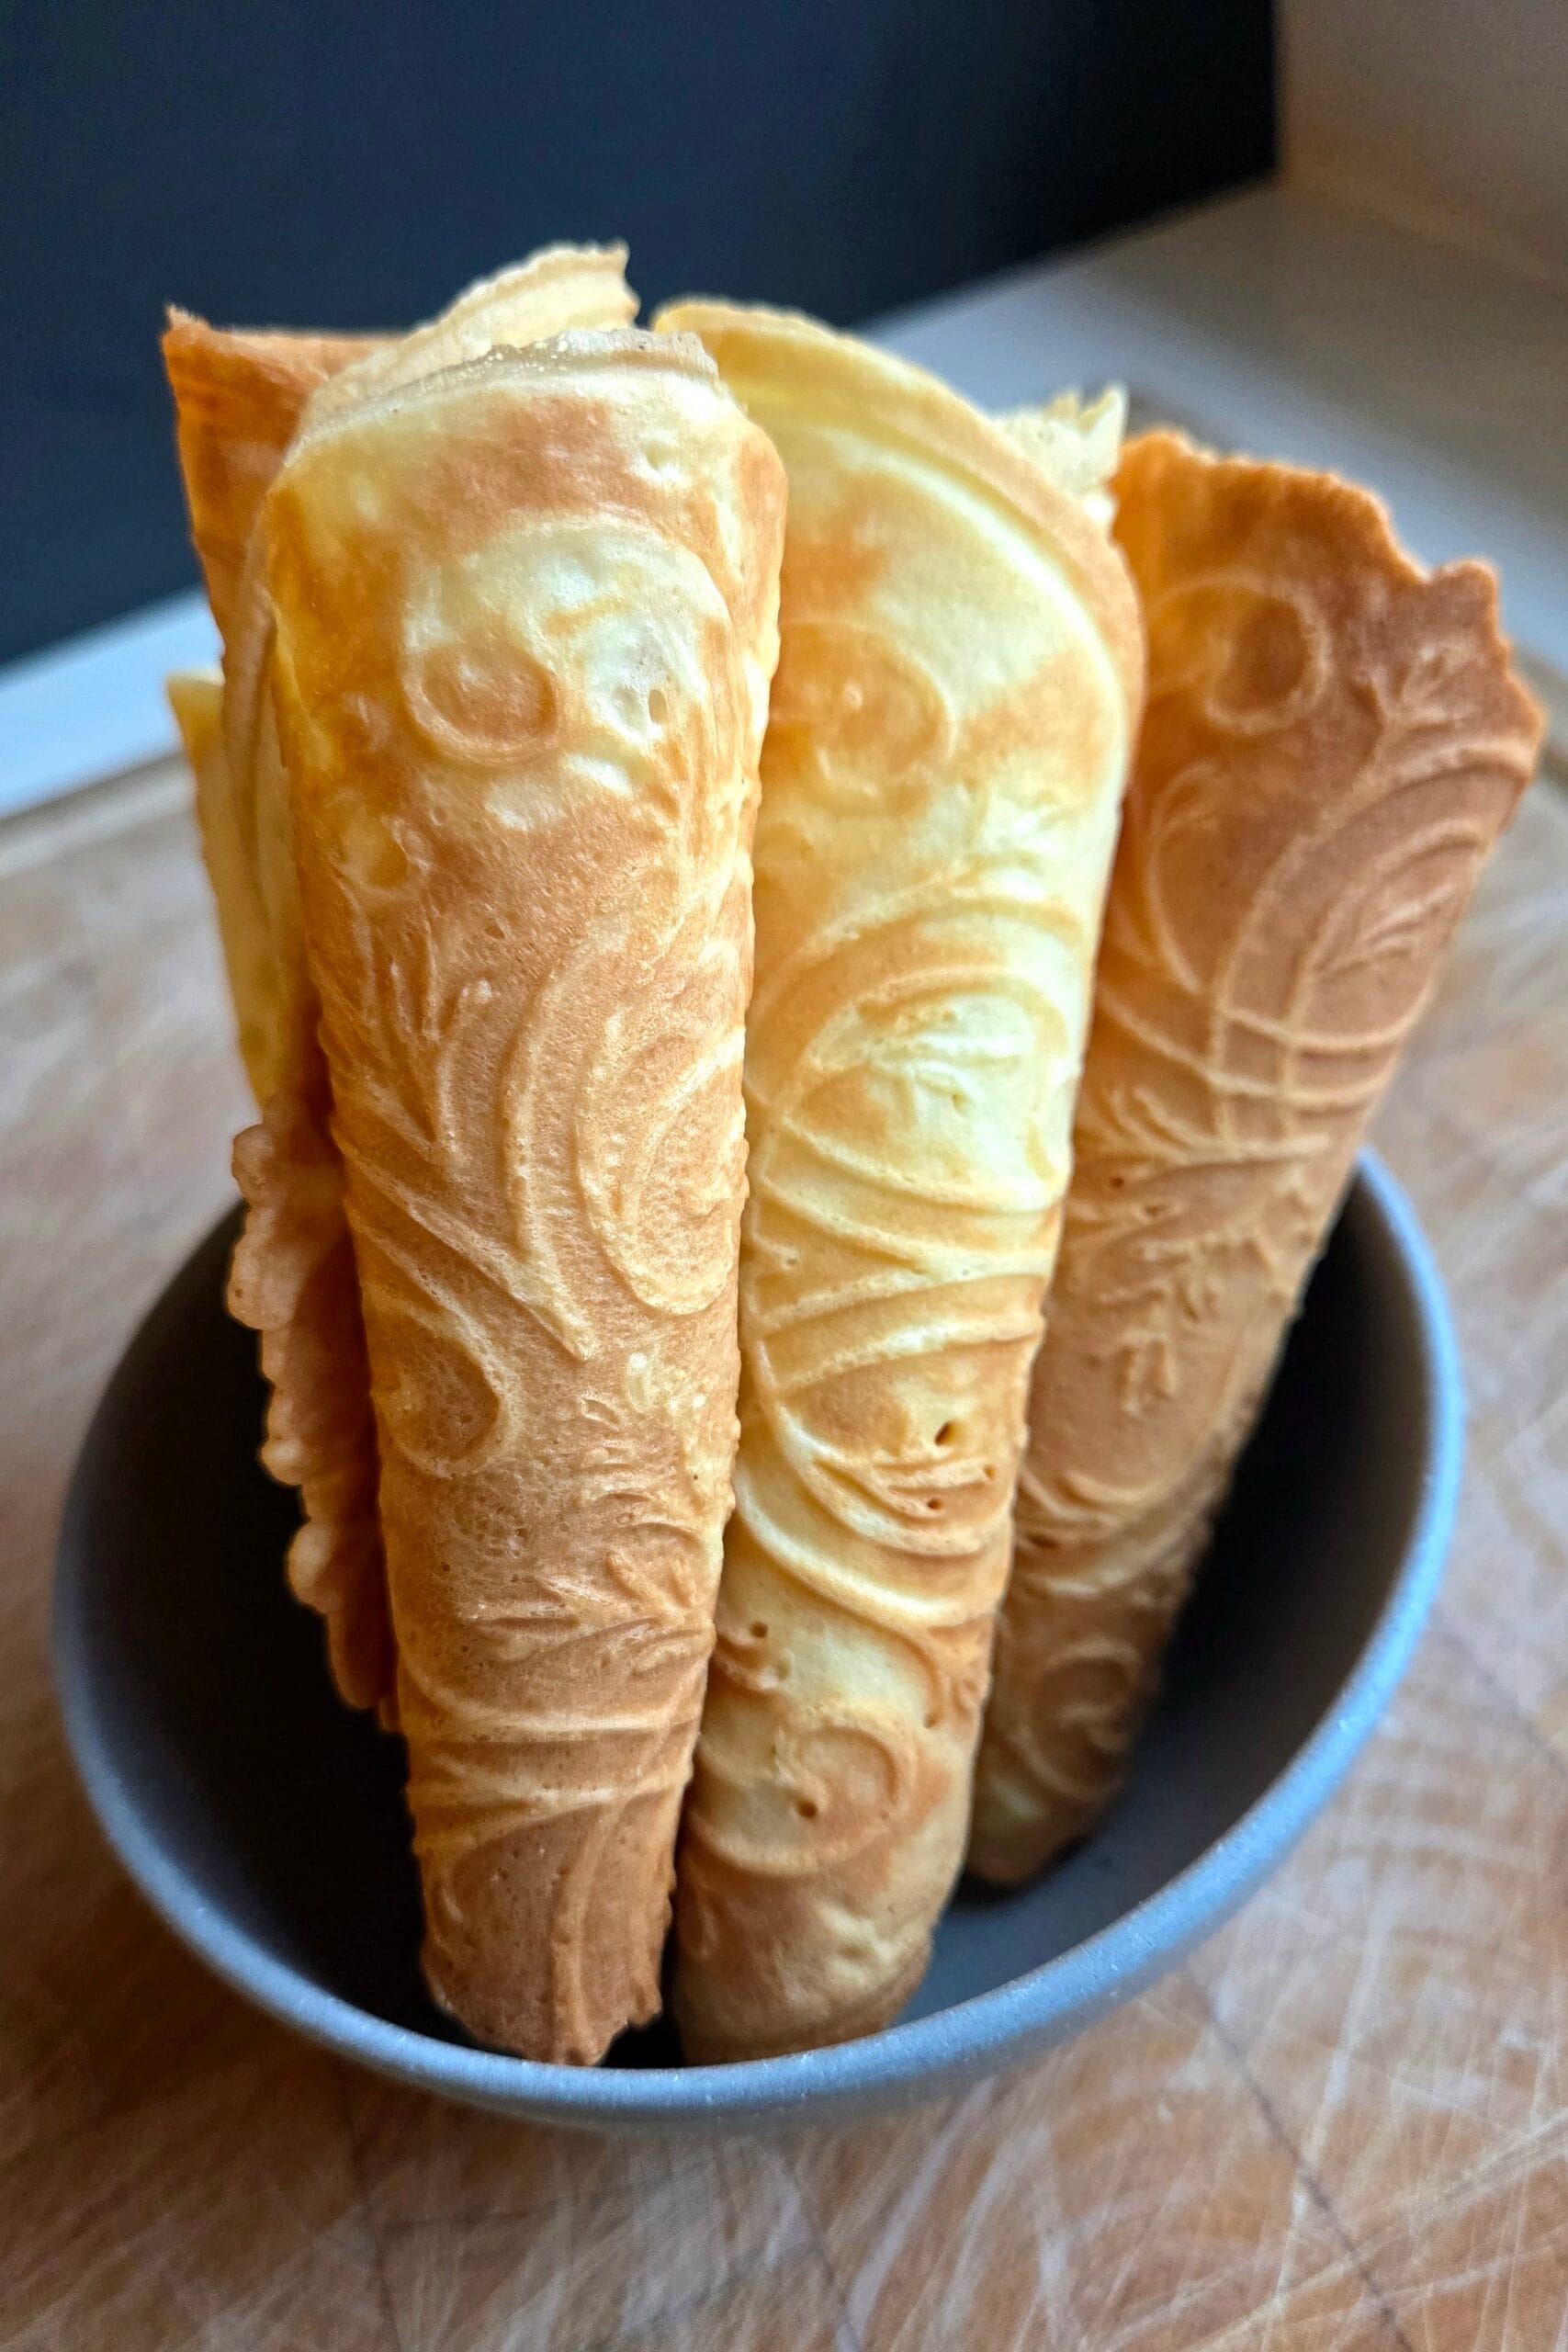
Krumkake are thin, crisp Norwegian waffle cookies, pressed with a decorative pattern and rolled into cones while still hot. They’re one of the syv slag — the seven sorts of Christmas cookies traditionally baked in Norwegian homes — and just as good as a coffee cookie the rest of the year. This is our family recipe, and it belongs to one of the two camps Norwegian bakers have always been divided between.
Krumkake — Norwegian Waffle Cookies
Ingredients
Equipment
Method
- Whisk the eggs and sugar together until smooth and pale.
- Add the butter and water. Whisk in the melted butter — it should still be liquid but no longer hot — then the water.
- Add the dry ingredients. Add the flour and potato starch and whisk until completely smooth. The batter will be thin at this stage, and that's correct.
- Chill. Cover and chill for 1 hour. It thickens as the butter firms up, into a batter you spoon rather than pour.
- Heat and fill the iron. Heat the krumkake iron. Spoon a heaped tablespoon of batter onto the center of the lower plate and close the iron with light, even pressure — press just enough to spread the batter to the edge, no more.
- Bake. Bake for 1–1½ minutes, until pale gold with light browning at the edges. Lift the cookie off with an offset spatula.
- Roll it hot. Working fast while it's still hot and pliable, roll it around the wooden cone. Hold for a few seconds until it sets, then slide it off. It crisps as it cools.
- Repeat with the remaining batter. Cool completely on a wire rack before storing.
Notes
- Potato starch, not potato flour. In Norway this is potetmel; the US equivalent is potato starch, sold beside cornstarch. American “potato flour” is made from whole dried potatoes and won’t work. Can’t find potato starch? Use the all-wheat version in the post rather than substituting.
- Have the roller in your hand before you open the iron. You have about five seconds of pliability.
- Storage. Airtight, at room temperature. They stay crisp for about a week and go soft in humidity — never refrigerate them.
The pattern is the point
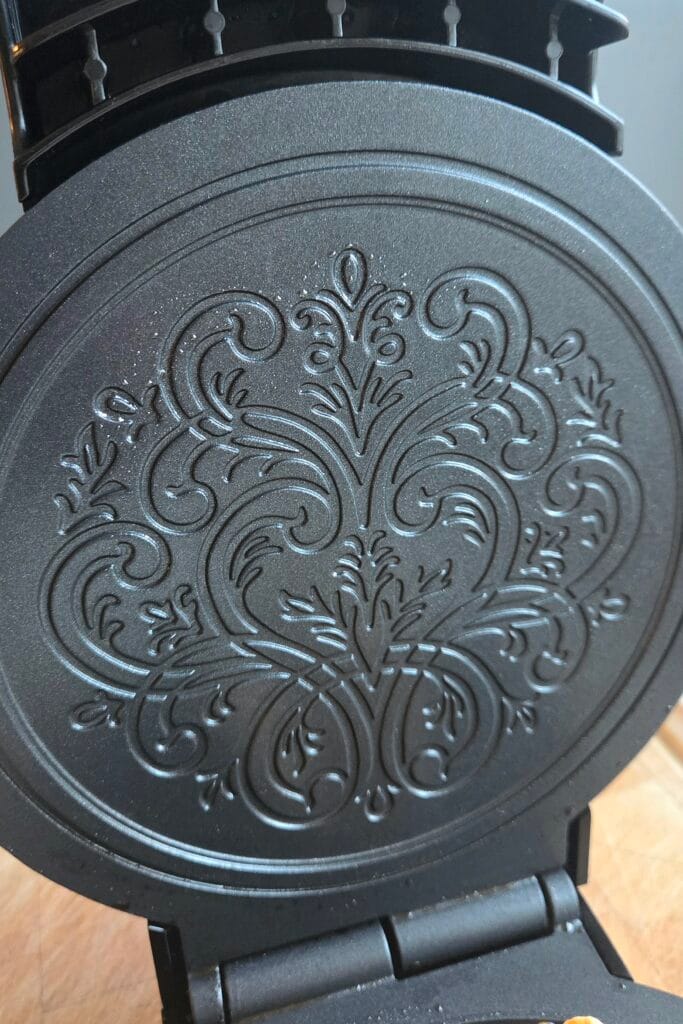
A krumkake iron looks like a small waffle iron, but the plates are engraved rather than gridded — most carry a rosemaling-style scroll, the Norwegian folk painting tradition. The pattern presses into the batter and stays visible on the finished cone, which is why the cookie is worth making at home even though it takes patience. If you’ve inherited an iron from a Norwegian grandparent, this is the recipe it was bought for.
Two kinds of krumkake
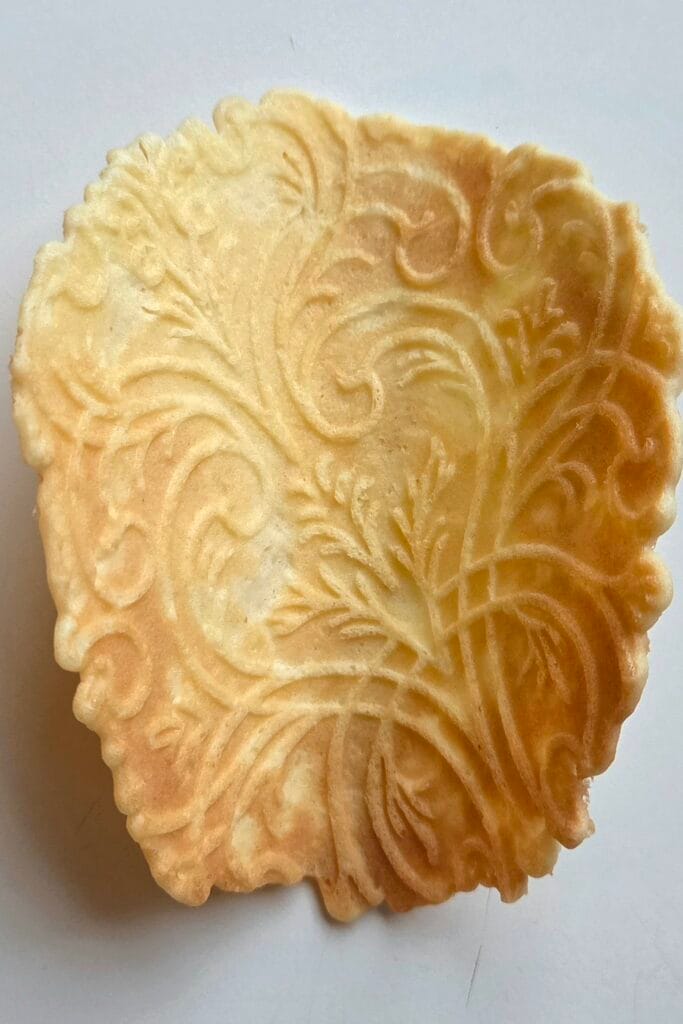
Norwegian krumkake recipes split into two families: with potato starch and without. Both are traditional, and Norwegians tend to prefer whichever one they grew up with.
With potato starch — our version, at 100 g starch to 90 g flour — the cookie is lighter and crisper, with a brittle snap and a thin translucent edge. It also holds that crispness longer, which matters if you’re baking a week ahead of Christmas. It’s the same starch that makes our crispy Norwegian waffles snap and our sandnøtter melt.
Without — all wheat flour — you get more flavor from the butter and the flour itself. These crisp up too, but with a slightly chewier bite, and they soften faster in humidity.
Neither is better. We use starch because we bake in batches and want them still snapping on the third day, but if you want a cookie that tastes more of butter, drop the starch and use all-purpose flour for the full 190 g.
Getting the thickness right
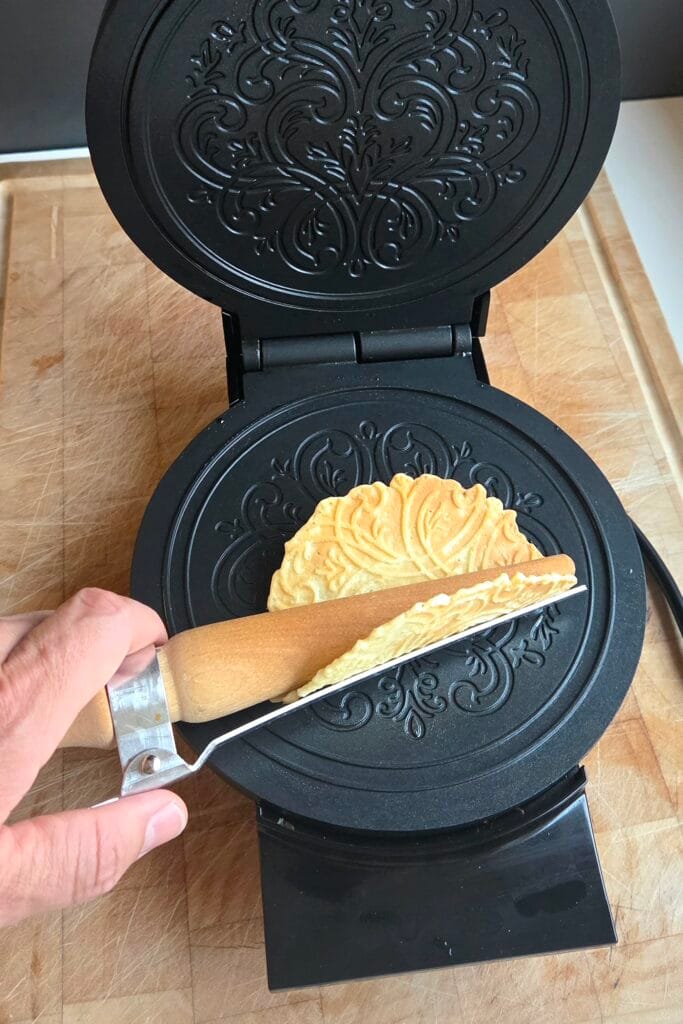
A heaped tablespoon in the center of the iron, then close it with a light, even press. You’re spreading the batter to the edges, not squashing it. Too thin and the cookie tears when you roll it; too thick and you lose both the crisp and the pattern. Your iron will tell you what it wants after two attempts — trust that over any measurement.
How to Serve Krumkake
Plain with coffee is the everyday way — most of the year a krumkake is simply a dry cookie eaten alongside something hot. At Christmas they’re often filled with whipped cream, and the classic is multekrem: whipped cream folded with cloudberries. The best way is to put the cream on the table in a bowl and let everyone fill their own cone, so each one is filled seconds before it’s eaten. Filling them in the kitchen ahead of time is the one thing that will ruin an otherwise perfect batch.
Make it your own
Once you’ve got the batter behaving, the cookie is more flexible than tradition suggests.
Shape them into bowls. Instead of rolling the hot cookie around a cone, drape it between two glasses or press it gently into a small bowl and let it cool there. You get a crisp edible cup — a much easier thing to plate than a cone, and the natural home for multekrem with a few berries on top.
Make them tiny. A teaspoon of batter instead of a heaped tablespoon gives you miniature krumkake, rolled or shaped the same way. At that size they belong on a petit four tray, and they’re a good use for the last of the batter.
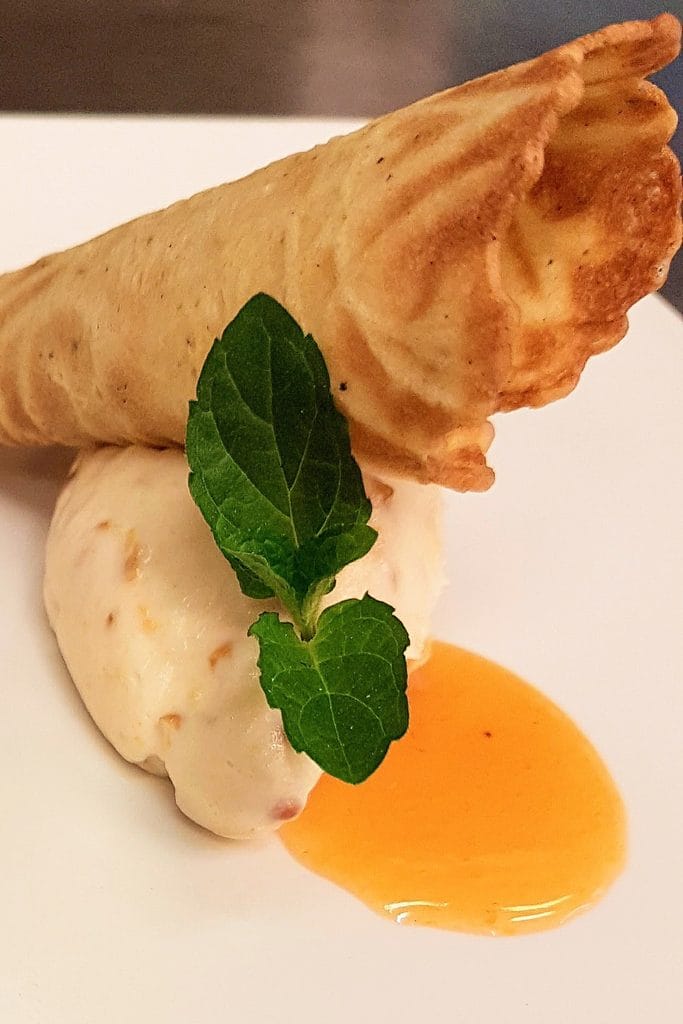
Fill them with something else. Ice cream is very good in a krumkake cone — it’s a wafer, after all, and it does exactly what a wafer should. Not traditional, but no one at the table has ever objected.
And if you want to put krumkake on a plate rather than a platter, it holds up as a restaurant dessert too. Fill a single cone, set it against a spoonful of cloudberry cream and a spoonful of cloudberry sauce, and it earns its place at the end of a proper meal. Same cookie, same batter — just a different room.
More Nordic bakes you’ll love
- Crispy Norwegian Waffles with Chocolate — the everyday cousin, crisped with the same potato starch
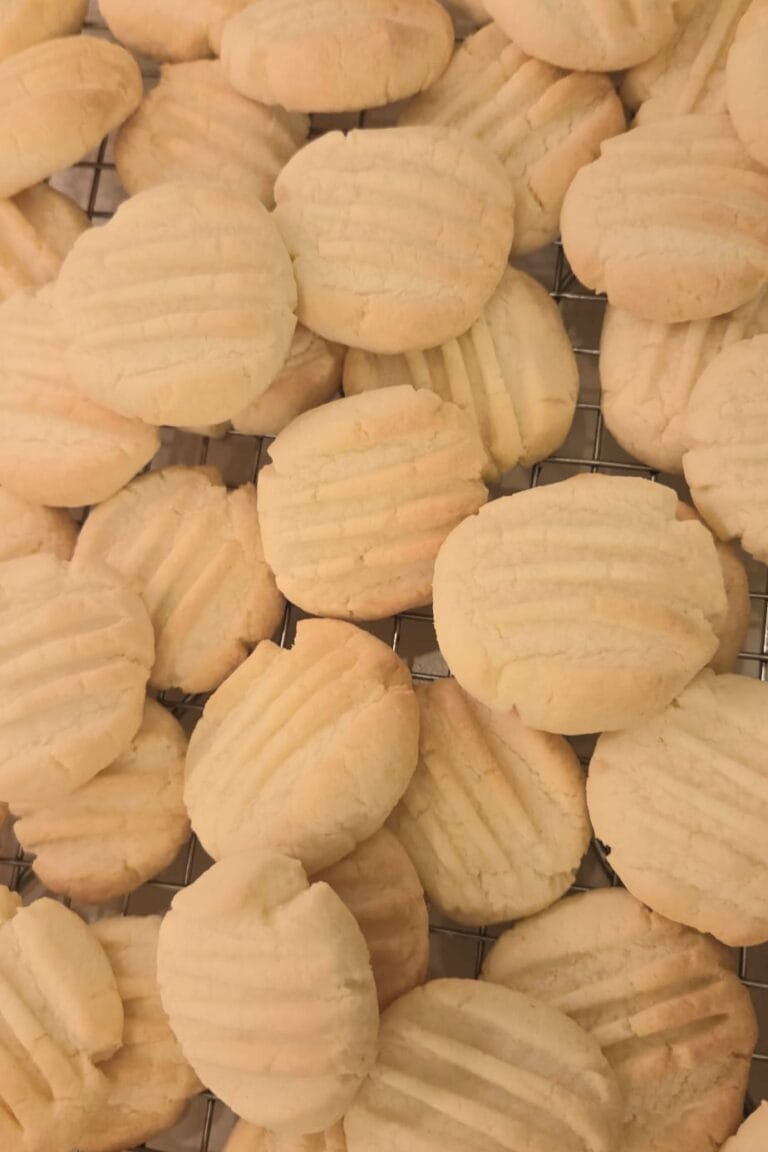
- Sandnøtter — Norwegian Christmas Butter Cookies — tender, crumbly and one more of the syv slag
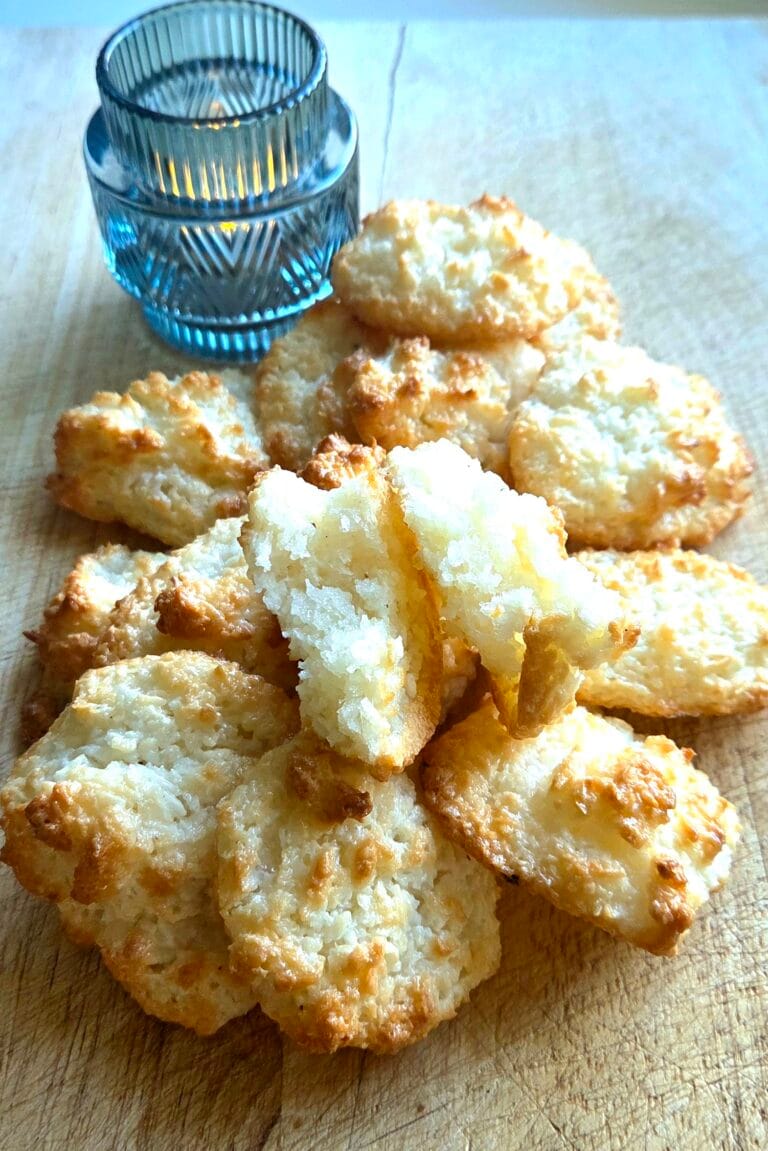
- Norwegian Coconut Macaroons (Kokosmakroner) — the easiest of the seven, with no rolling or shaping