Ingredients
Equipment
Method
Day 1
- Feed your starter the morning you bake (or the night before) so it's lively when you mix — it should be domed, bubbly, and float in water.
- Mix the dough. In a large bowl, whisk the starter into the lukewarm water to loosen it. Add all three flours and mix by hand until no dry flour remains — you'll have a shaggy, sticky dough. Hold the salt back for now. Cover and rest 1 hour at room temperature.
- Add the salt. Sprinkle it over the dough and work it in thoroughly, squeezing and folding until fully incorporated. The dough will tighten up slightly.
- Stretch and fold — every 30 minutes, at least 4 times. With a wet hand, grab one side of the dough, stretch it up, and fold it over the center; turn the bowl a quarter turn and repeat around the whole dough (four pulls = one set). Cover, rest 30 minutes, repeat. Over these 2 hours the dough goes from slack and shaggy to smooth, elastic, and airy. Our Stretch & Fold Timer keeps track of the sets for you.
- Bulk ferment until risen. After the folds, cover and let it rise at room temperature until it's grown by about 30–50%, looks domed and jiggly, and shows bubbles on top and along the sides. Depending on your kitchen this is roughly 4–6 hours total from mixing — warmer is faster, cooler is slower, and whole grain dough runs a little quicker than white. Watch the dough, not the clock; our guide to bulk fermentation shows you what to look for.
- Preshape and shape. Tip the dough onto a lightly floured surface and gently round it into a loose ball. Leave it uncovered for 20–30 minutes so the gluten relaxes. Then fold it into a taut round (or oval), pulling it toward you against the counter a few times to build surface tension — more on that in how to shape sourdough. Dust the shaped dough with rice flour; it resists sticking far better than wheat flour and gives the cleanest release.
- Into the banneton. Line your proofing basket with a cloth and dust it generously with rice flour, then set the dough in seam-side up. The cloth and rice flour together are what stop the dough from sticking to the basket.
- Cold retard overnight. Cover and refrigerate 12–16 hours. The slow, cold rise builds flavor and firms the dough so it's easier to score and springs higher in the oven.
Day 2
- Preheat, hot. About 45–60 minutes before baking, heat the oven as hot as it goes — around 480°F (250°C) — with two trays inside: your perforated baking tray (or a regular baking sheet) on the middle rack, and an empty metal roasting tray on the rack below. The baking tray needs to be properly hot before the loaf lands on it; the roasting tray is what makes your steam. Both metal, never glass — glass can shatter when the water hits it.
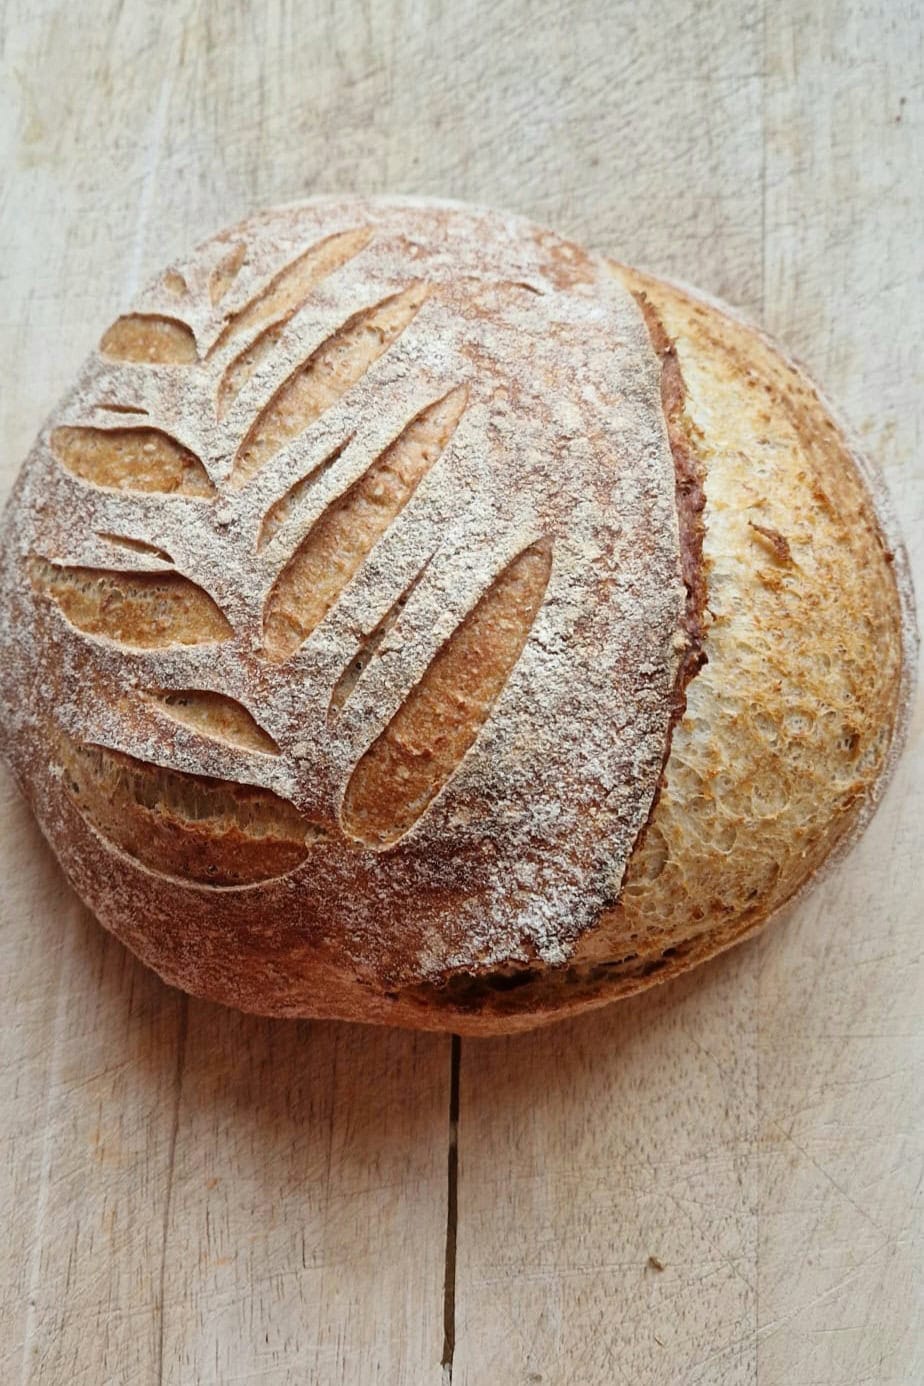
- Turn out and score. Turn the cold dough out onto a sheet of parchment, seam-side down. Score the top with one confident slash using a bread lame or sharp blade — this controls where the loaf opens up. See how to score sourdough for angle and depth.
- Bake with steam. Slide the loaf, still on its parchment, onto the hot baking tray on the middle rack — parchment and all, in one quick movement. Immediately pour about 1 cup of just-boiled water into the hot tray below (stand back — it steams up fast) and shut the door quickly to trap it. Bake at 480°F (250°C) for 20 minutes. That burst of steam is what gives you a glossy, blistered crust and a big rise.
- Finish in dry heat. After 20 minutes, take the roasting tray out (the water will have boiled off, and you want dry heat now to crisp the crust), drop the oven to 400°F (200°C), and bake another 15 minutes until deeply golden. To be sure it's done, the loaf should sound hollow when tapped and read 205–210°F (96–99°C) in the center — the most reliable check. Still pale? Give it a few more minutes. Our guide to sourdough baking temperature explains the heat and steam in detail.
- Cool completely. Lift it out and cool on a wire rack for at least 2 hours before slicing. Cutting too early makes the crumb gummy — this last wait matters.
Notes
Chef's tip: Let the fridge do the work. The overnight cold rise does the heavy lifting — better flavor, easier scoring, and a taller loaf. Don't skip it. Our Sourdough Bake Plan will work out when to feed, mix and shape so the bake lands when you want it.
- Weigh, don't scoop. A digital scale is the single biggest upgrade for consistent sourdough; the cup measures above are approximate.
- Got a Dutch oven? You can bake covered instead: lower the loaf into a screaming-hot pot, lid on, 20 minutes at 480°F (250°C), then lid off at 400°F (200°C) for the last 15 — no water tray needed.
- Sticky is right. The whole grain flours drink up water, so this is a moderately high hydration dough (~73%). It'll feel tacky — that's exactly what you want.
- Rice flour is the trick for proofing baskets — it doesn't absorb into the dough the way wheat flour does, so the loaf lifts out cleanly and keeps a crisp pattern.