Norwegian Marble Cake (Marmorkake)
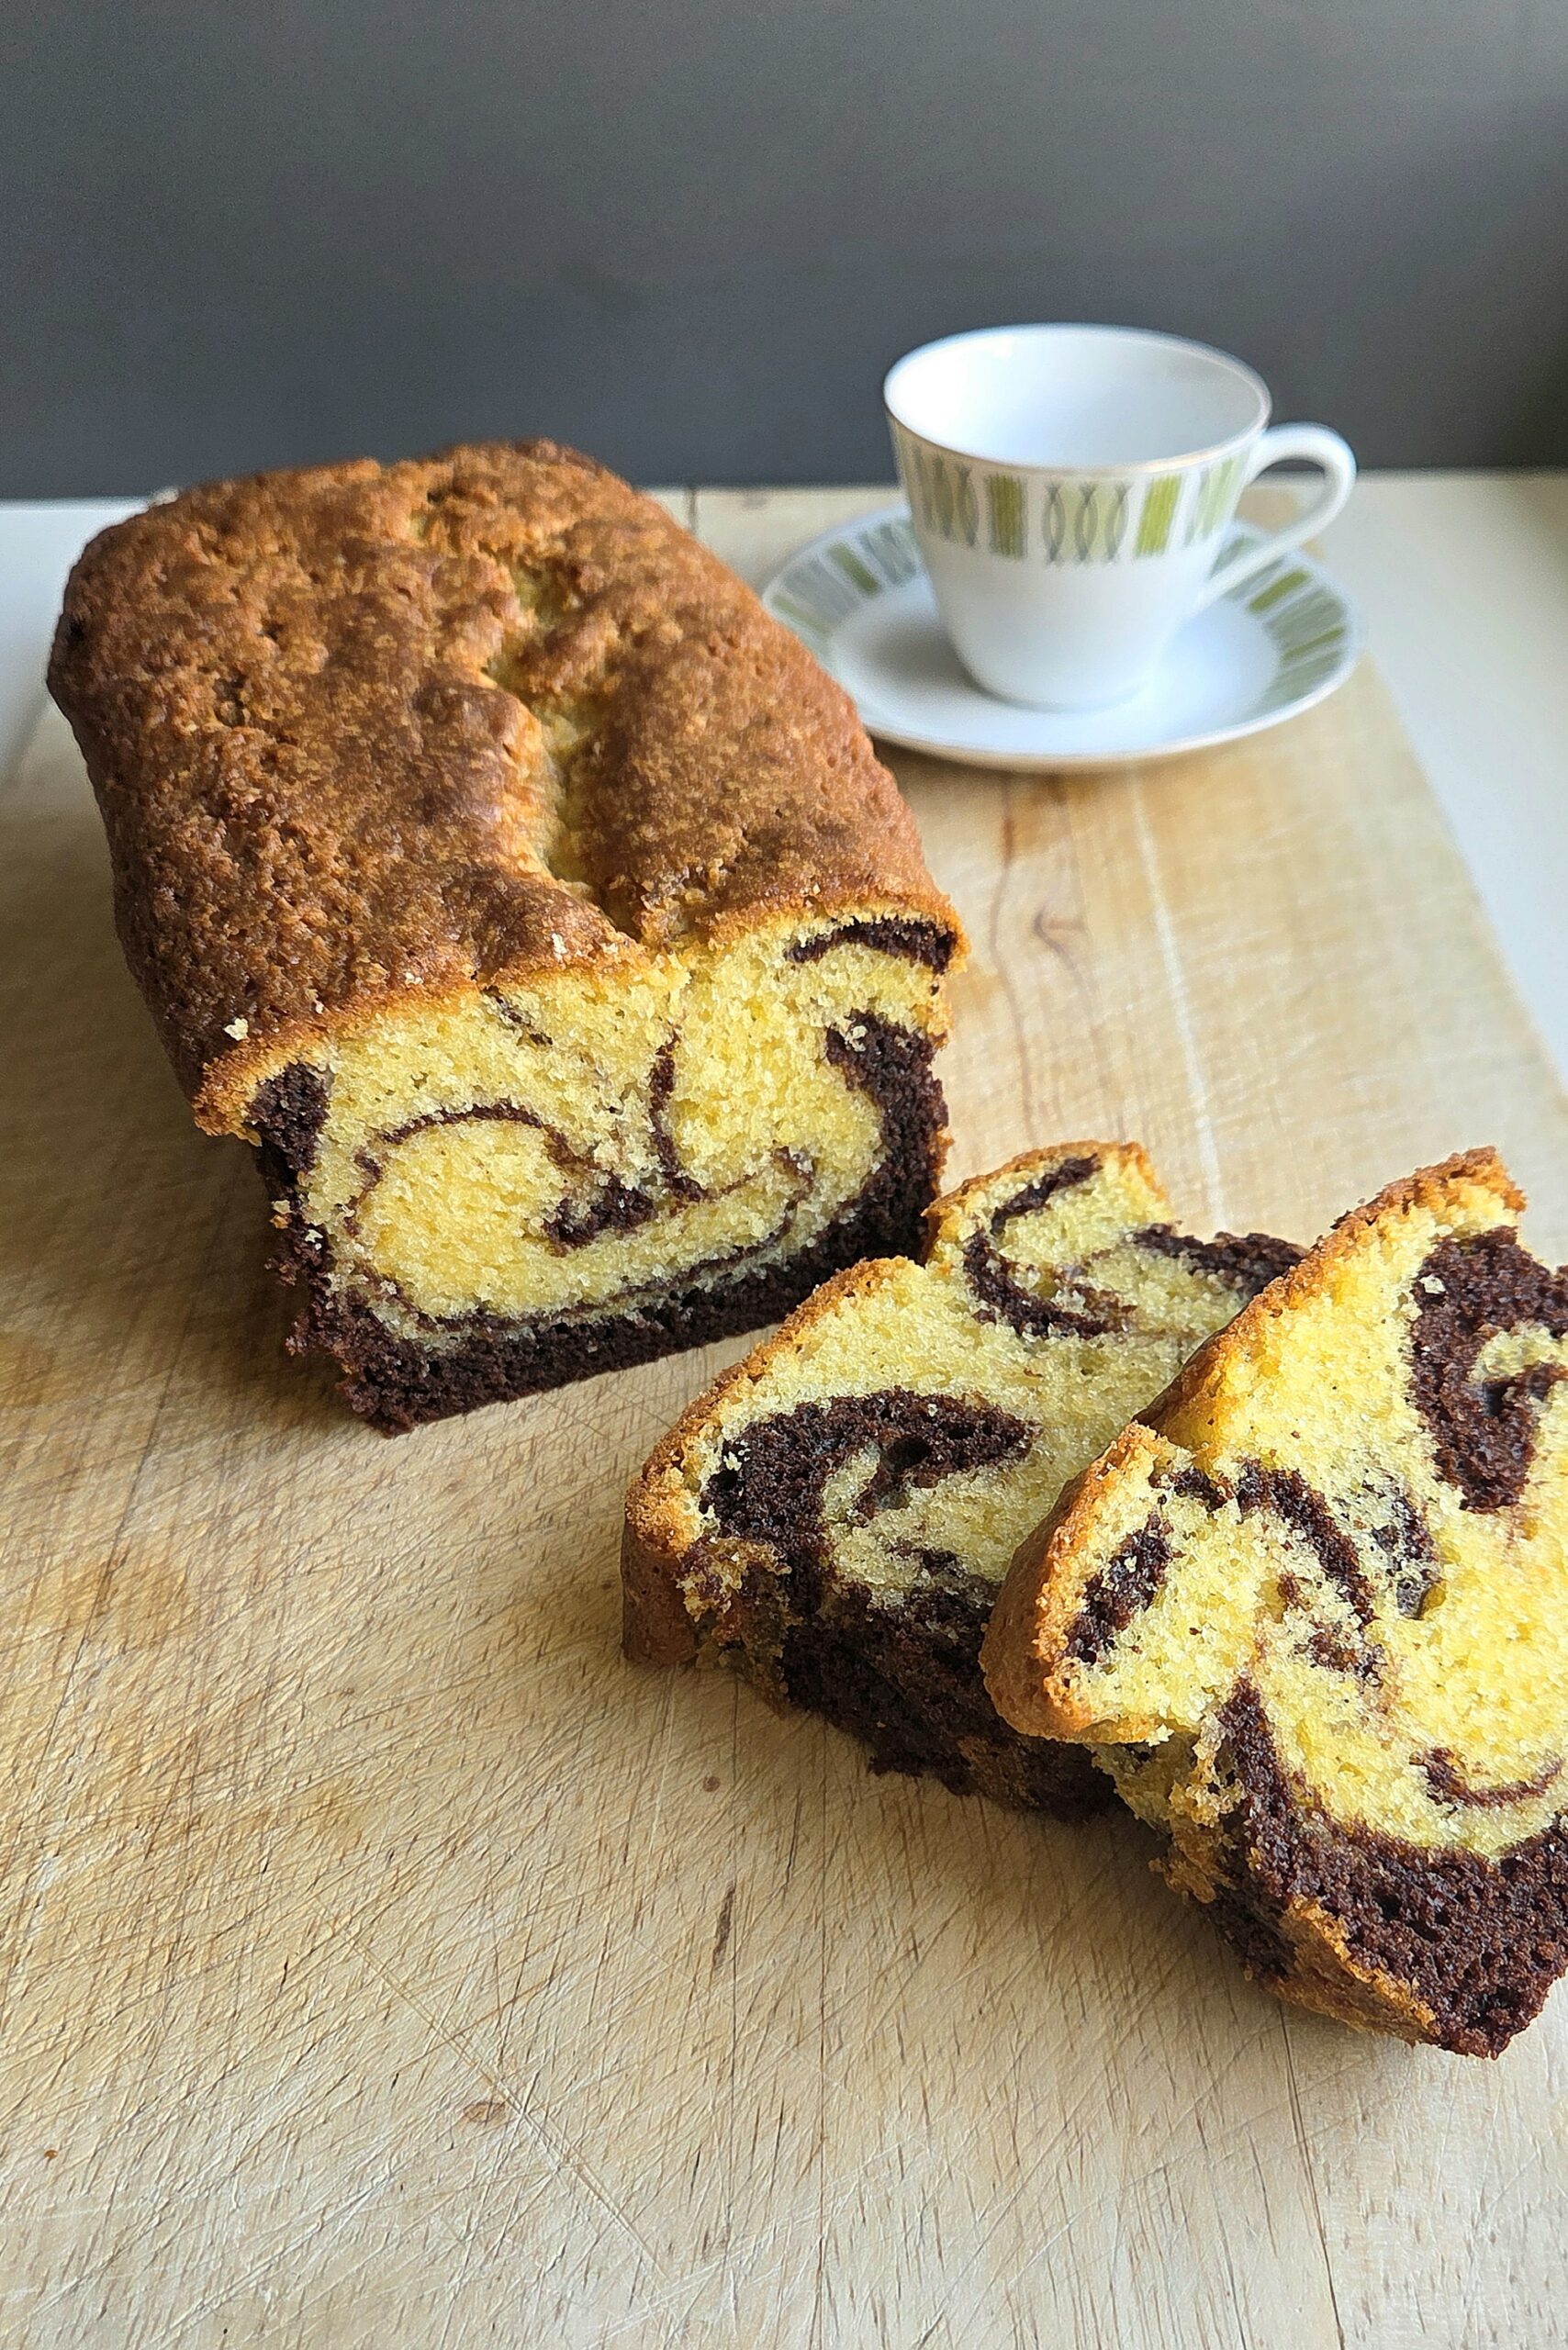
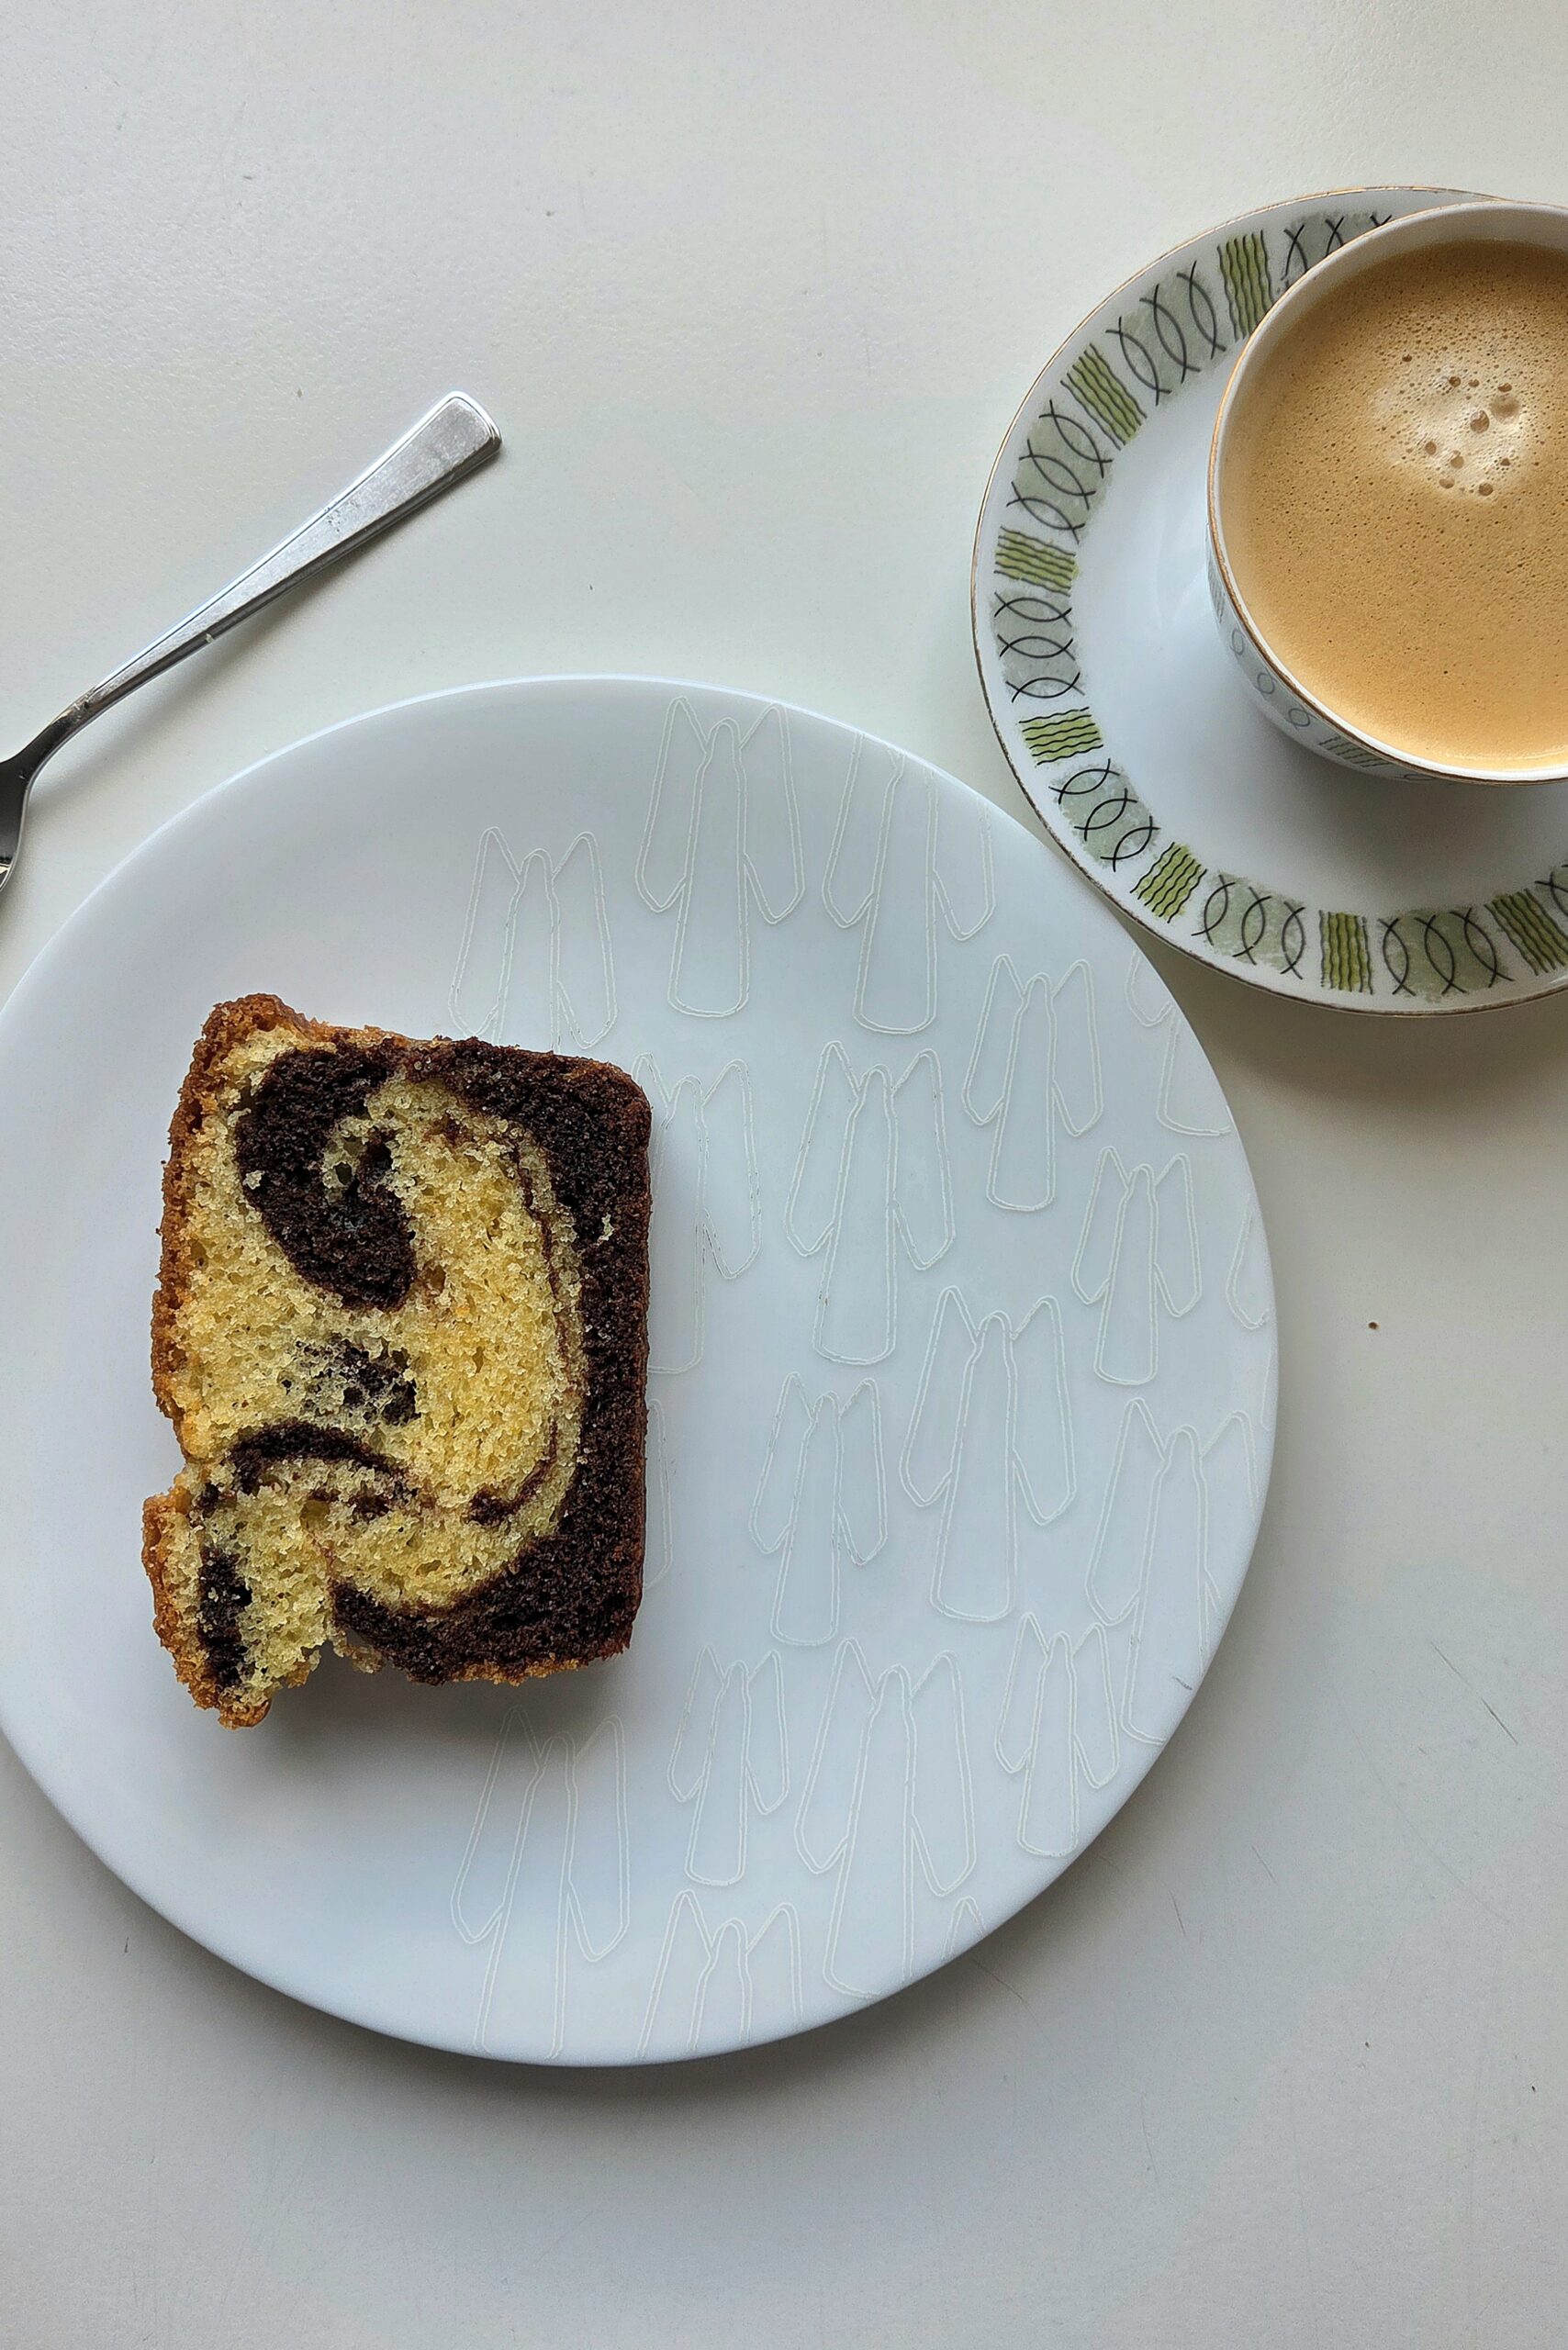
This Norwegian marble cake — marmorkake — is the kind of loaf cake that turns up with coffee in kitchens all over Norway: buttery, tender, with a dark cocoa swirl running through a vanilla crumb. A little lemon zest keeps it bright, and it all comes together from one batter in a single loaf pan.
Norwegian Marble Cake (Marmorkake)
Ingredients
Equipment
Method
- Heat the oven to 350°F (175°C), conventional setting. Grease a long loaf pan, 12½ × 4¼ inches (32 × 11 cm), and line it with parchment paper, letting it run up over the long sides so the cake lifts straight out.
- Beat the butter and sugar until pale and fluffy, 4–5 minutes.
- Add the eggs one at a time, beating well after each.
- Mix in the vanilla sugar (or extract) and lemon zest.
- Sift the flour and baking powder over the batter and fold in together with the cream or milk, just until smooth.
- Transfer about one third of the batter to a separate bowl and stir in the sifted cocoa until evenly dark.
- Spoon the batters into the pan in four layers: half the dark batter, half the light, then the rest of the dark and the rest of the light on top.
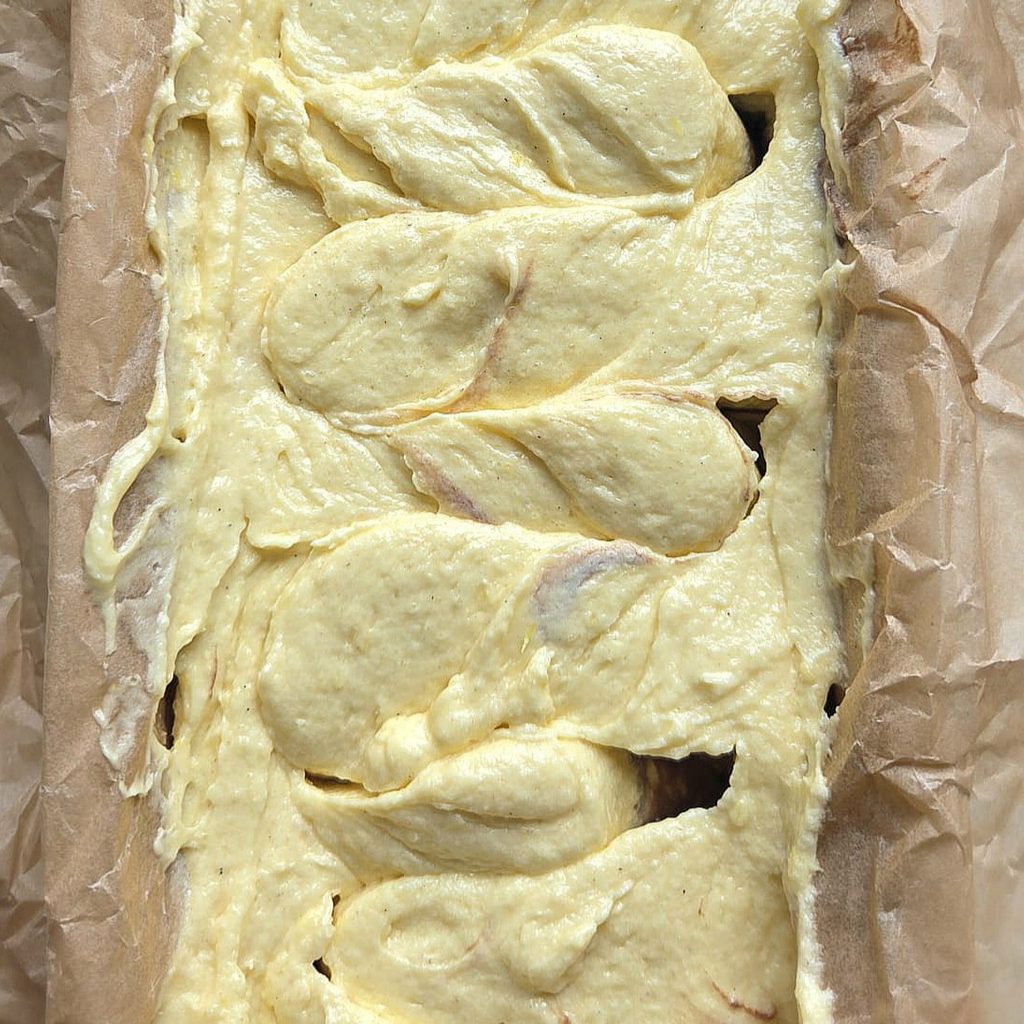
- Drag a skewer or chopstick through the batter in a few loops to create the marble pattern. Don’t overdo it.
- Bake for about 1 hour, until a skewer inserted in the center comes out clean. Ovens vary, so start checking at 50 minutes. In a deeper 9 × 5-inch pan, allow 5–10 minutes more and tent loosely with foil if the top browns too quickly.
- Cool in the pan for 15 minutes, then lift out with the parchment and cool completely on a rack before slicing.
Notes
How to get a clean marble swirl
The pattern is decided before the cake goes in the oven. Split off a third of the batter for the cocoa, then build four layers in the pan: dark, light, dark, light. With two of each, the skewer crosses more layers on every pass, so you get marbling through the whole slice instead of one swirl in the middle.
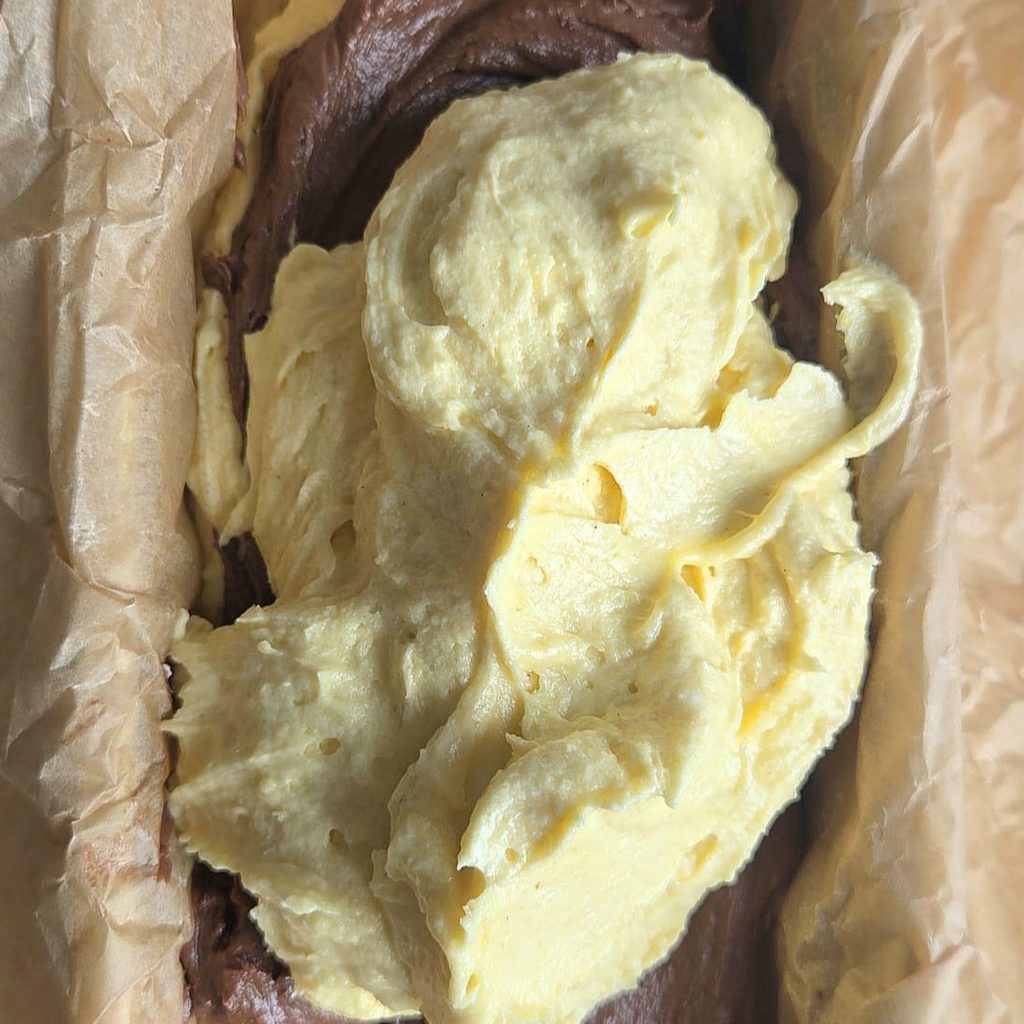
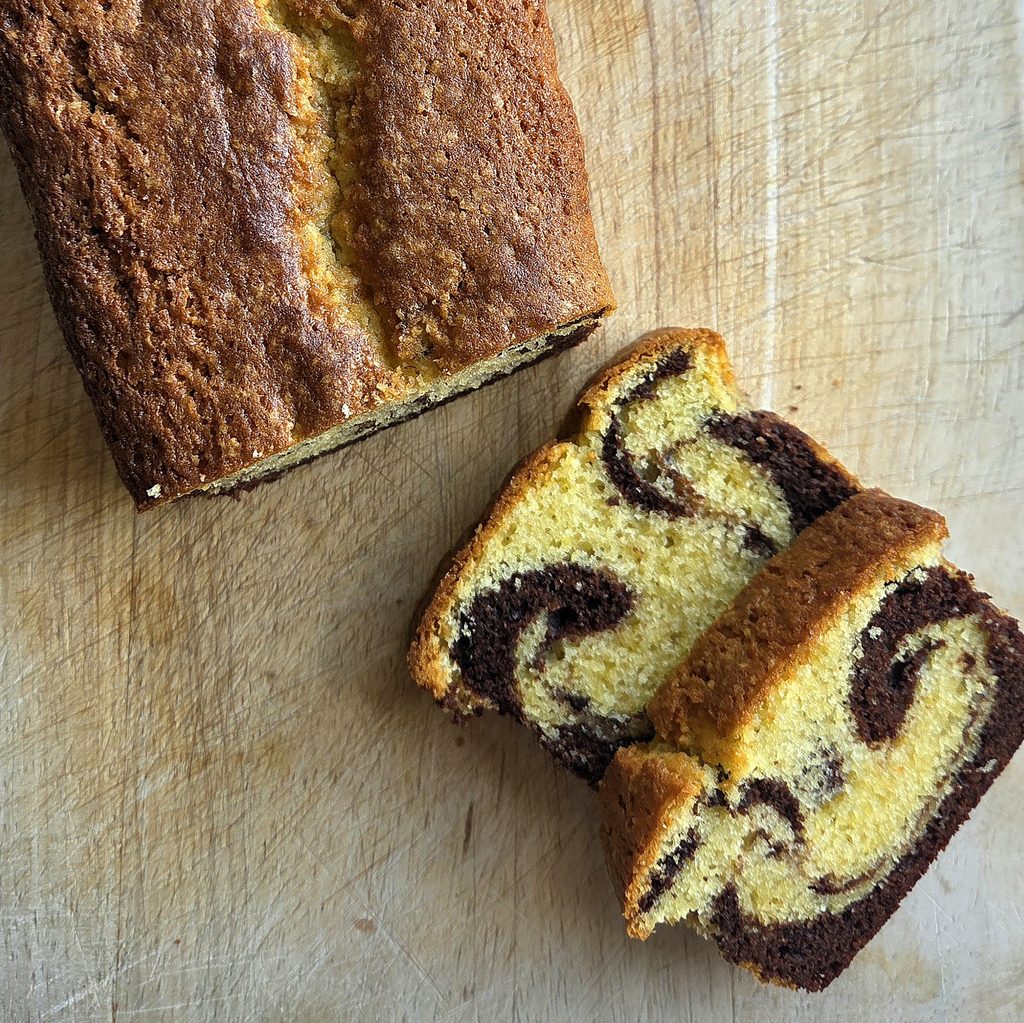
Keep the swirling brief — three or four loops with a skewer or chopstick. It will look almost too simple in the pan, but that restraint is what gives you bold, defined marbling when you slice it.
Why this Norwegian marble cake stays tender
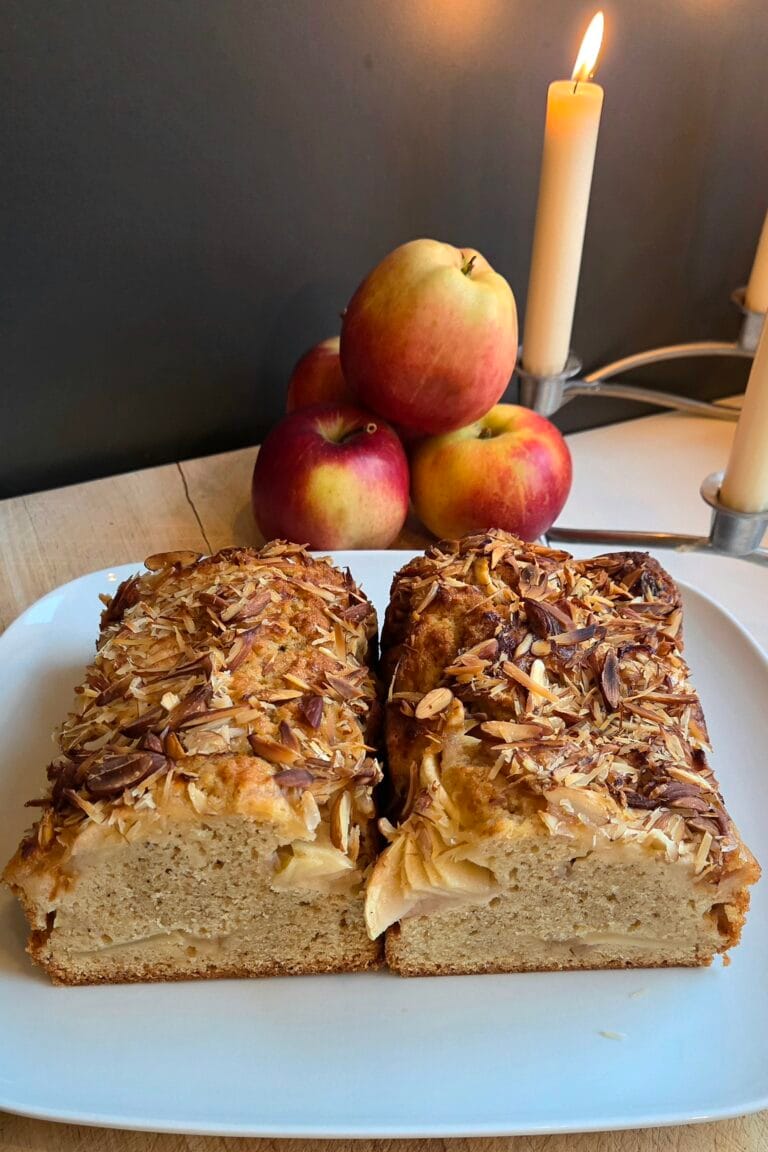
It’s a butter-rich pound-style batter, and the creaming step does most of the work: beat the butter and sugar until genuinely pale before the eggs go in. Cream (or whole milk) folded in with the flour keeps the crumb soft for days — if you’ve baked our Norwegian apple cake, you’ll recognize the same loaf-pan method.
Serving and storing
Let the cake cool completely before slicing — a warm marble cake tears rather than cuts clean. Serve thick slices with coffee, as is. Wrapped well, it keeps for four to five days at room temperature, and slices freeze well for a quick fika later.
Make it your own
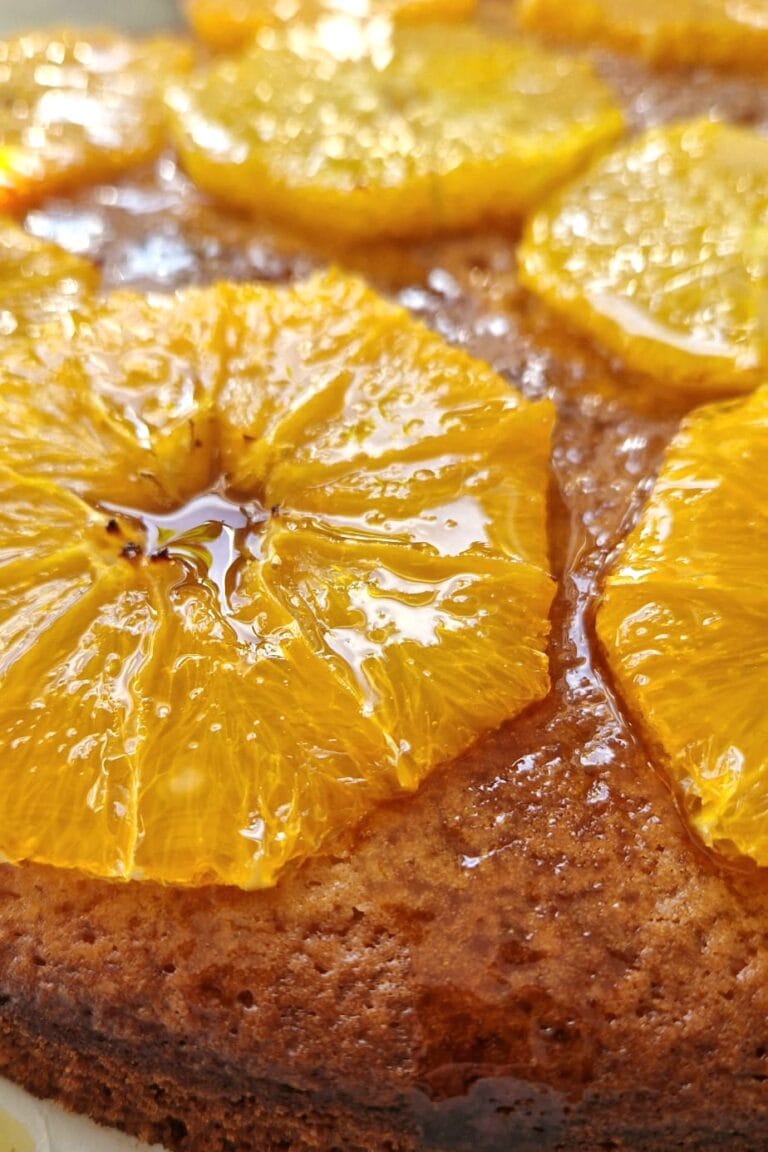
Add ½ teaspoon ground cardamom to the light batter for a more Nordic flavor — it’s the same spice behind our cinnamon knots. Swap the lemon zest for orange — it pairs well with the cocoa, and our moist orange cake uses the same idea. For a more grown-up cake, add a splash of sherry — about a tablespoon — to the batter along with the cream; it rounds out the cocoa and gives the crumb a subtle warmth. Or finish the cooled loaf with a thin drizzle of powdered sugar glaze.
More Nordic bakes you’ll love
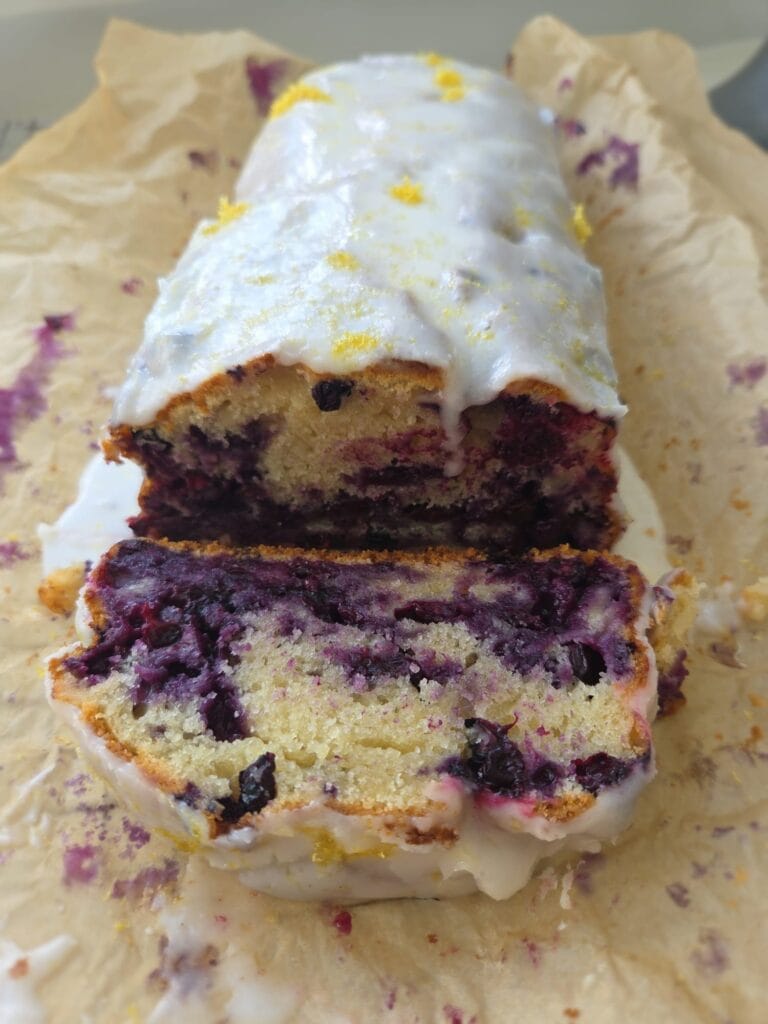
- Sourdough Discard Blueberry Loaf with Lemon Glaze — another everyday loaf cake, with berries and a lemon glaze
- Crispy Norwegian Waffles with Chocolate — for when you want chocolate and snap instead of a soft crumb
- Sveler — Norwegian Griddle Pancakes — more Norwegian kaffemat for the afternoon coffee table