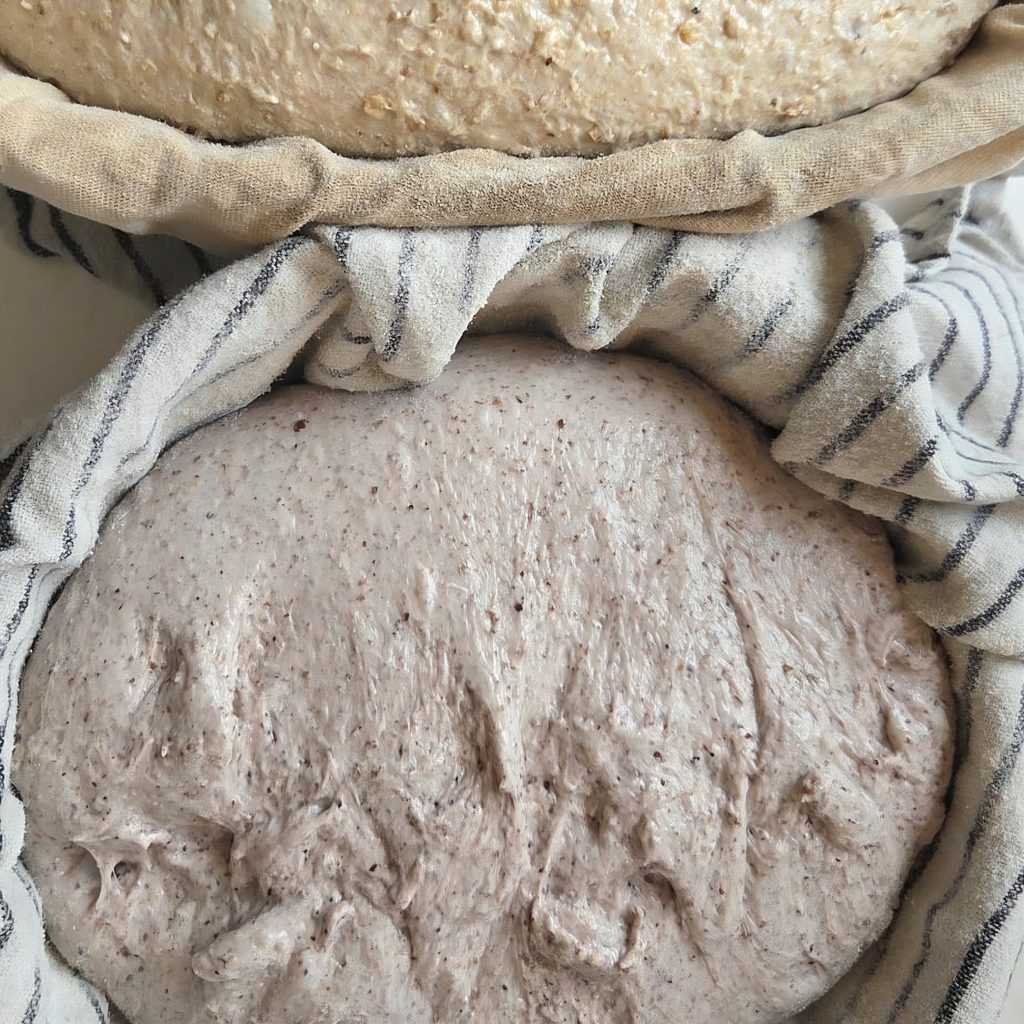
Learning how to shape sourdough is the step that decides whether your loaf rises up or spreads out, and it’s where a lot of good dough gets let down. Shaping builds the surface tension that holds your loaf tall through proofing and oven spring — get it right and everything after it goes better. Here’s how we shape a loaf, and how to know when it’s proofed and ready to bake.
What Shaping Actually Does
Once bulk fermentation is done, your dough is a soft, relaxed mass full of gas. Shaping turns that mass into a taut, structured loaf, and it does it by building tension across the surface.
Think of the dough’s outer skin like the surface of a balloon. When it’s tight and under tension, it holds its shape and forces the loaf to rise upward as it springs. When it’s slack, the loaf has nothing to push against, so it spreads sideways into a flat, sad disc instead of rising. That surface tension is the whole point of shaping — everything you do with your hands is in service of building a tight, smooth outer skin. Get that, and a well-fermented dough will reward you with a tall, open loaf.
Preshape and Bench Rest
Most bakers shape in two stages, and the first one is easy to skip but worth doing.
Preshape is a gentle, rough rounding of the dough right after you turn it out of the bulk container. You’re not building full tension yet — just pulling it into a loose ball or log to organize it and give it a consistent starting shape. Then you let it sit.
The bench rest is that pause — usually 20 to 30 minutes, uncovered or lightly covered, on the counter. It lets the gluten relax after preshaping so the dough is stretchy and cooperative for the final shape, instead of fighting back and tearing. Skip the rest and you’ll wrestle a tight, springy dough that won’t hold a clean shape. This middle step is quietly one of the things that separates neat loaves from messy ones.
How to Shape Sourdough: The Final Shape
Now you build real tension. The two common shapes are the boule (a round) and the bâtard (an oval), and both work the same way: you fold the dough in on itself and then drag it across the counter to tighten the skin.
For a boule, fold the edges of the dough into the center to build a taut package, flip it seam-side down, and use your hands or a bench scraper to pull it toward you in short strokes, letting the friction against the counter stretch the surface tight. For a bâtard, do the same but shape it into an oval, sealing the seam along the length. You’ll feel the dough go from slack to firm and drum-tight — that tension is exactly what you’re after. A light touch of flour helps, but too much stops the skin gripping the counter, so keep it minimal.
Our beginner sourdough bread walks through a boule step by step. Once that feels natural, sourdough baguettes are the next shape to practice — longer, thinner, and a real test of tension.
Into the Banneton
Once shaped, the loaf goes into a proofing basket — a banneton — to hold its shape during the final rise. This is where the banneton earns its place: it supports the taut dough, wicks a little moisture from the surface for a better crust, and leaves that beautiful spiral pattern on the finished loaf.
Dust the banneton generously before the dough goes in — this is the one place you want plenty, because it’s what stops the dough sticking when you turn it out later. Here’s the setup we use and trust: a linen liner inside the basket, dusted with rice flour. The linen gives a smooth release and a clean surface, and rice flour is the key — it doesn’t absorb into the dough the way wheat flour does, so it stays as a dry barrier between dough and cloth and gives near-zero sticking. Place the loaf in seam-side up, so the smooth, tension-filled surface is against the cloth and becomes the top of your loaf when you flip it out to bake.
Final Proof: Counter or Fridge
The final proof is the last rise, after shaping, and you have two ways to do it.
On the counter (room temperature): usually 1 to 3 hours, until the dough is puffy and passes the poke test below. Faster, but you have to watch it, and warm kitchens can overproof a loaf quickly.
In the fridge (cold retard): shape the loaf, cover it, and put it in the fridge overnight — anywhere from 12 to 16 hours. Draping a cloth over the basket keeps the surface from drying out in the cold air, which matters over a long retard — a dried-out skin scores and springs poorly. This is what we’d recommend for most bakers. The cold slows the proof to a crawl, so timing is forgiving, the flavor deepens, and — this is the practical bonus — cold, firm dough scores far more cleanly than soft room-temperature dough. A loaf straight from the fridge into a hot oven is the easiest path to a sharp ear and a clean bloom.
Our Sourdough Bake Plan works the overnight retard into your schedule, so you know when to shape the night before and when to bake in the morning.
How to Know It’s Proofed
Underproofed dough bursts and stays tight; overproofed dough collapses and spreads. You’re aiming for the middle, and the poke test finds it.
Press a lightly floured finger gently into the dough, about ½ inch (1 cm) deep, then watch how it springs back:
- Springs back slowly and leaves a slight dimple — perfectly proofed, ready to bake.
- Springs back fast and fully — underproofed, give it more time.
- Doesn’t spring back at all, the dent stays — overproofed, bake it now and shape a little tighter or proof a little less next time.
With a cold-retarded loaf you can largely skip the anxiety — pull it from the fridge and bake it straight away; overnight in the cold lands most doughs right in the window.he anxiety — pull it from the fridge and bake it straight away; overnight in the cold lands most doughs right in the window.
Common Sourdough Shaping Mistakes
- Not enough tension. The loaf spreads instead of rising. Build a tighter skin and use a touch less flour so it grips.
- Skipping the bench rest. The dough fights you and tears. Give it 20–30 minutes between preshape and final shape.
- Too much flour when shaping. The surface can’t grip the counter to build tension. Keep it light on the bench, generous only in the banneton.
- Overproofing. Especially on a warm counter. When in doubt, retard in the fridge — it’s far more forgiving.
- Still finding shaping fiddly? Sourdough rolls skip it almost entirely — just cut the dough into rustic pieces and bake — while your hands get used to the dough.
The tool that makes it work
Shaping asks for very little gear, but a proofing basket is the one piece that genuinely changes the result — it’s what holds your tension through the final rise.
- A banneton proofing basket — supports the shaped loaf, wicks moisture for a better crust, and leaves that classic spiral
- A linen liner — sits inside the basket for a smooth, clean release, especially with rice flour
- A bench scraper — for handling and dragging the dough to build tension without sticking to your hands
Sourdough for Beginners · Step 7 of 9