Sourdough Panko — Light, Crisp Flakes from Scratch
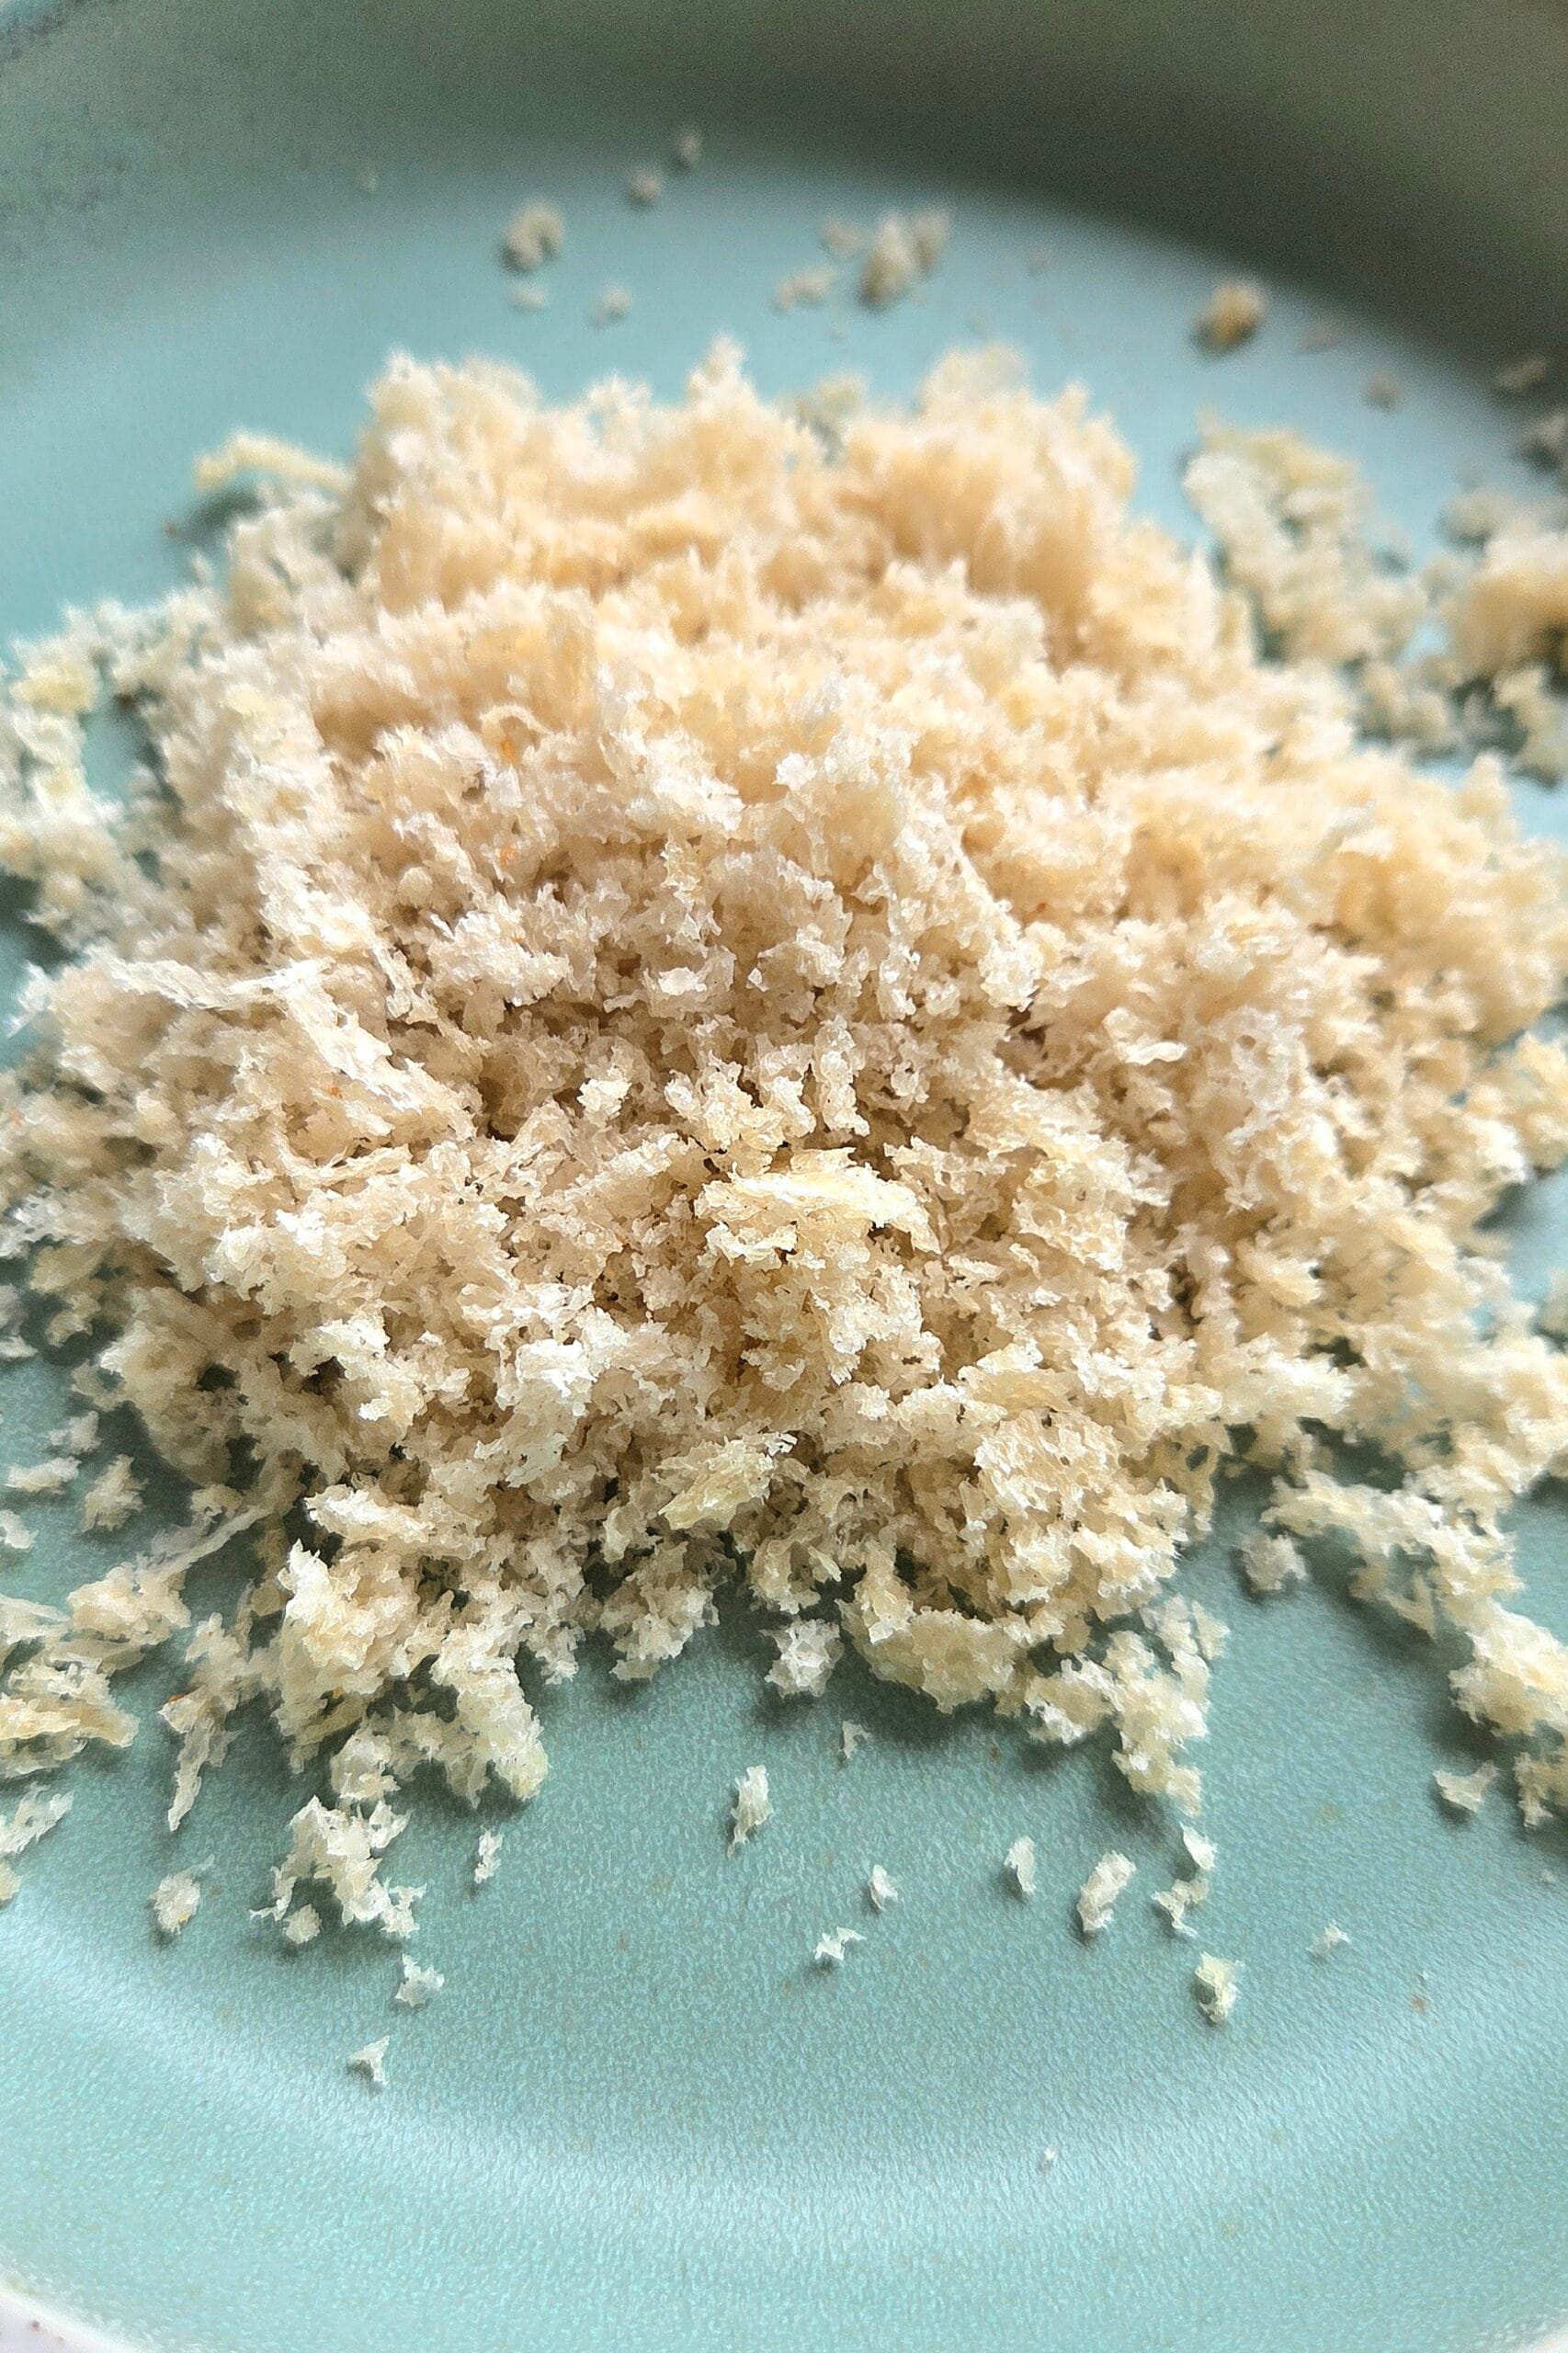
Sourdough panko is the best possible use for two-day-old bread. These are light, ragged flakes rather than sandy crumbs — they fry up golden, stay crisp, and shatter when you bite them. Make a batch whenever a loaf is going past its best, dry it properly, and it will be sitting in the cupboard on the day you actually need it.
Sourdough Panko — Light, Crisp Flakes from Scratch
Ingredients
Equipment
Method
- Remove the crust. Cut the crust off the bread. Save it — the crust is what turns panko brown, and we want these flakes pale. (Crusts make excellent bread chips another day.)
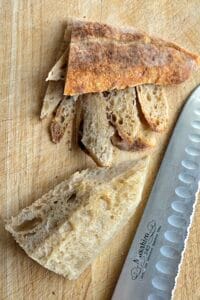
- Freeze. Wrap the crustless bread tightly in plastic and freeze for at least 1 hour. This is the step that makes the whole thing work: fresh or soft bread smears and gums up the grater, while frozen bread shears cleanly into flakes.
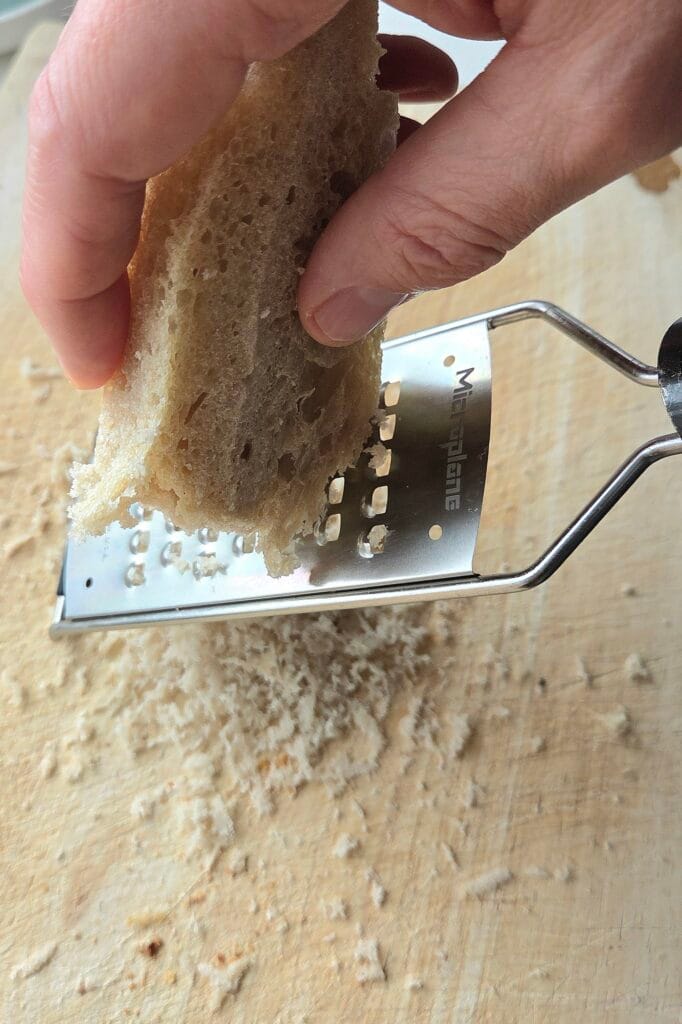
- Grate. Grate the frozen bread on the coarse side of a grater, letting the shreds fall onto a board or tray. Work in long strokes rather than short scrubs — you want ragged flakes, not fine crumbs.
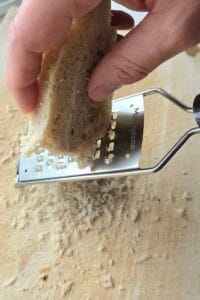
- Dry. Line a flat baking sheet with parchment and spread the flakes over it in a thin, even layer. Dry in the oven at 195°F (90°C) until fully dry, usually 20–30 minutes, tossing once halfway through.
- Check the color, not the clock. The panko is done when a flake snaps cleanly between your fingers and is still pale — if it starts to turn golden, pull it out. Color here means it will burn before your food is cooked.
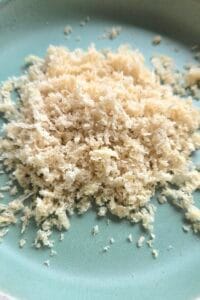
- Cool and store. Cool completely on the tray, then store in an airtight container.
Notes
Why panko is different from breadcrumbs
Panko and breadcrumbs are made from the same thing, but they behave nothing alike. Ordinary breadcrumbs are ground — small, dense, close to sand. Panko is grated into flakes, so it stays open and airy, absorbs less fat, and browns into a crust that stands away from whatever it’s coating.
The other difference is the crust. Traditional panko is made from bread baked without a browned crust, which is why the flakes stay pale. That matters more than it sounds: pale flakes have room to brown in the pan. Flakes that are already golden go from brown to burnt in the time it takes your food to cook through.
There’s one more thing that follows from all this, and it decides what you can make on any given day: the age of your bread.
Panko needs bread that still has some give — two days old is right. It has to shear off the grater in flakes, and that only happens while the crumb still holds together. Older bread doesn’t. Once a loaf goes properly stale it turns brittle, and brittle bread doesn’t flake, it powders.
That’s not a problem, it’s just a different product. Bread at five days or more, dried right through, is ideal for ordinary breadcrumbs — you want it brittle so it breaks down evenly, and dry so it keeps. Blitz it in a food processor, or a small grinder cup on a stick blender — the full method is in our sourdough breadcrumbs.
So the loaf on your counter is telling you which one to make. Two days, panko. Five days and up, breadcrumbs. Neither is the lesser version of the other.
So we cut the crust off, and we keep the oven low. Everything else is just grating.
The freezer trick
Try grating fresh bread and you’ll get a smear on the blade and nothing on the board. Try it with rock-hard bread and you’ll get dust.
Two-day-old sourdough sits in the right place — dry enough to shear, soft enough to still be bread. An hour in the freezer, wrapped tight in plastic, firms it just past that point, and it grates into clean flakes with almost no effort.
This is also what lets you make panko on a weekday. You don’t have to wait for a loaf to dry out on the counter for days — two days plus an hour in the freezer gets you there.
Drying, and how much you’ll get
Spread the flakes thin over a parchment-lined sheet and dry them at 195°F (90°C) until a piece snaps cleanly between your fingers. Toss them once along the way so the layer underneath doesn’t sit damp. Use a flat sheet, not the perforated tray you might bake bread on — panko flakes are small enough to disappear straight through the holes.
You can air-dry them on the counter instead — we have, and it works — but it takes a day or two and depends on how dry your kitchen happens to be. The oven is simply more reliable.
Don’t expect a fixed yield. How much panko a loaf gives you comes down to how much moisture was still in the bread, which is never quite the same twice. Grate what you have, dry it properly, and store it. This isn’t something you make to a number.
Panko-fried root vegetables
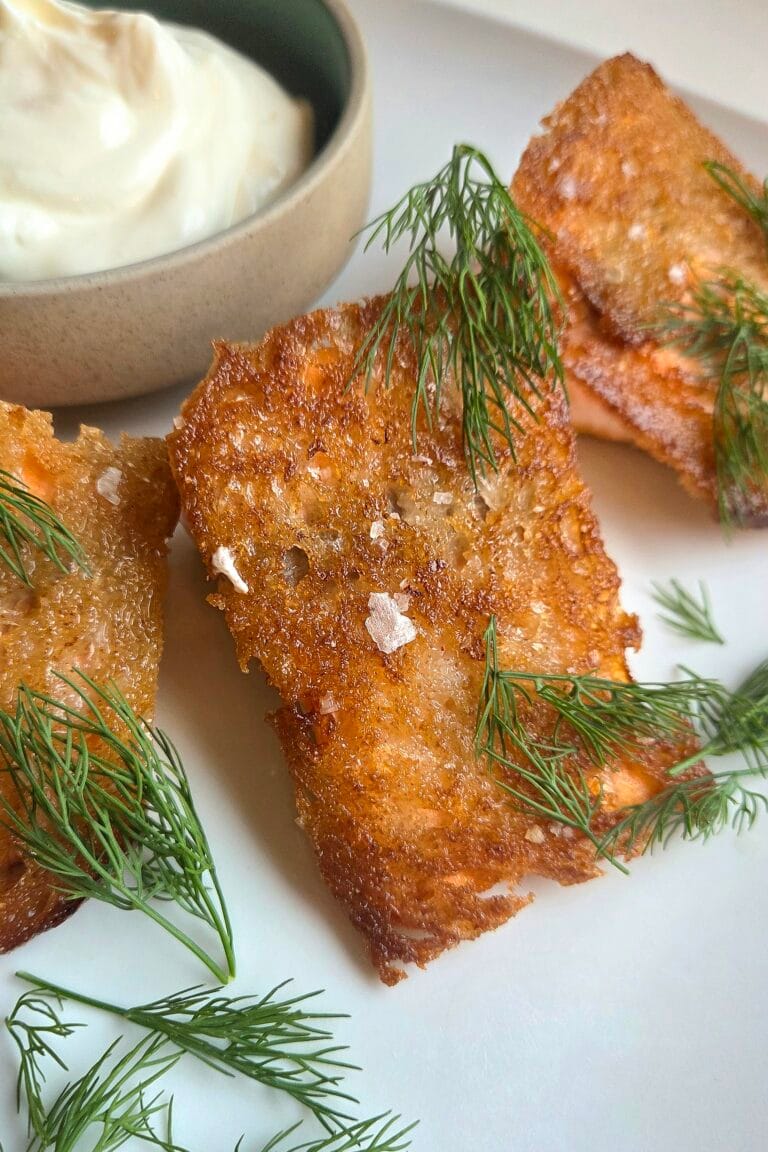
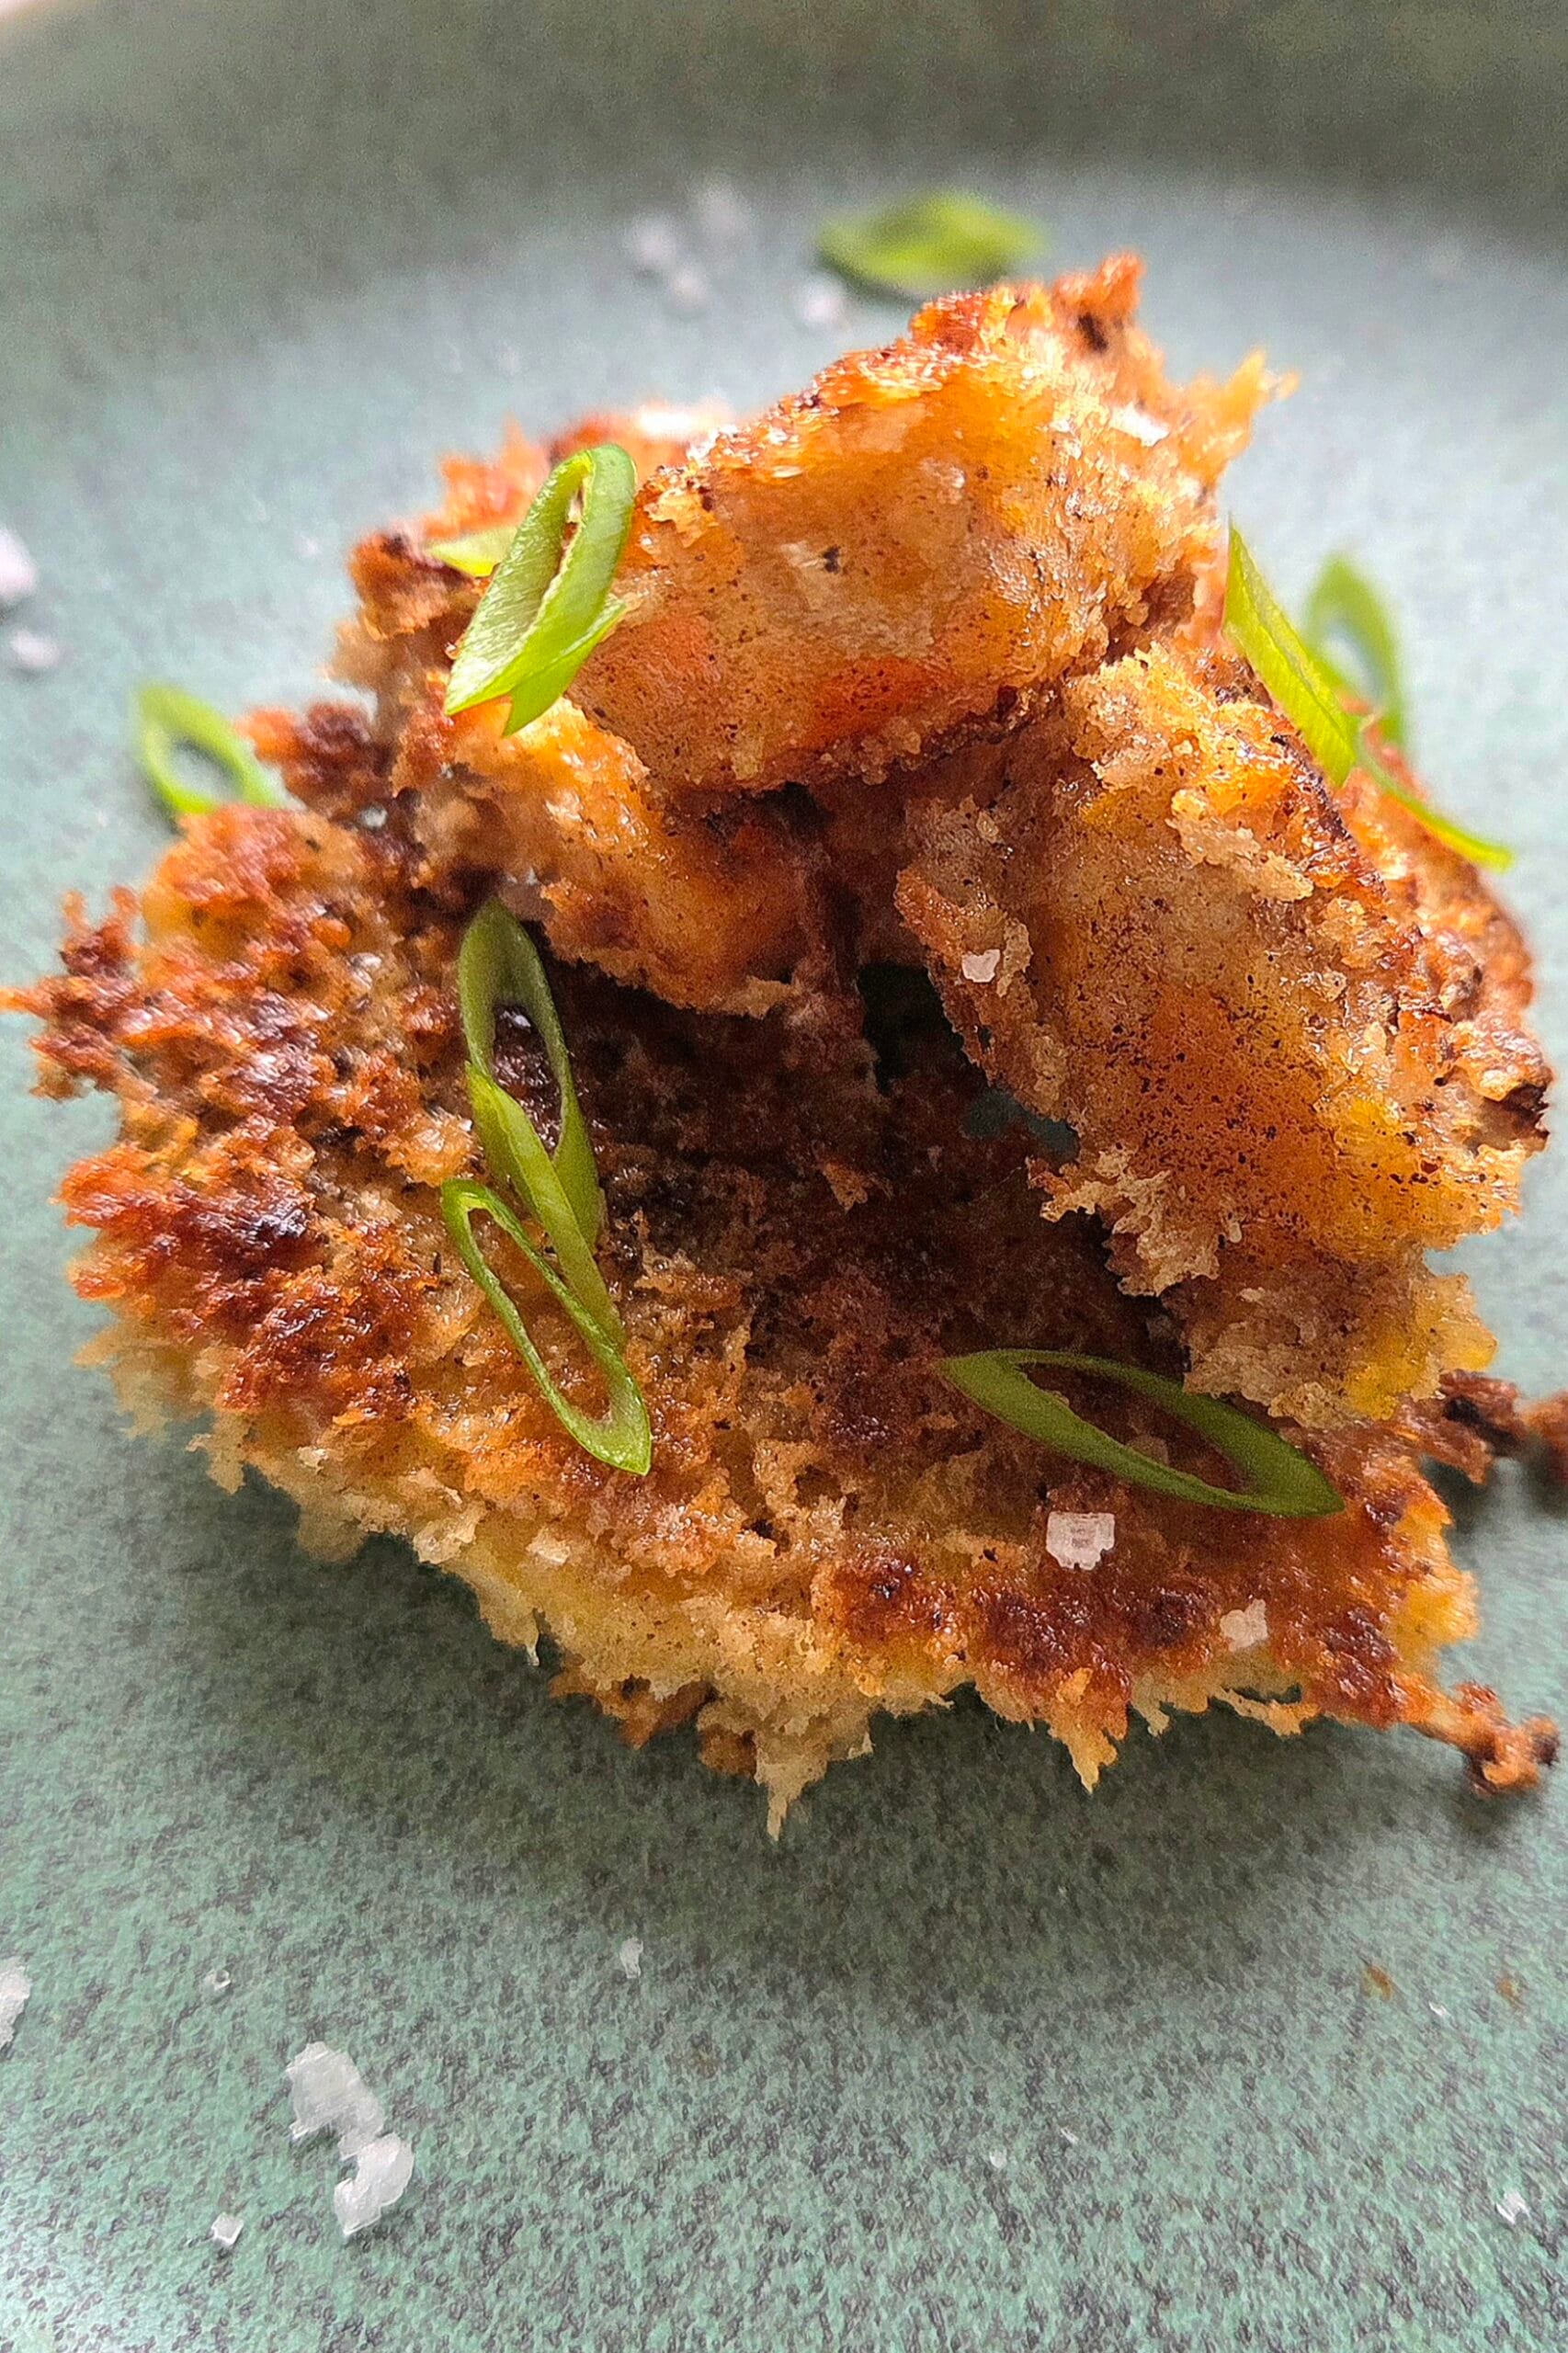
Panko needs a payoff, and this is the one we keep coming back to: celeriac, rutabaga and hokkaido squash, breaded and fried in butter.
We bake all three whole in the oven first, then cool them and cut them into thick pieces. This is the part people skip. Raw celeriac and rutabaga are dense — they’ll never cook through in the time panko needs to turn golden, and you’ll end up with a beautiful crust wrapped around a raw vegetable. Baked first, they only need to warm through, which is exactly what the pan gives them.
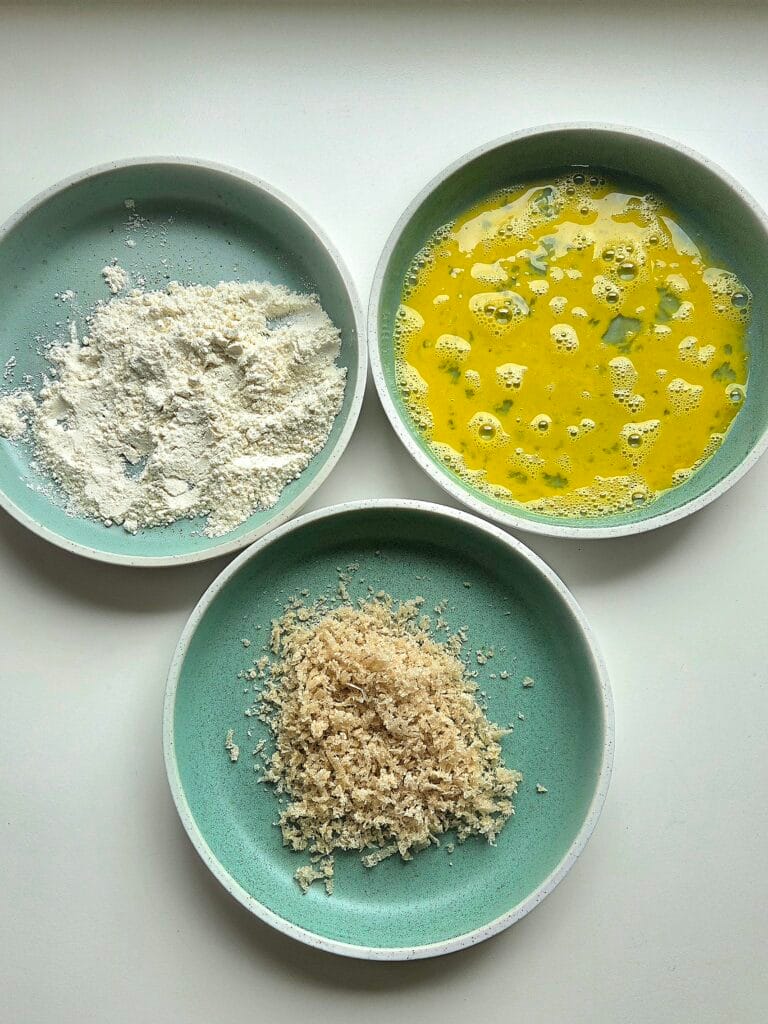
Then it’s the standard three-plate line: flour, beaten egg, panko. Press the flakes on firmly and fry in plenty of butter over medium heat, spooning the foaming butter over the top as they color.
Of the three, celeriac is the one to lead with. It’s the most savory and the most umami-rich, with enough body to carry a plate on its own — the closest thing to a main course in the vegetable drawer. Rutabaga is the most Nordic of the three and turns sweet and mild in the oven. Hokkaido squash is grown here in Norway now, though it came from Japan originally — which makes it a fitting thing to coat in a Japanese-style crumb.
Finish with flaky salt and something sharp and green. Spring onion works. So does dill.
What else to do with it
Panko is a pantry item, not a recipe. Once you have a jar of it:
- Toast it in butter with a little salt and scatter it over pasta, roasted vegetables or a soft egg
- Use it anywhere a recipe calls for breadcrumbs — it will be lighter and crisper
- Mix it into meatballs or fish cakes as a binder
- Top a gratin with it in the last ten minutes so it crisps rather than steams
More Nordic bakes you’ll love
- Sourdough Breadcrumbs — for the loaf that’s gone too far for panko
- Beginner Sourdough Bread — the loaf this panko came from
- Caviar Dip with Sourdough Chips — where the crusts go