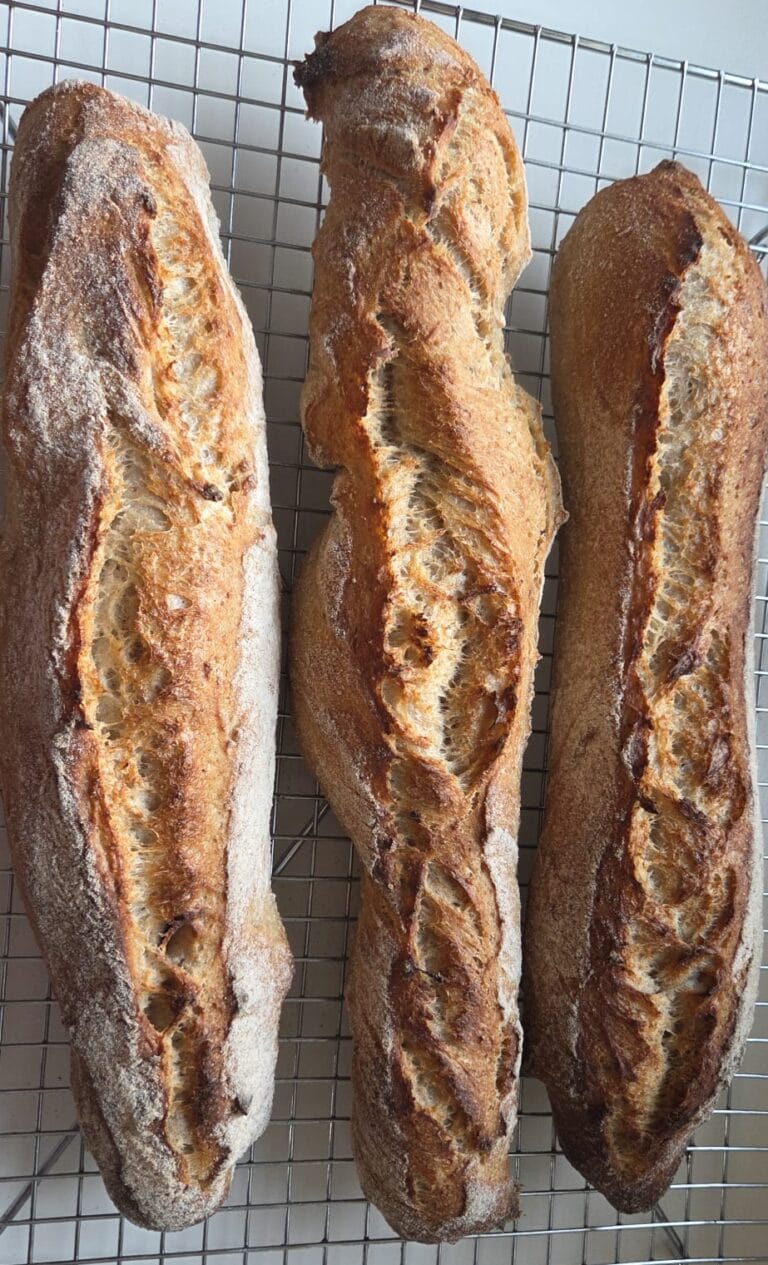
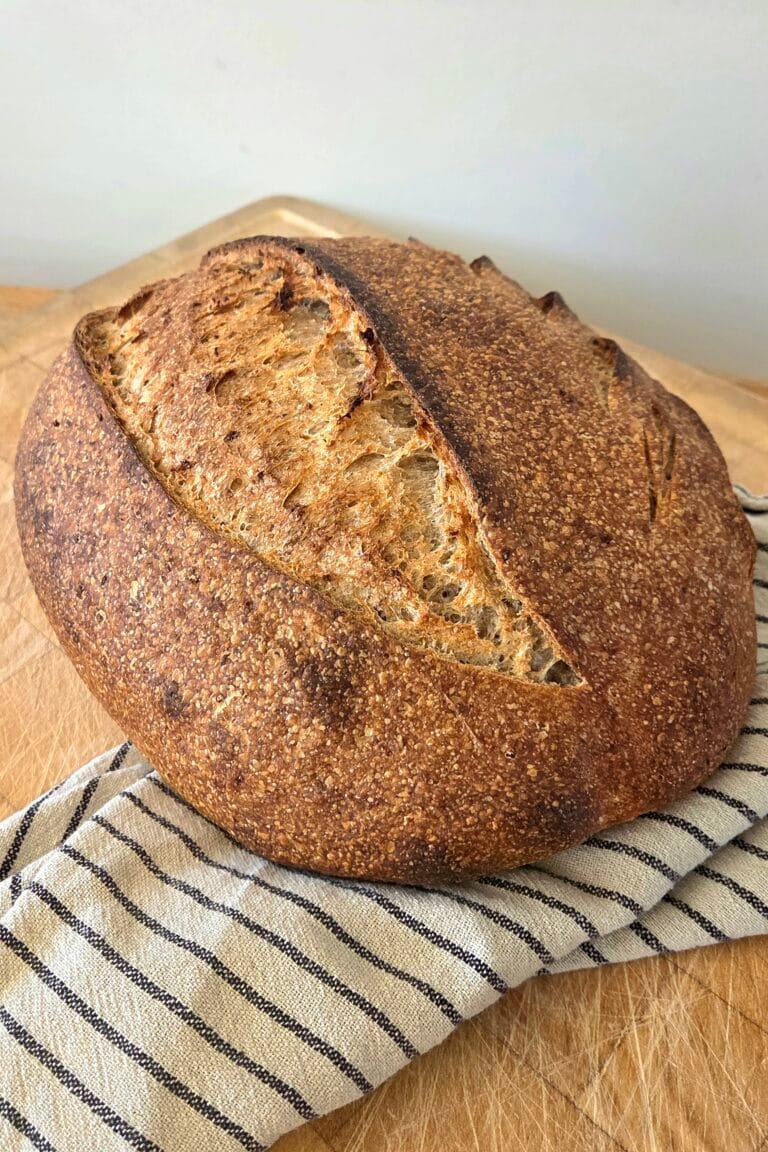
Whole Grain Sourdough Bread
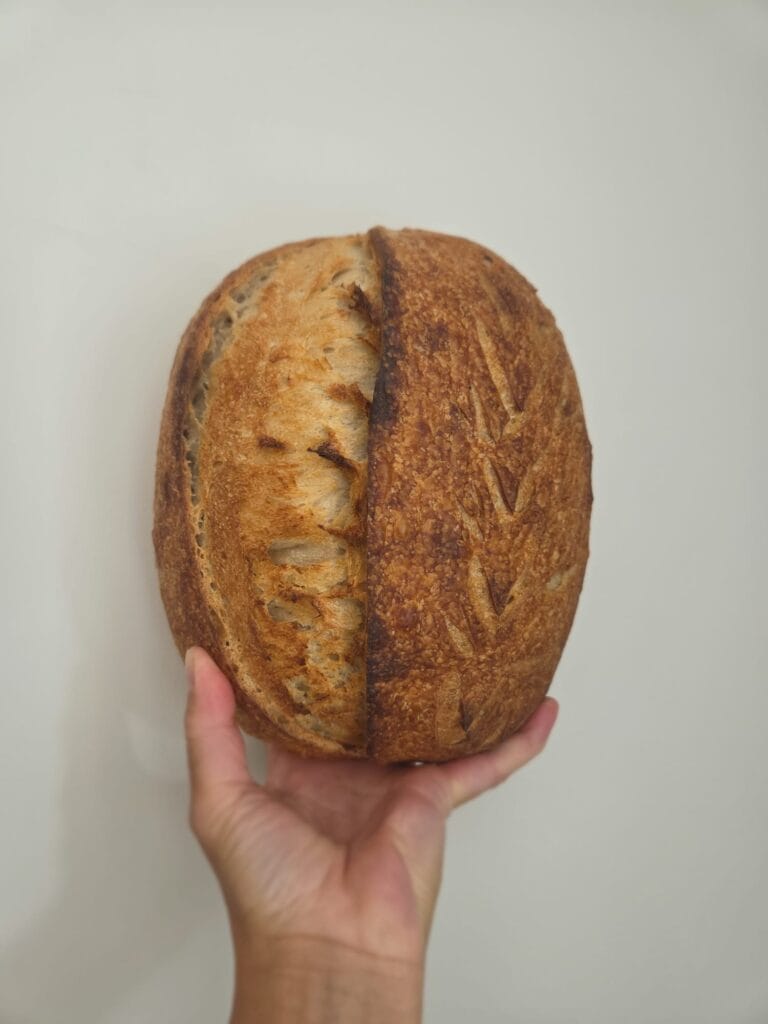
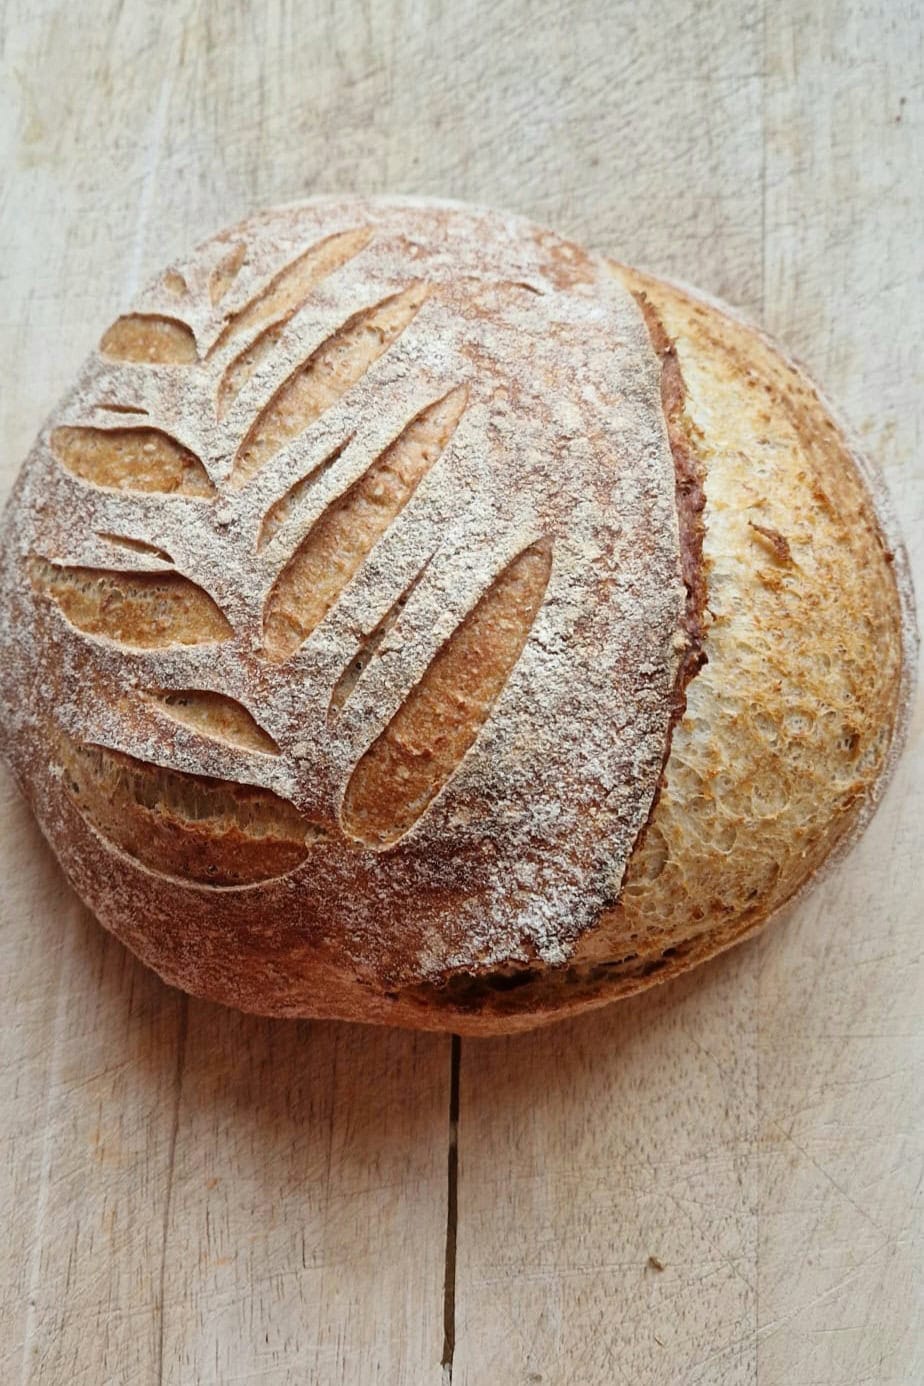
Whole grain sourdough bread is our everyday loaf — a naturally leavened mix of sifted and whole grain wheat with a crackly crust and a soft, open crumb. It’s built around a slow overnight rise in the fridge, which does most of the work for you and deepens the flavor. Here’s exactly how we make it, step by step.
New to sourdough? Start with our beginner sourdough bread — your first loaf, with one flour and a lower hydration that’s far easier to read while you’re still learning the signals. Come back to this one once that feels routine.
Whole Grain Sourdough Bread
Ingredients
Equipment
Method
- Feed your starter the morning you bake (or the night before) so it's lively when you mix — it should be domed, bubbly, and float in water.
- Mix the dough. In a large bowl, whisk the starter into the lukewarm water to loosen it. Add all three flours and mix by hand until no dry flour remains — you'll have a shaggy, sticky dough. Hold the salt back for now. Cover and rest 1 hour at room temperature.
- Add the salt. Sprinkle it over the dough and work it in thoroughly, squeezing and folding until fully incorporated. The dough will tighten up slightly.
- Stretch and fold — every 30 minutes, at least 4 times. With a wet hand, grab one side of the dough, stretch it up, and fold it over the center; turn the bowl a quarter turn and repeat around the whole dough (four pulls = one set). Cover, rest 30 minutes, repeat. Over these 2 hours the dough goes from slack and shaggy to smooth, elastic, and airy. Our Stretch & Fold Timer keeps track of the sets for you.
- Bulk ferment until risen. After the folds, cover and let it rise at room temperature until it's grown by about 30–50%, looks domed and jiggly, and shows bubbles on top and along the sides. Depending on your kitchen this is roughly 4–6 hours total from mixing — warmer is faster, cooler is slower, and whole grain dough runs a little quicker than white. Watch the dough, not the clock; our guide to bulk fermentation shows you what to look for.
- Preshape and shape. Tip the dough onto a lightly floured surface and gently round it into a loose ball. Leave it uncovered for 20–30 minutes so the gluten relaxes. Then fold it into a taut round (or oval), pulling it toward you against the counter a few times to build surface tension — more on that in how to shape sourdough. Dust the shaped dough with rice flour; it resists sticking far better than wheat flour and gives the cleanest release.
- Into the banneton. Line your proofing basket with a cloth and dust it generously with rice flour, then set the dough in seam-side up. The cloth and rice flour together are what stop the dough from sticking to the basket.
- Cold retard overnight. Cover and refrigerate 12–16 hours. The slow, cold rise builds flavor and firms the dough so it's easier to score and springs higher in the oven.
- Preheat, hot. About 45–60 minutes before baking, heat the oven as hot as it goes — around 480°F (250°C) — with two trays inside: your perforated baking tray (or a regular baking sheet) on the middle rack, and an empty metal roasting tray on the rack below. The baking tray needs to be properly hot before the loaf lands on it; the roasting tray is what makes your steam. Both metal, never glass — glass can shatter when the water hits it.
- Turn out and score. Turn the cold dough out onto a sheet of parchment, seam-side down. Score the top with one confident slash using a bread lame or sharp blade — this controls where the loaf opens up. See how to score sourdough for angle and depth.
- Bake with steam. Slide the loaf, still on its parchment, onto the hot baking tray on the middle rack — parchment and all, in one quick movement. Immediately pour about 1 cup of just-boiled water into the hot tray below (stand back — it steams up fast) and shut the door quickly to trap it. Bake at 480°F (250°C) for 20 minutes. That burst of steam is what gives you a glossy, blistered crust and a big rise.
- Finish in dry heat. After 20 minutes, take the roasting tray out (the water will have boiled off, and you want dry heat now to crisp the crust), drop the oven to 400°F (200°C), and bake another 15 minutes until deeply golden. To be sure it's done, the loaf should sound hollow when tapped and read 205–210°F (96–99°C) in the center — the most reliable check. Still pale? Give it a few more minutes. Our guide to sourdough baking temperature explains the heat and steam in detail.
- Cool completely. Lift it out and cool on a wire rack for at least 2 hours before slicing. Cutting too early makes the crumb gummy — this last wait matters.
Notes
- Weigh, don’t scoop. A digital scale is the single biggest upgrade for consistent sourdough; the cup measures above are approximate.
- Got a Dutch oven? You can bake covered instead: lower the loaf into a screaming-hot pot, lid on, 20 minutes at 480°F (250°C), then lid off at 400°F (200°C) for the last 15 — no water tray needed.
- Sticky is right. The whole grain flours drink up water, so this is a moderately high hydration dough (~73%). It’ll feel tacky — that’s exactly what you want.
- Rice flour is the trick for proofing baskets — it doesn’t absorb into the dough the way wheat flour does, so the loaf lifts out cleanly and keeps a crisp pattern.
About the flour (and how to make it outside Norway)
This is a landhvete loaf — a Norwegian heritage wheat with a lovely nutty depth. It’s about half sifted flour and half whole grain, which keeps the crumb open and light while still giving you real whole grain flavor and fiber.
Landhvete is hard to find outside Scandinavia, so use what your local mill and shop carry: bread flour for the sifted portion, plus whole wheat and a coarse or stone-ground whole wheat for the wholemeal. Stone-ground flour is worth seeking out — it’s closer to the character of landhvete and tastes noticeably better than standard supermarket whole wheat. Our flour guide explains what each type does to the dough.
How to tell when it’s ready
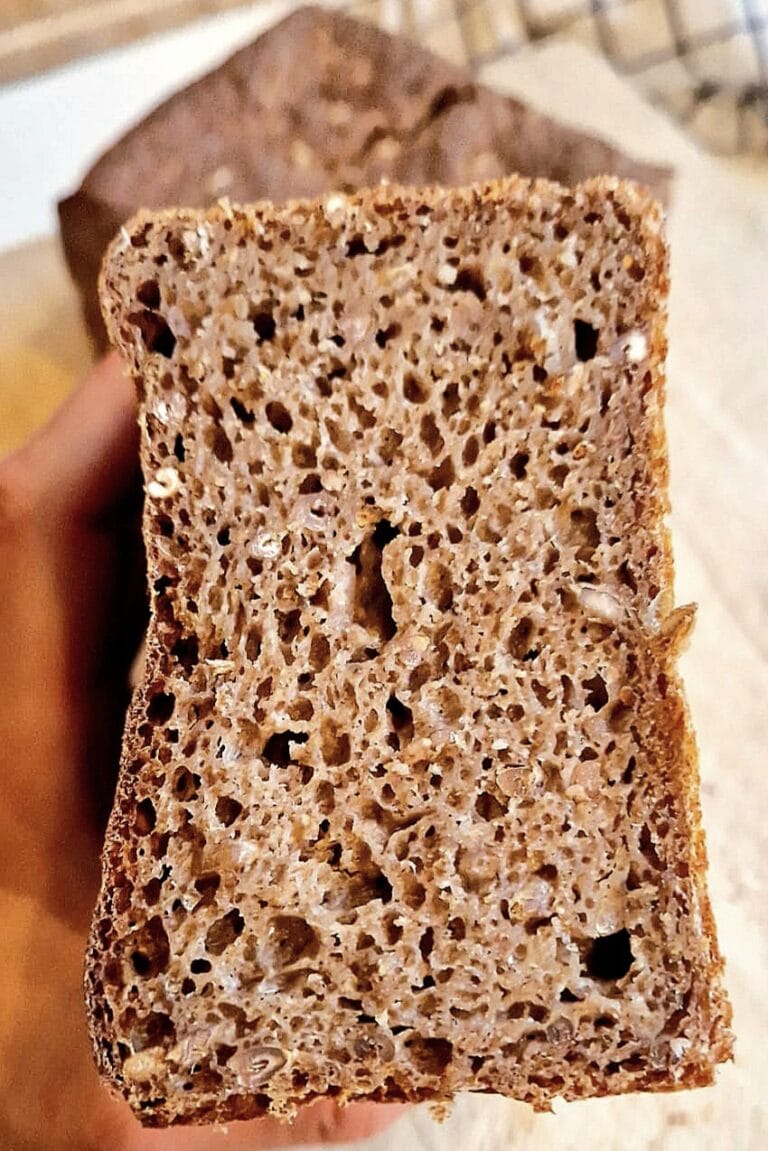
The two judgment calls most recipes skip are knowing when the bulk rise is done and when to slice. For the rise, trust the look over the clock: a 30–50% increase, a domed, jiggly surface, and bubbles along the sides mean it’s ready to shape. And once it’s baked, let it cool fully — slicing a hot loaf collapses that open crumb into something gummy. Give it the full two hours.
Why whole grain sourdough bread handles differently
f you’ve only baked with white flour, this dough will feel like a different animal — and it is. Bran and germ do two things at once. They drink far more water than white flour does, which is why this loaf sits at around 73% hydration and still feels manageable rather than soupy — more on that in sourdough hydration explained. And the bran itself is abrasive: tiny sharp particles that cut through developing gluten strands as you fold.
That second part is why whole grain loaves rarely rise as tall as white ones, however well you handle them. It isn’t a fault in your technique. A slightly tighter, more even crumb is the honest result of using this much whole grain, and it’s a trade made on purpose — nutty depth and real fiber in exchange for a little height.
It also ferments faster, because the bran carries more of what the wild yeast feeds on. Keep a close eye on the dough toward the end of bulk.
Storing whole grain sourdough bread
Cut side down on a board, no plastic, at room temperature. That sounds too simple, but it’s what keeps the crust crisp — a plastic bag traps moisture and turns a good crust leathery within hours. From day two, a linen bread bag keeps the crumb moist while the crust stays dry.
It’ll be excellent for two days and good for four. Naturally leavened bread keeps far longer than bread made with commercial yeast, because the acidity slows mold down, so there’s no need to rush it.
For longer than that, slice the whole loaf and freeze it in a bag. Frozen slices toast straight from the freezer and lose almost nothing. Freezing the loaf whole works too, but you’ll be defrosting far more bread than you want at breakfast. And when the last third finally goes firm, our leftover sourdough ideas put it to work.
How to serve it
This is an everyday loaf, and it’s at its best doing everyday work: butter and a sharp cheese, or the Norwegian standby of brown cheese sliced thin. It’s sturdy enough to carry smoked salmon, boiled egg and cucumber the way an open Scandinavian sandwich should, and it makes better toast on day three than it does on day one — fried in butter under a pile of mushrooms, it becomes our chanterelle toast.
More Nordic bakes you’ll love
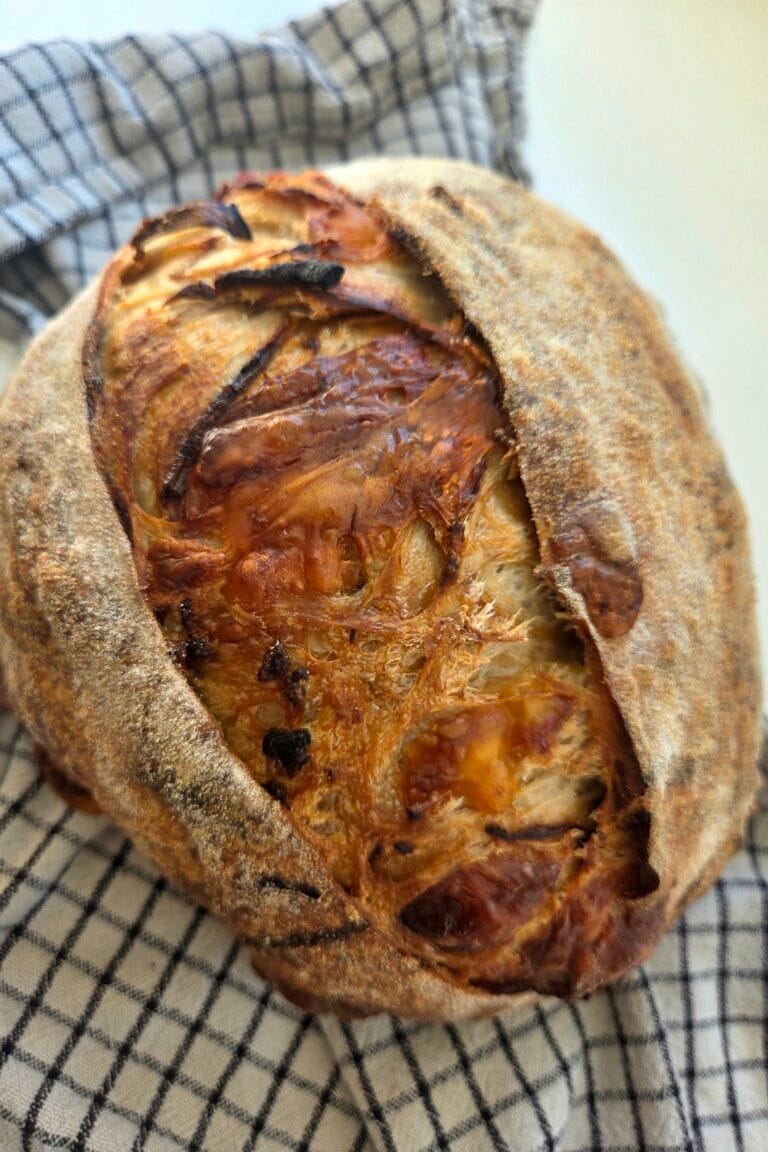
- Walnut Sourdough Bread — the same everyday dough, folded with toasted walnuts
- Oat Sourdough Bread with Toasted Oats — a softer, sweeter crumb with oats baked in
- Danish Rye Bread (Rugbrød) — when you want to go all the way to dense, dark and Nordic